Configure Mapping
Mapping connects different elements defined in an onboarding file to their respective elements (attributes, tags, classes, and taxonomies) defined in the system. To configure this, follow this set of instructions:
- Log in to the application and click on the Administration button.

- Go to Data Integration and then, to the Mappings menu.

- Click the “+” icon to create a new mapping.

- Provide the details like Name and Code. Click on the Create button.

- Click on the Edit button to edit the details.

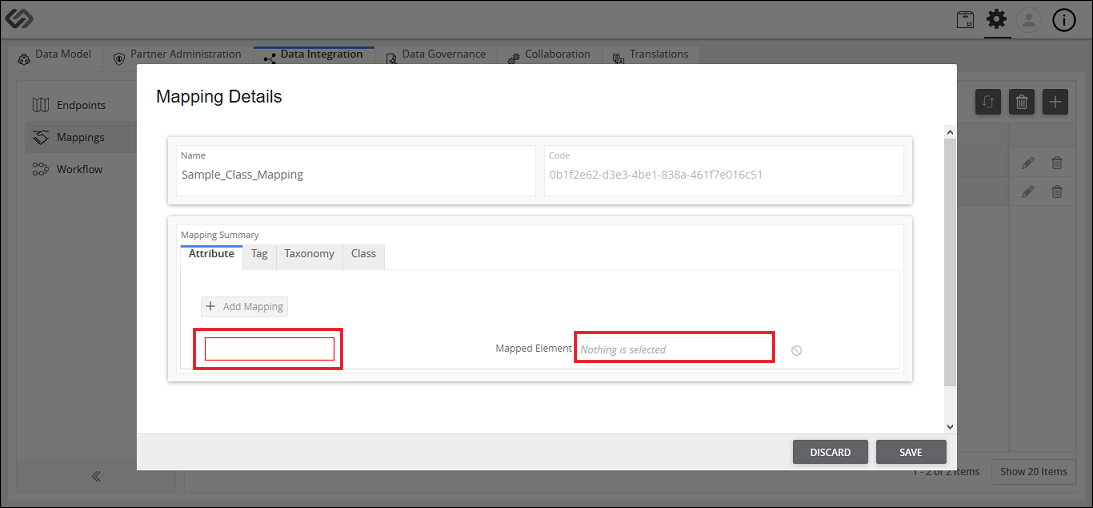
- On the pop-up window, click on the Attribute tab.

- Click on the Add Mapping button to map the attributes defined in an onboarding file with the system attributes.

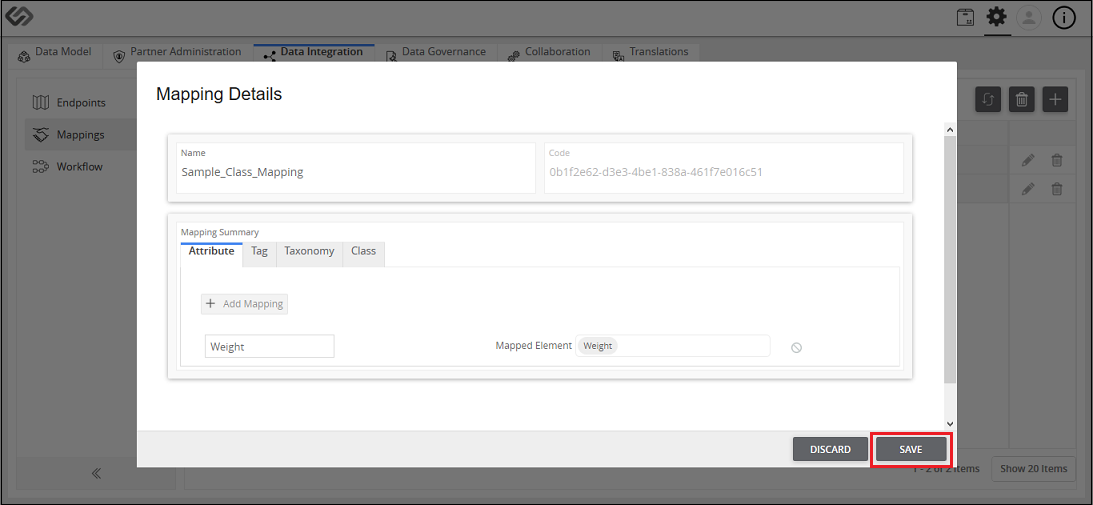
- Define the Attribute Name used in an onboarding file in the left side textbox and select the equivalent system attribute in the Mapped Element field.
- Likewise, map the Tags, Taxonomies, and Classes defined in an onboarding file with the tags, taxonomies, and classes of the system in the Tag, Taxonomy, and Class tabs, respectively.

- Click on the Save button.
Configure Mapping: Screen Elements
The following details are seen when creating a new mapping in the system.
| Sr No | Screen Element | Description |
|---|---|---|
| 1 | Name | Specify the name of mapping. |
| 2 | Code | Specify the code. |
| 3 | Create | Click the Create button to create the mapping. |
| 4 | Attribute Tab | Define the Attribute used in a sheet of an onboarding file in the left side textbox and select the equivalent system attribute from Mapped Element field. |
| 5 | Tag Tab | Define the Tag used in a sheet of an onboarding file in the left side textbox and select the equivalent system tag from Mapped Element field. |
| 6 | Taxonomy Tab | Define the Taxonomy used in a sheet of an onboarding file in the left side textbox and select the equivalent system taxonomy from Mapped Element field. |
| 7 | Class Tab | Define the Class used in a sheet of an onboarding file in the left side textbox and select the equivalent system class from Mapped Element field. |
| 8 | Save | Click on Save button to save the details of a user. |
| 9 | Cancel | Click on Cancel button to cancel the details of a user. |
