Configure Endpoint
To configure an endpoint, follow these steps:
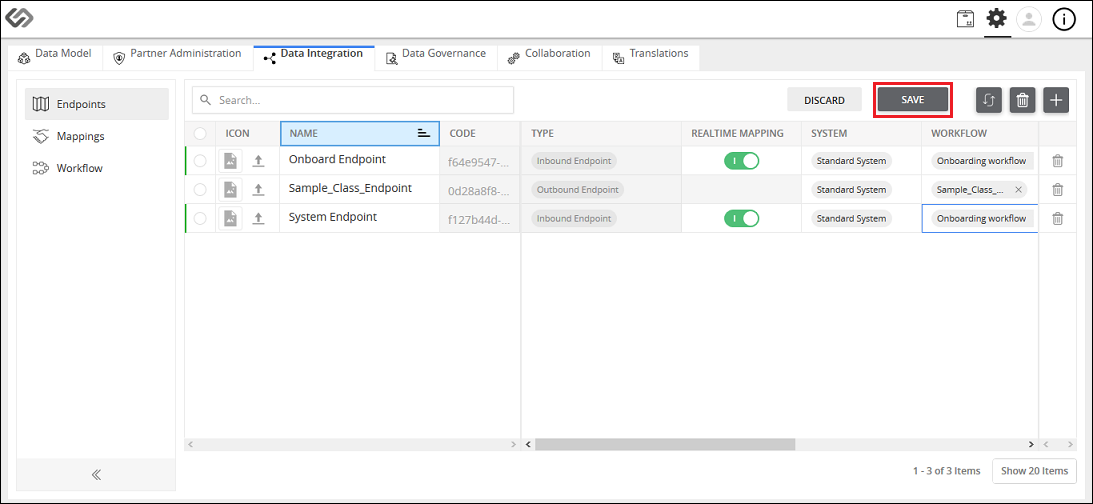
- Navigate to Data Integration -> Endpoints menu.

- Click the “+” icon to create the endpoint.

- Provide the following details: Name, Type, and Code. Click on the Create button.

- Select the values for: Realtime Mapping, System, Workflow, Mapping, Dashboard Tab, and Physical Catalog. Click on the Save button.
Configure Endpoint: Screen Elements
The following details are to be provided to be able to configure an endpoint in the system.
| Sr No | Screen Element | Description |
|---|---|---|
| 1 | Name | Specify the name of the endpoint. |
| 2 | Type | Select the type of endpoint from the following options: |
|
||
| 3 | Code | Specify the code. |
| 4 | Create | Click on the Create button to create the endpoint. |
| 5 | Realtime Mapping | If we enable this option, it allows the user/partner to map attributes, tags, classes, and taxonomies of the system to the attributes, tags, classes and taxonomies of an onboarding file while uploading the file. |
| 6 | System | This helps to create client-specific system and this system will be assigned to partner and role. Endpoints are associated with this system. |
| 7 | Mapping | Select the mapping from the list to associate it with the endpoint. |
| 8 | Workflow | Select the workflow from the list to associate it with the endpoint. |
| 9 | Dashboard Tab | Select the dashboard tab where you want to show the endpoint. |
| 10 | Physical Catalog | Select the physical catalog from the list where you want to show the endpoint. |
| 11 | Save | Click on the Save button to save the endpoint details. |
| 12 | Discard | Click on the Discard button to discard the details of defined endpoint. |
