Manage Master Taxonomies
The Manage Master Taxonomies is an admin feature that sets up Master Taxonomies that are based on Masters so that each level of taxonomy is represented by a Master Tag Group.
| Key Term: |
|
| Description: |
|
| Related topics: | |
| Application: |
|
How-to: Manage Master Taxonomies
To manage master taxonomies, follow these steps:
- Log in and click on the Administration icon.
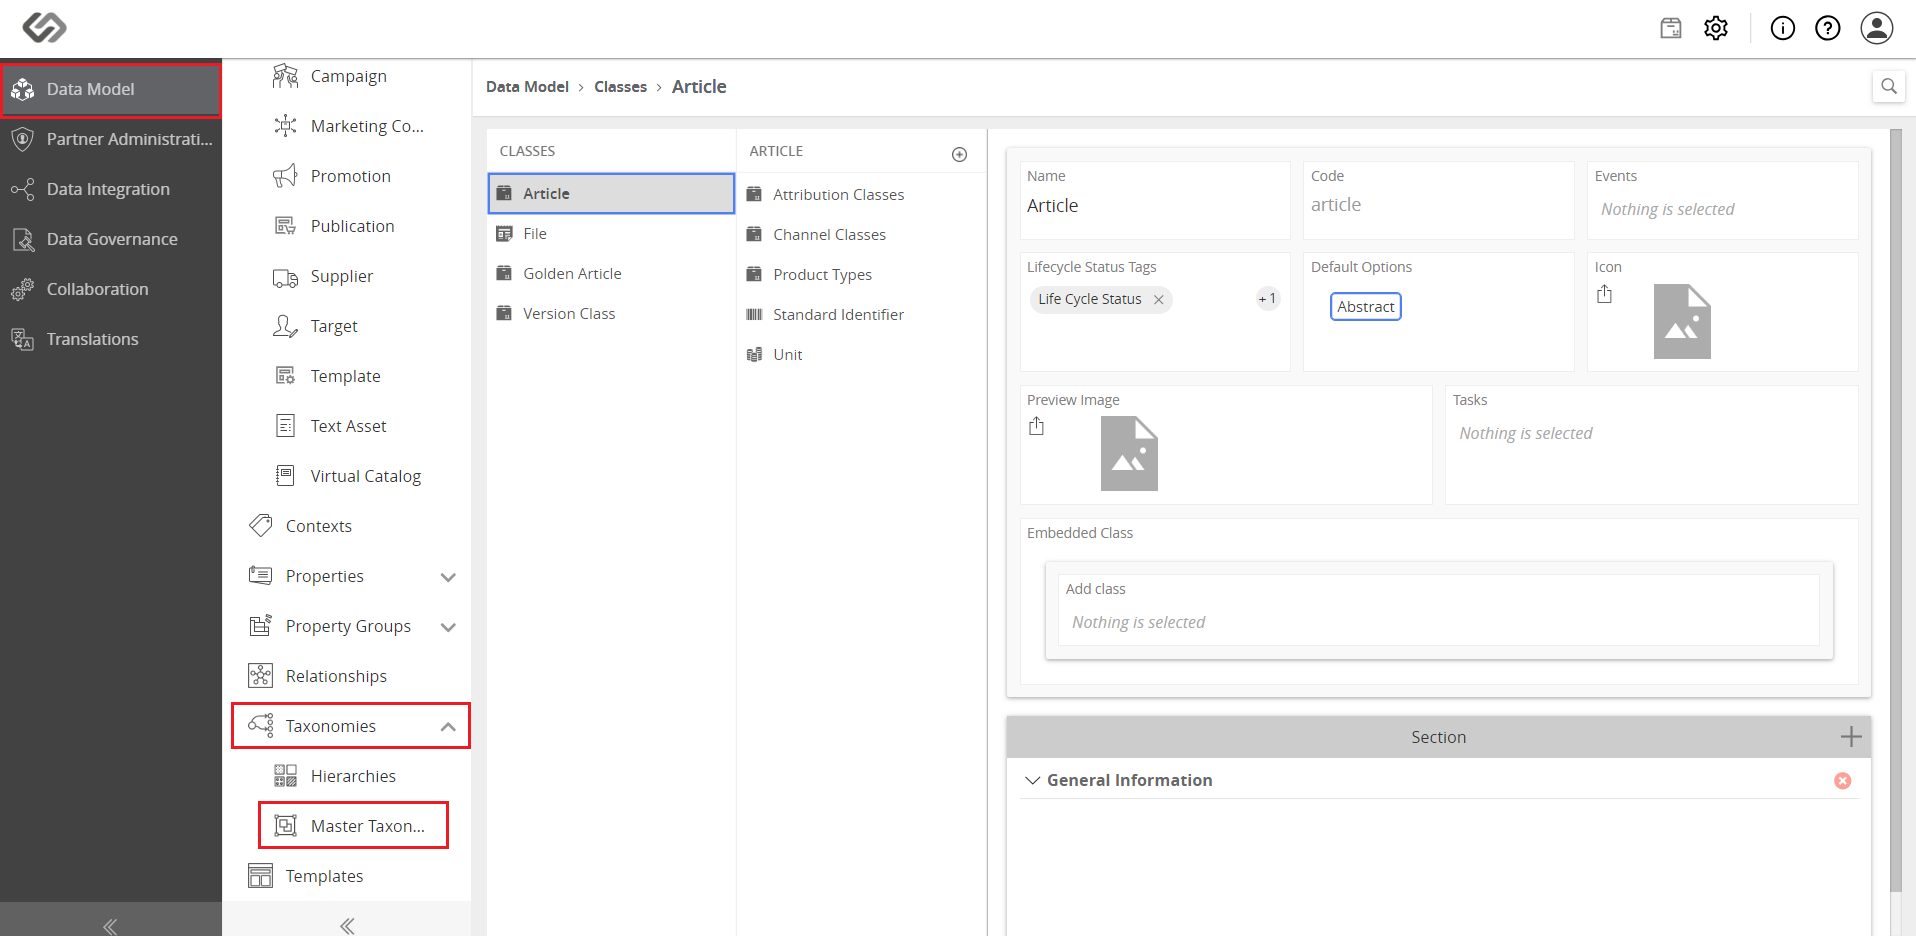
- In Data Model, click on the Taxonomies drop-down list and select Master Taxonomies.
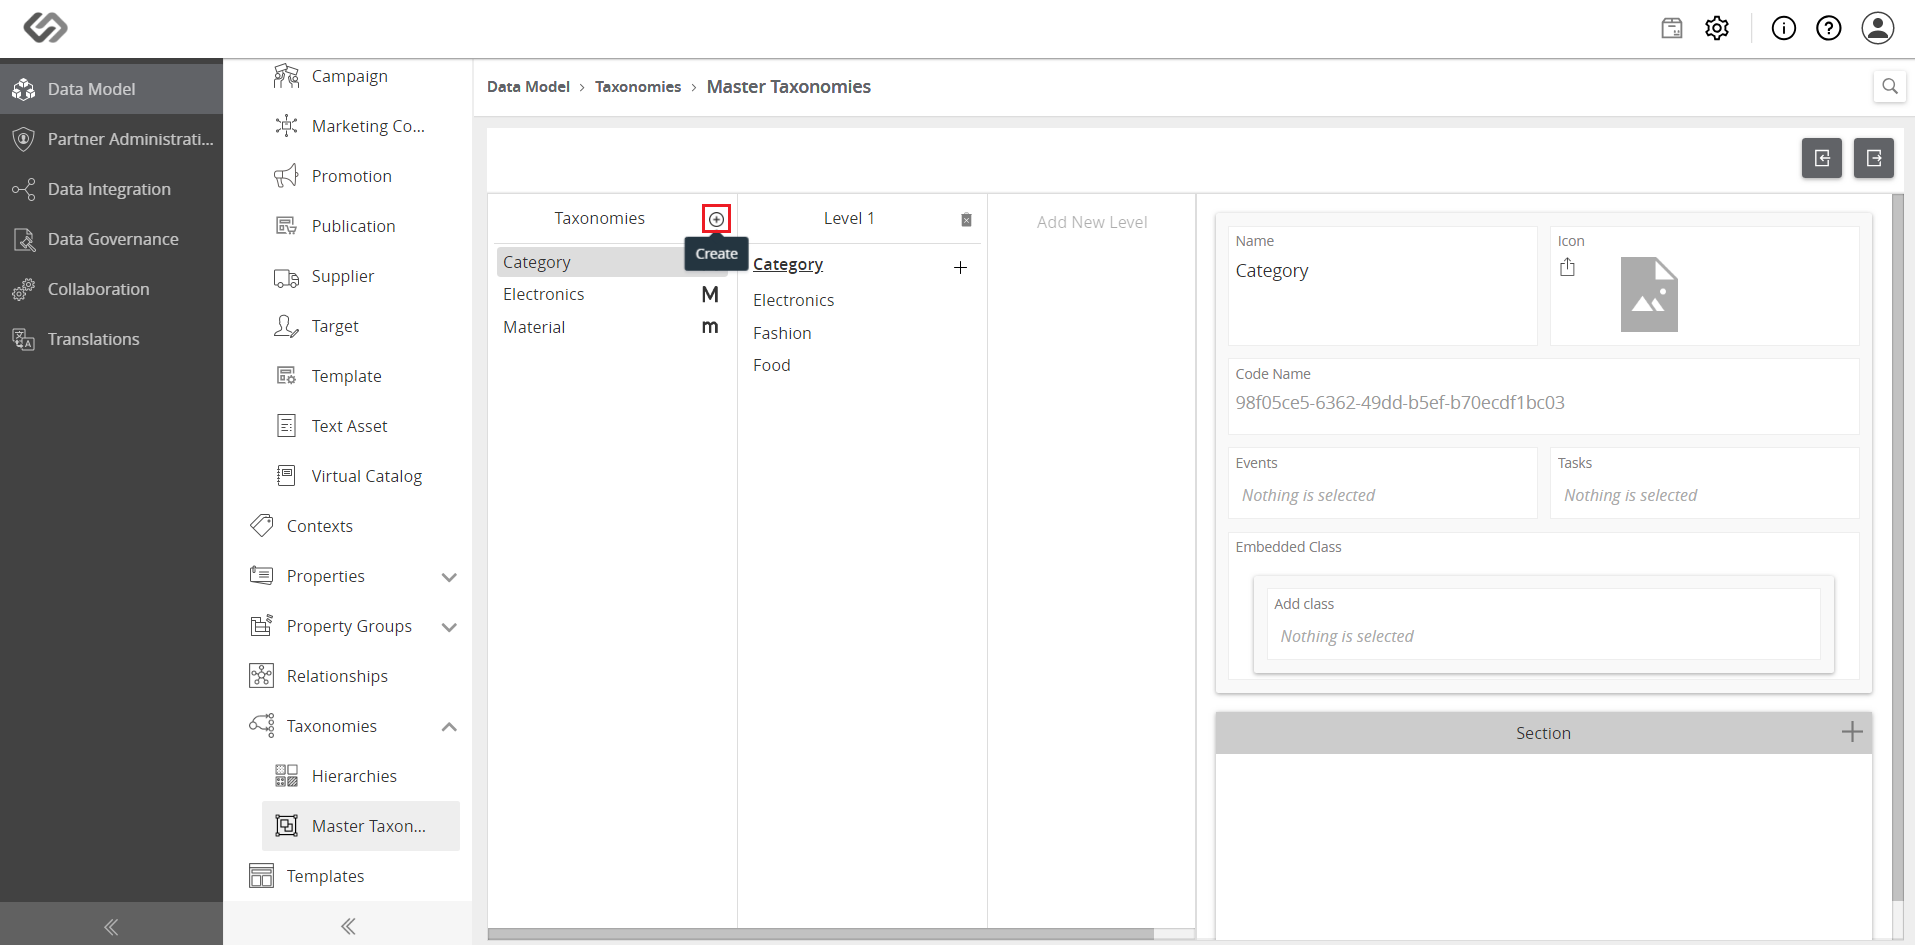
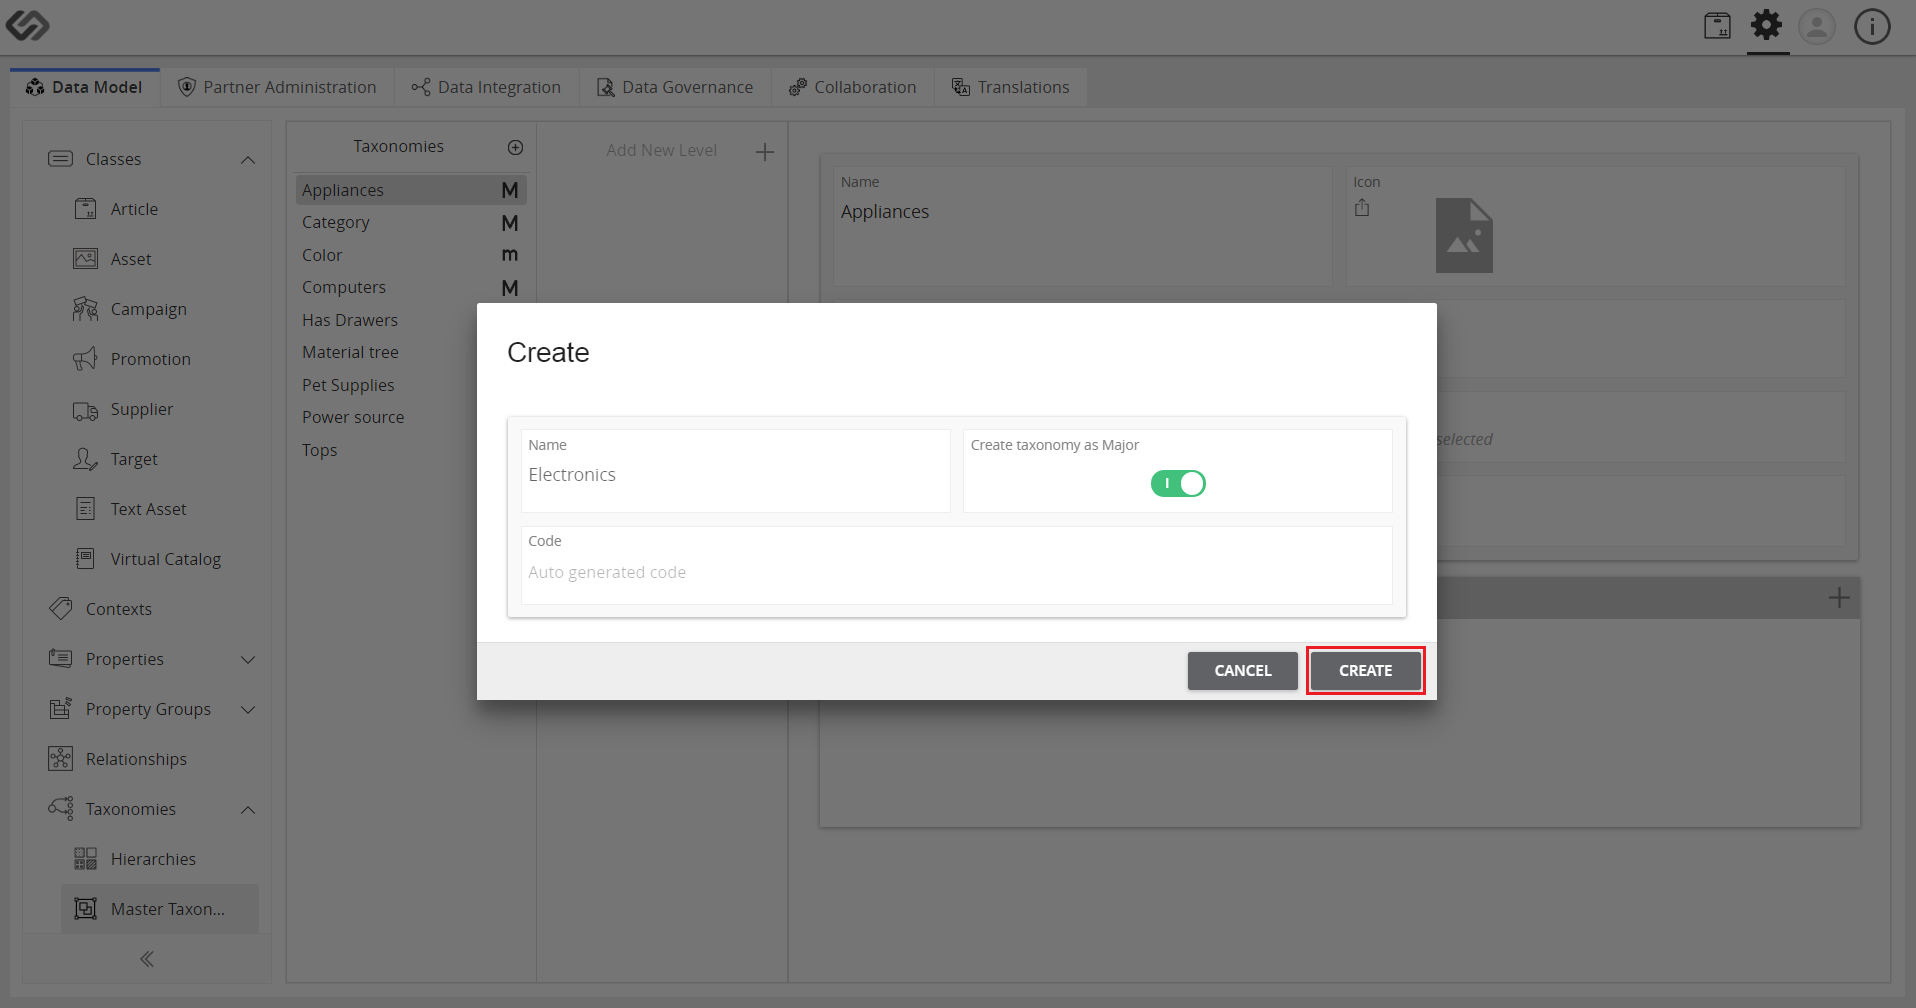
- Click on the ‘+’ icon to create a new Master Taxonomy.
- Enter a name for the taxonomy and enable the Create Taxonomy as Major option. Click on the Create button.
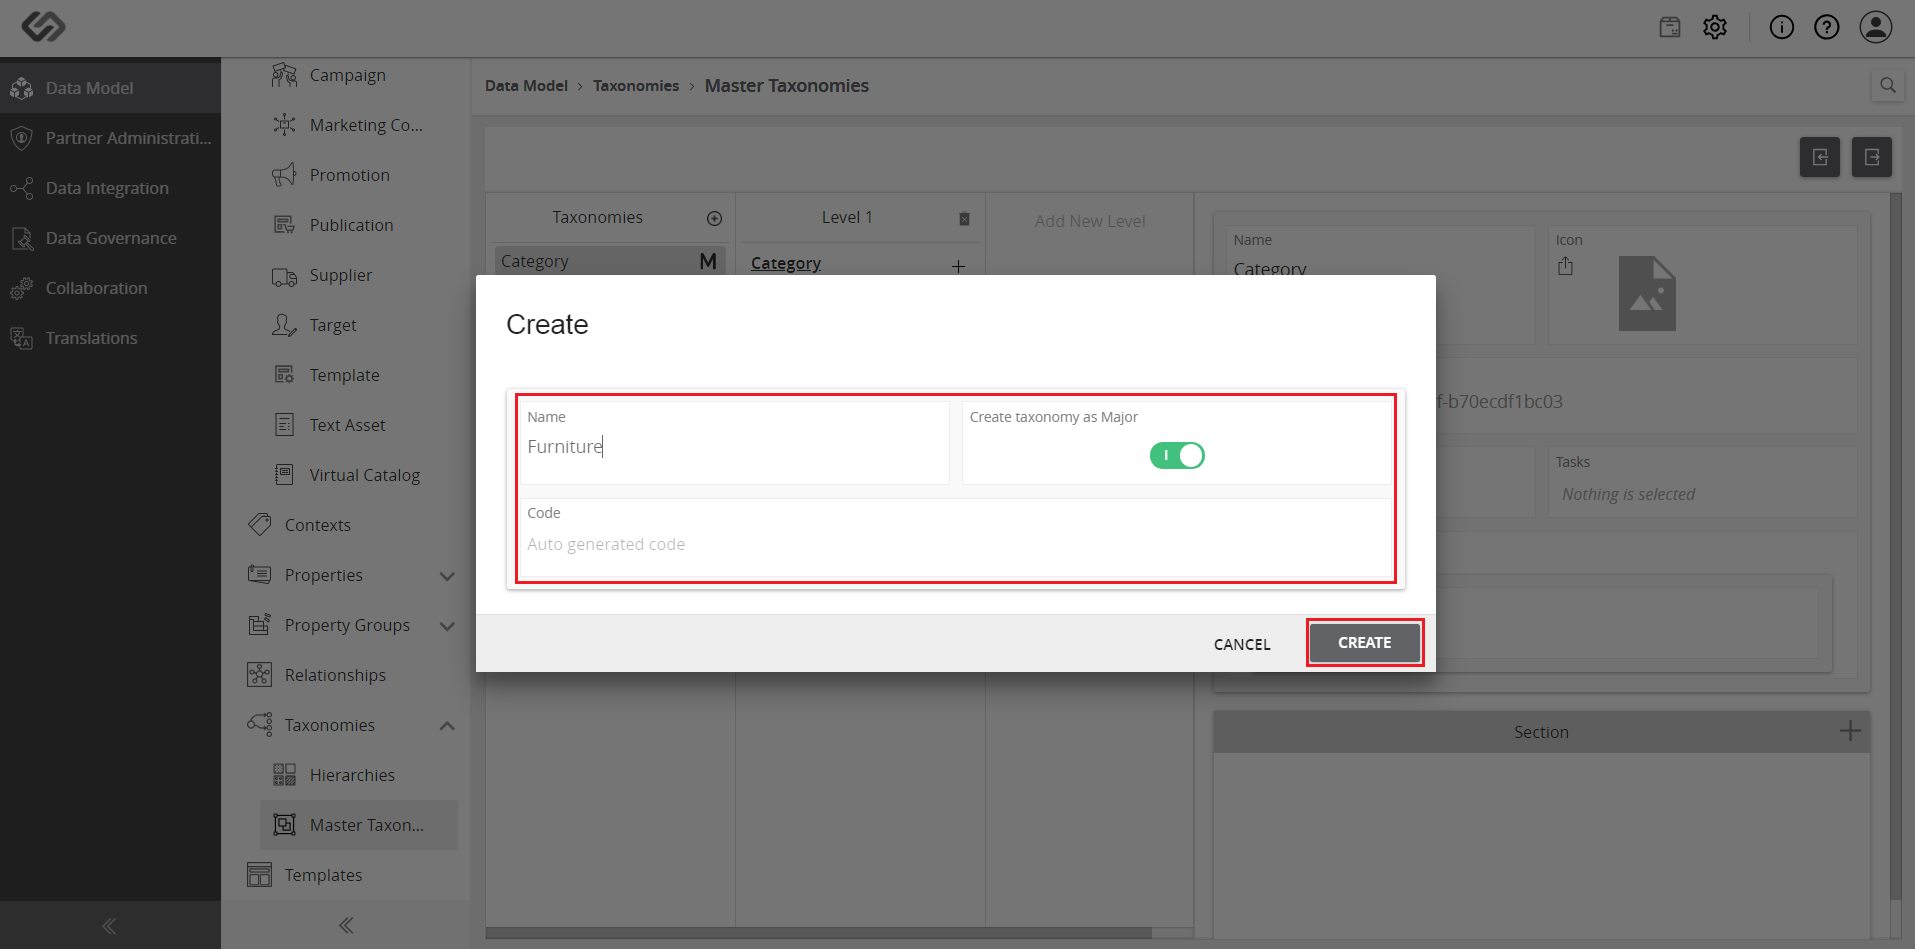
- Click on the Create button.
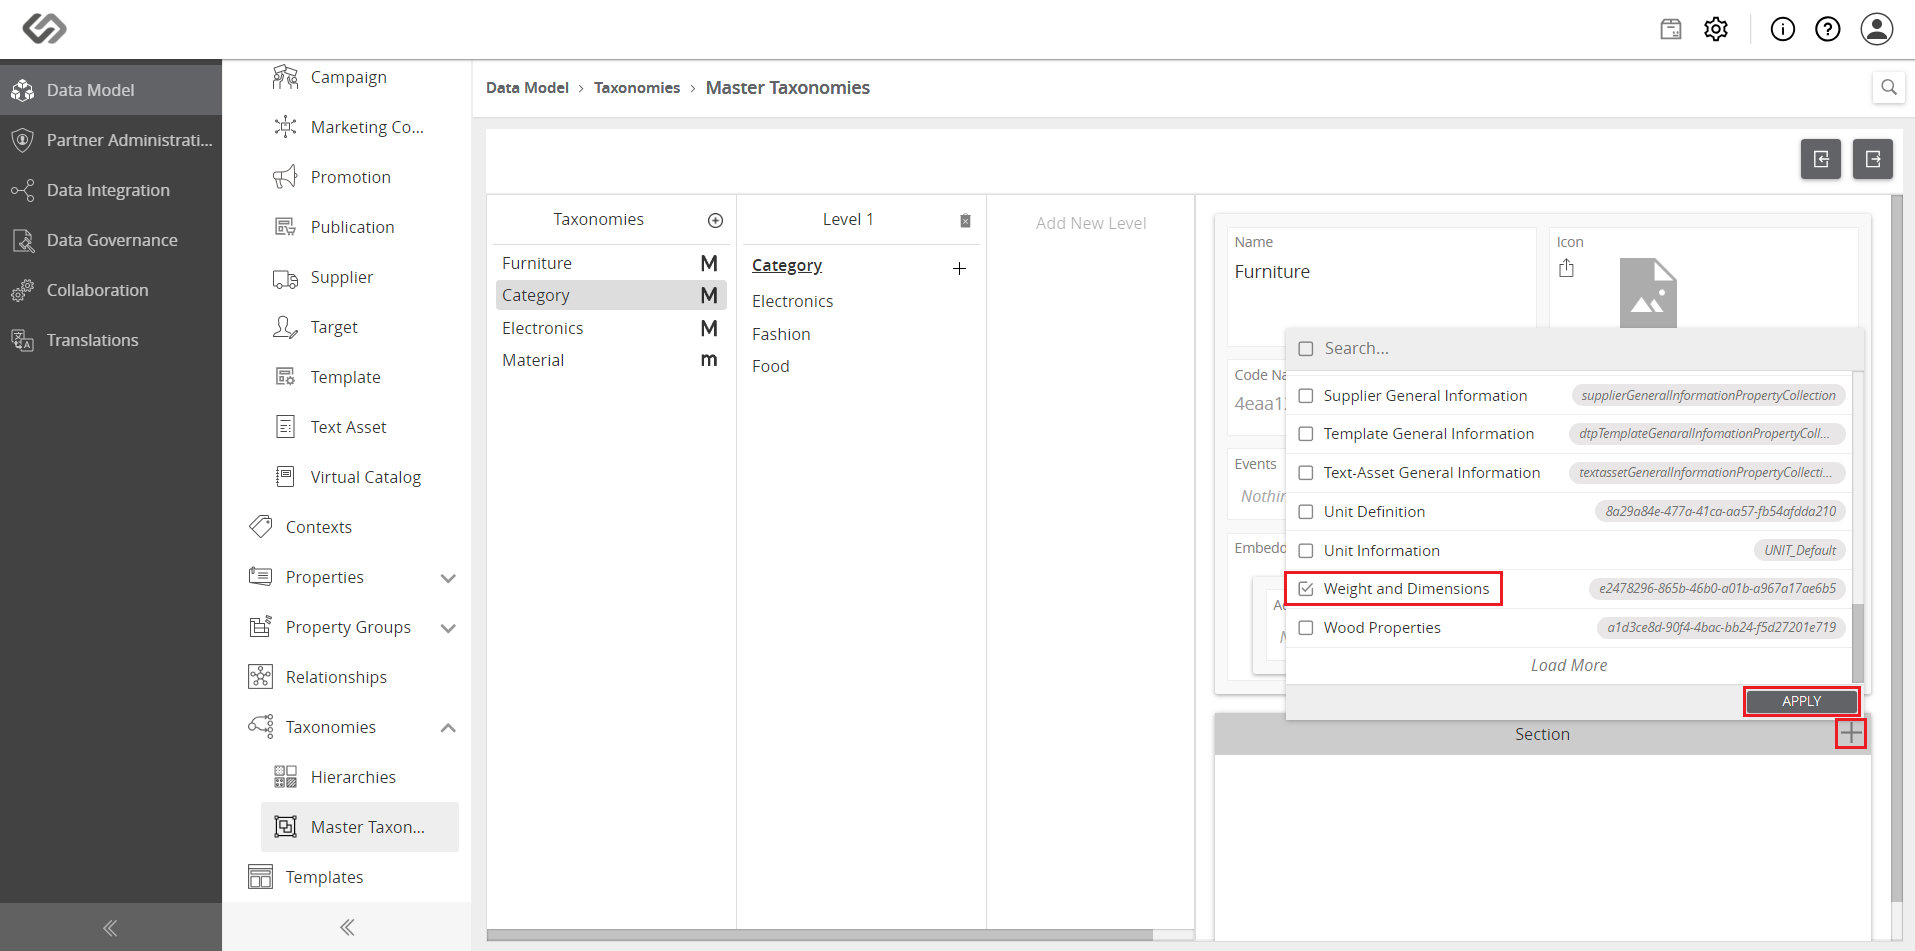
- Scroll down to Section and click on the ‘+’ icon to add a property collection. Select the applicable property collection and click on the Apply button.
- Select the created taxonomy and add sub-levels to it to create a sub-taxonomy.
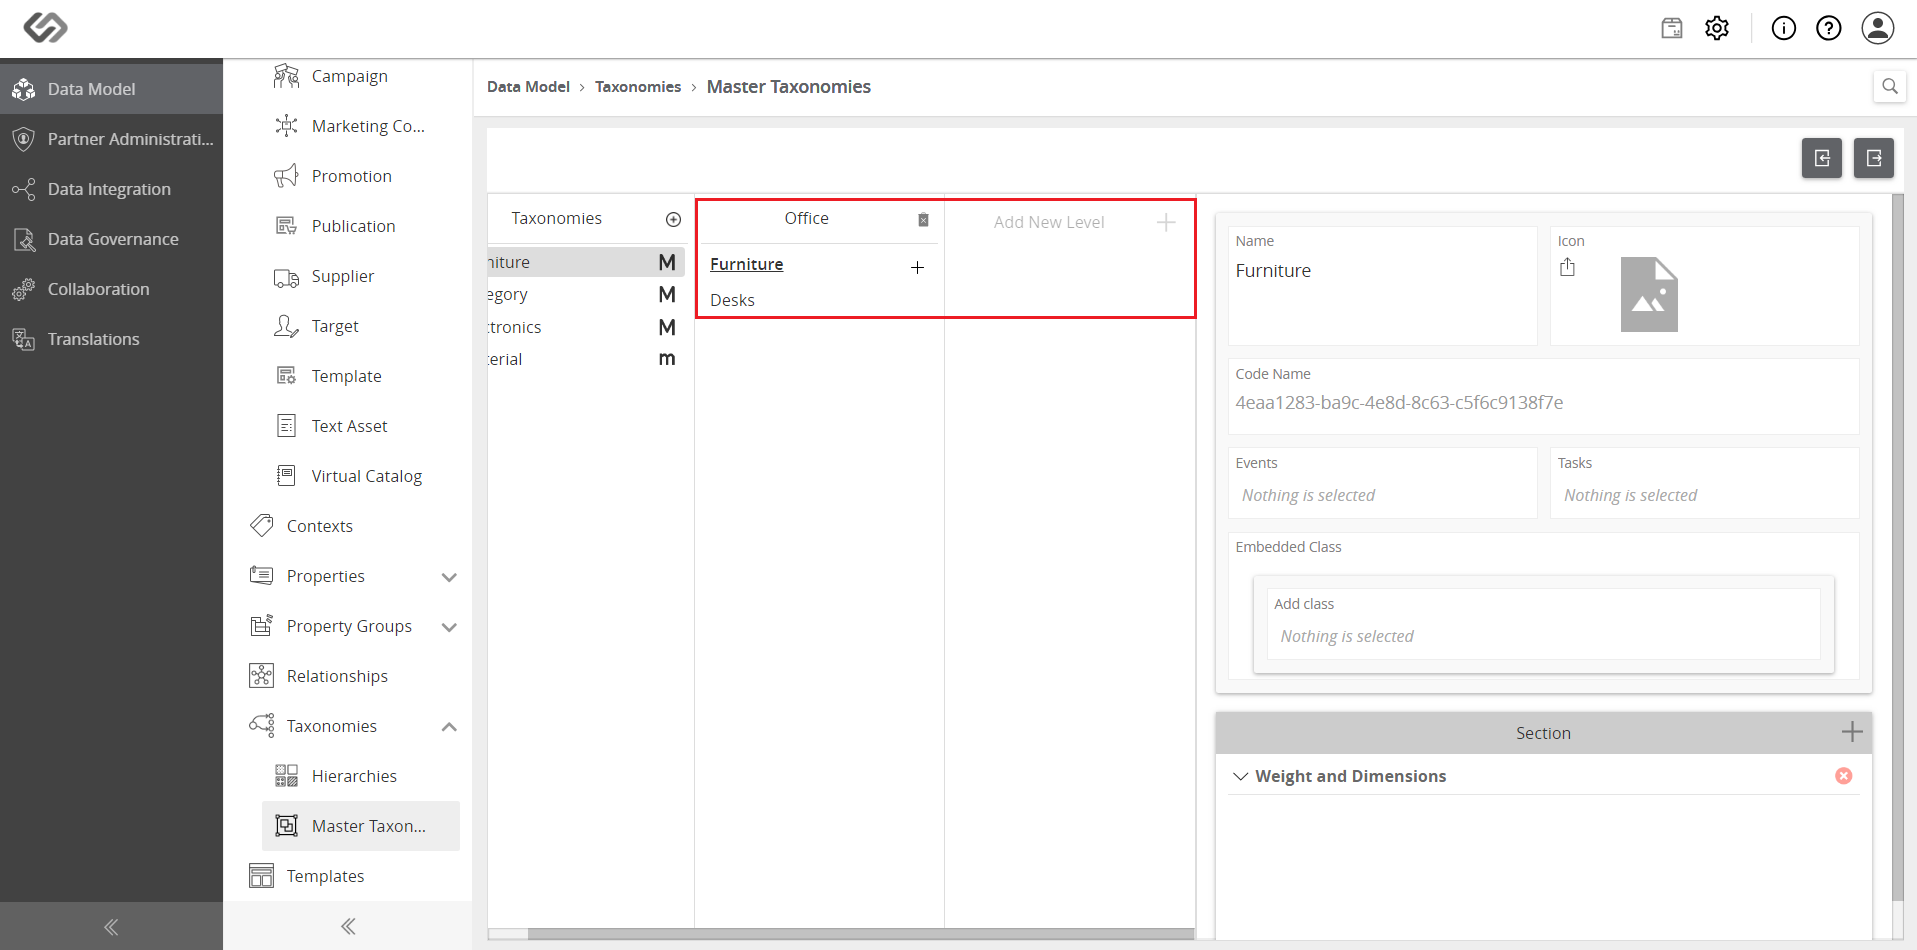
To create sub-levels for a taxonomy, follow these steps.
- Select a taxonomy.
- Click on the ‘+’ icon to add new level.
- Enter the name in the search bar.
- If the name exists, it will appear in the search results. Otherwise, click on ‘Create <name>’ to create a new one.
- Click on the ‘+’ next to the parent taxonomy to add sub-taxonomies.
- Enter the name for the sub-taxonomy.
- Repeat the previous step if you want to add more levels to the existing sub-taxonomies.
