Manage Taxonomy

The feature, ‘Manage Taxonomy’ is an interface that provides users the ability to create, update, edit, or delete taxonomies. It is the primary way that we update taxonomies in the Contentserv system.

Key Term:
  • Taxonomy: a taxonomy is a scheme of classification used for an organization’s products.
Description:
  • Taxonomy management is facilitated in the configuration section of Contentserv.
  • The interface gives you the flexibility to add levels to the taxonomy vertically and horizontally.
  • When the taxonomy is given a level vertically, it becomes more specific under that category. For example, a taxonomy may have a Fashion category which may be made more specific with a Pants subcategory.
  • When the taxonomy is given a level horizontally, it adds a new branch that products can be categorized into making the classification broader in scope. For example, a taxonomy with an existing Fashion category may also have an Electronics category on the same level as Fashion. This would reflect a retailer with many different product lines.
  • Use the plus (+) buttons to add levels to your taxonomy, where required.
  • A store’s taxonomy can be configured in many different ways.
Related topics:
Application:
  • Let’s create a simple taxonomy for a retailer, which sells fashion and electronics.
  • The highest level of classification would be Fashion and Electronics.
  • The classification would be made deeper under each category to add specificity. See diagram for a sample configuration:
../../../../../../_images/manage_taxonomy.PNG

How to do: Simple Taxonomy Tree

Here’s how to do a simple taxonomy tree.


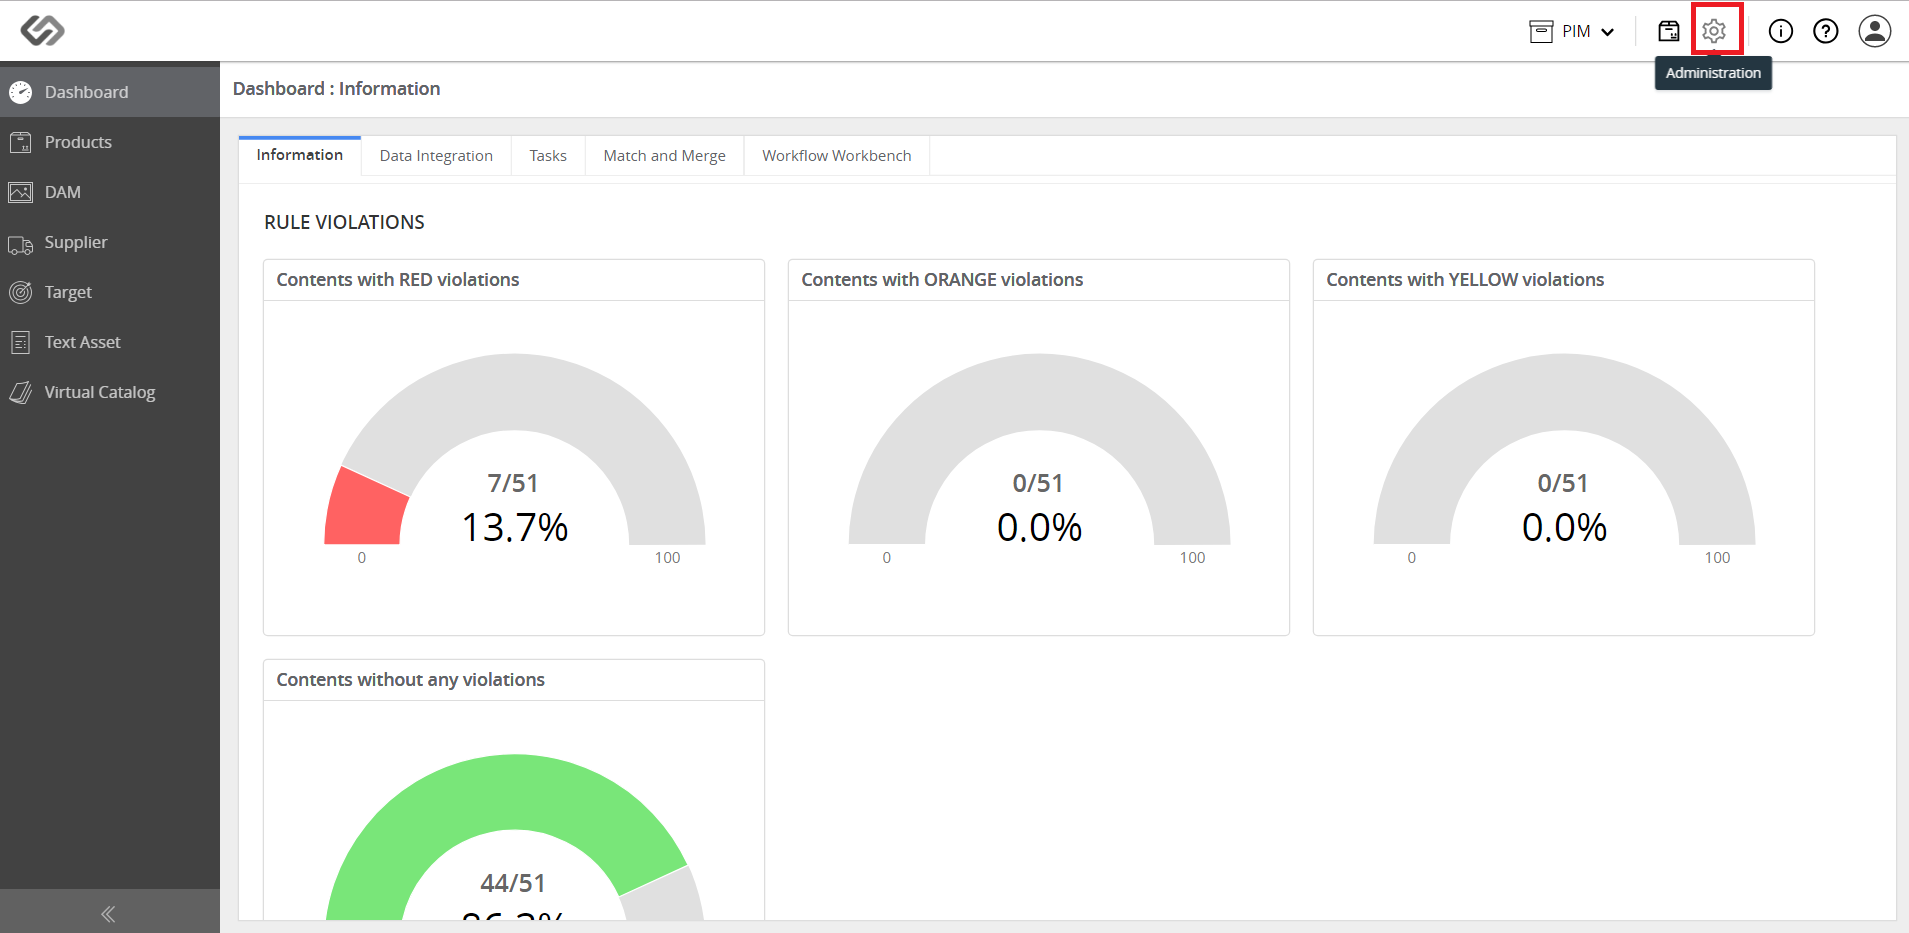
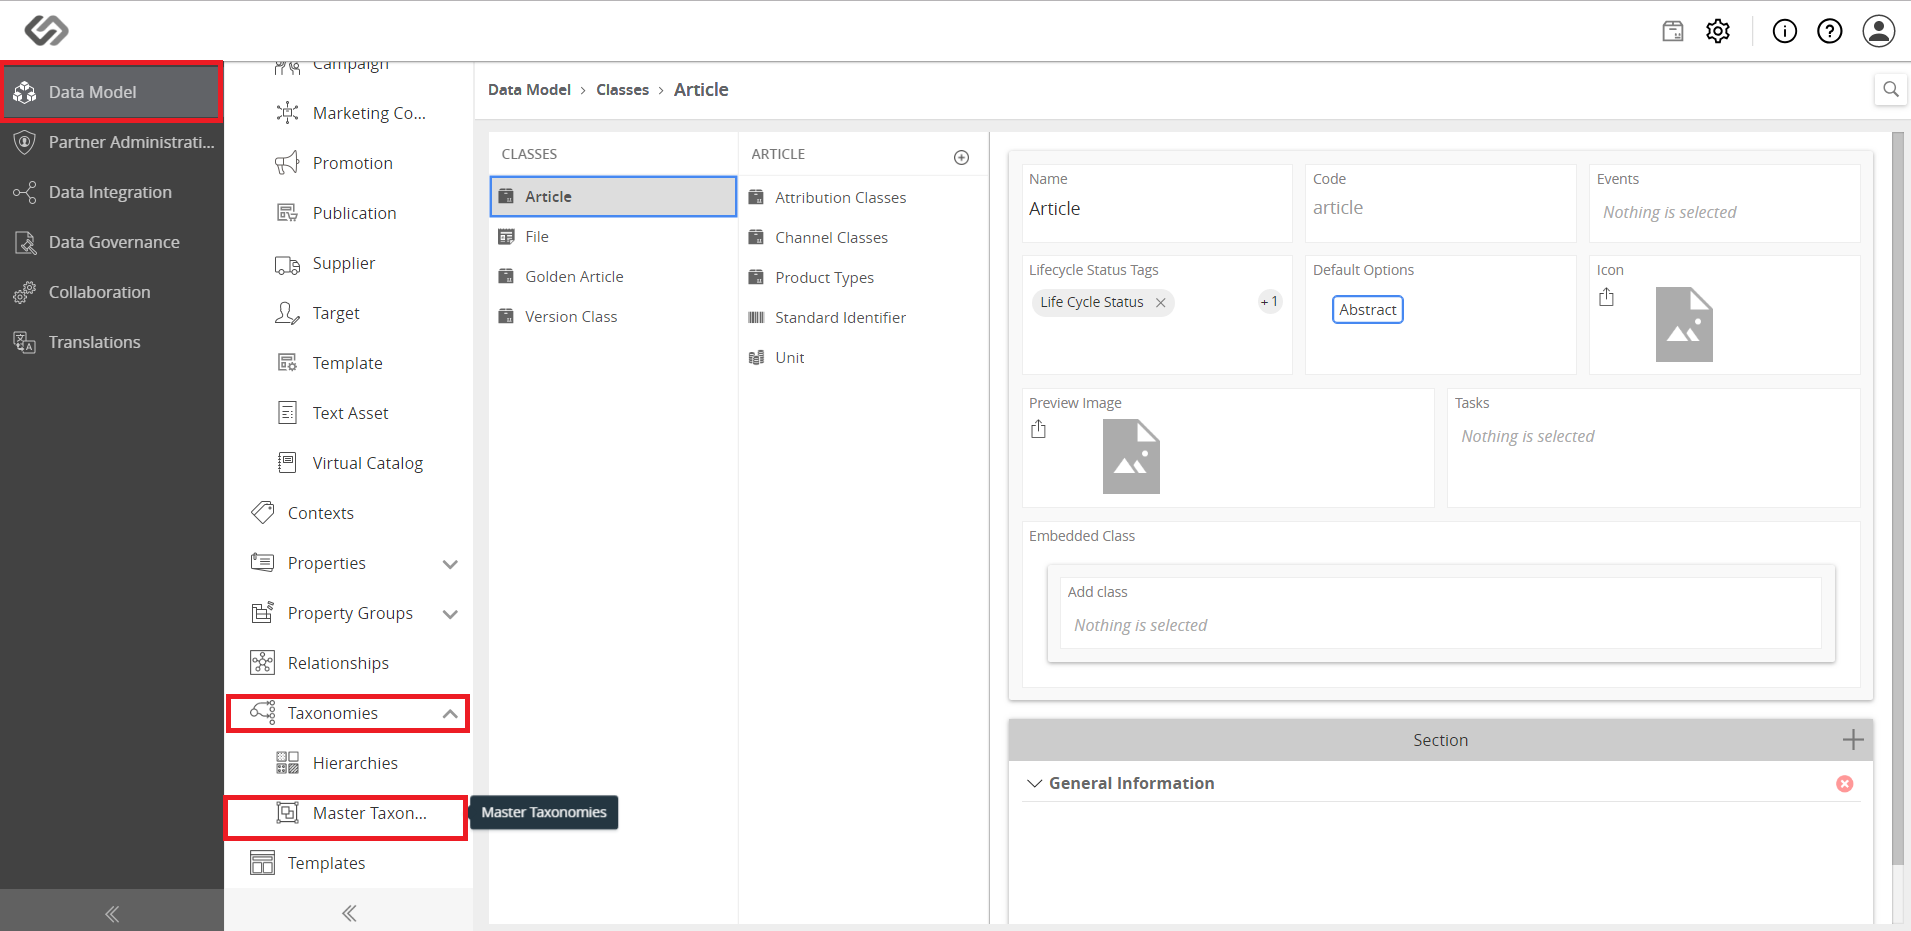
  • Click the Administration icon.
../../../../../../_images/pxp_managetaxonomy_clickadministration.PNG


  • Go to Data Model. Then, under Taxonomies, click Master Taxonomies.
../../../../../../_images/pxp_managetaxonomy_clickmastertaxonomies.PNG


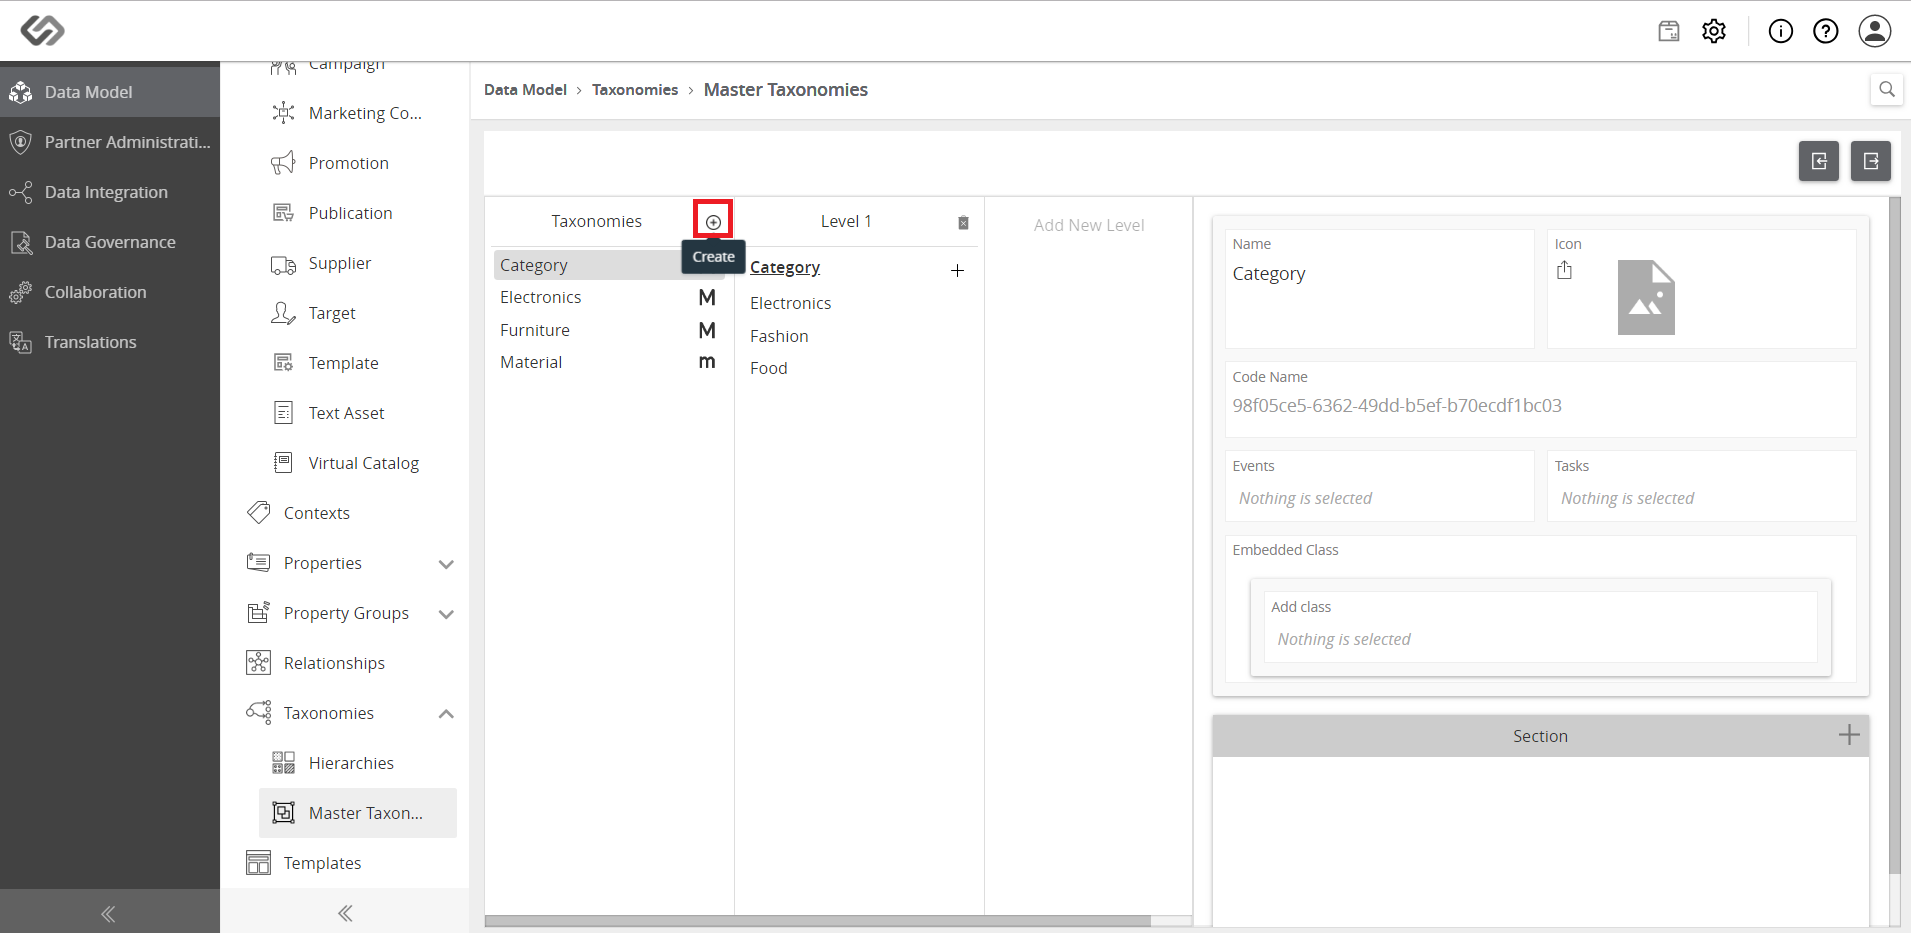
  • Click on the ‘+’ icon to create a new taxonomy.
../../../../../../_images/pxp_managetaxonomy_clickplus.PNG


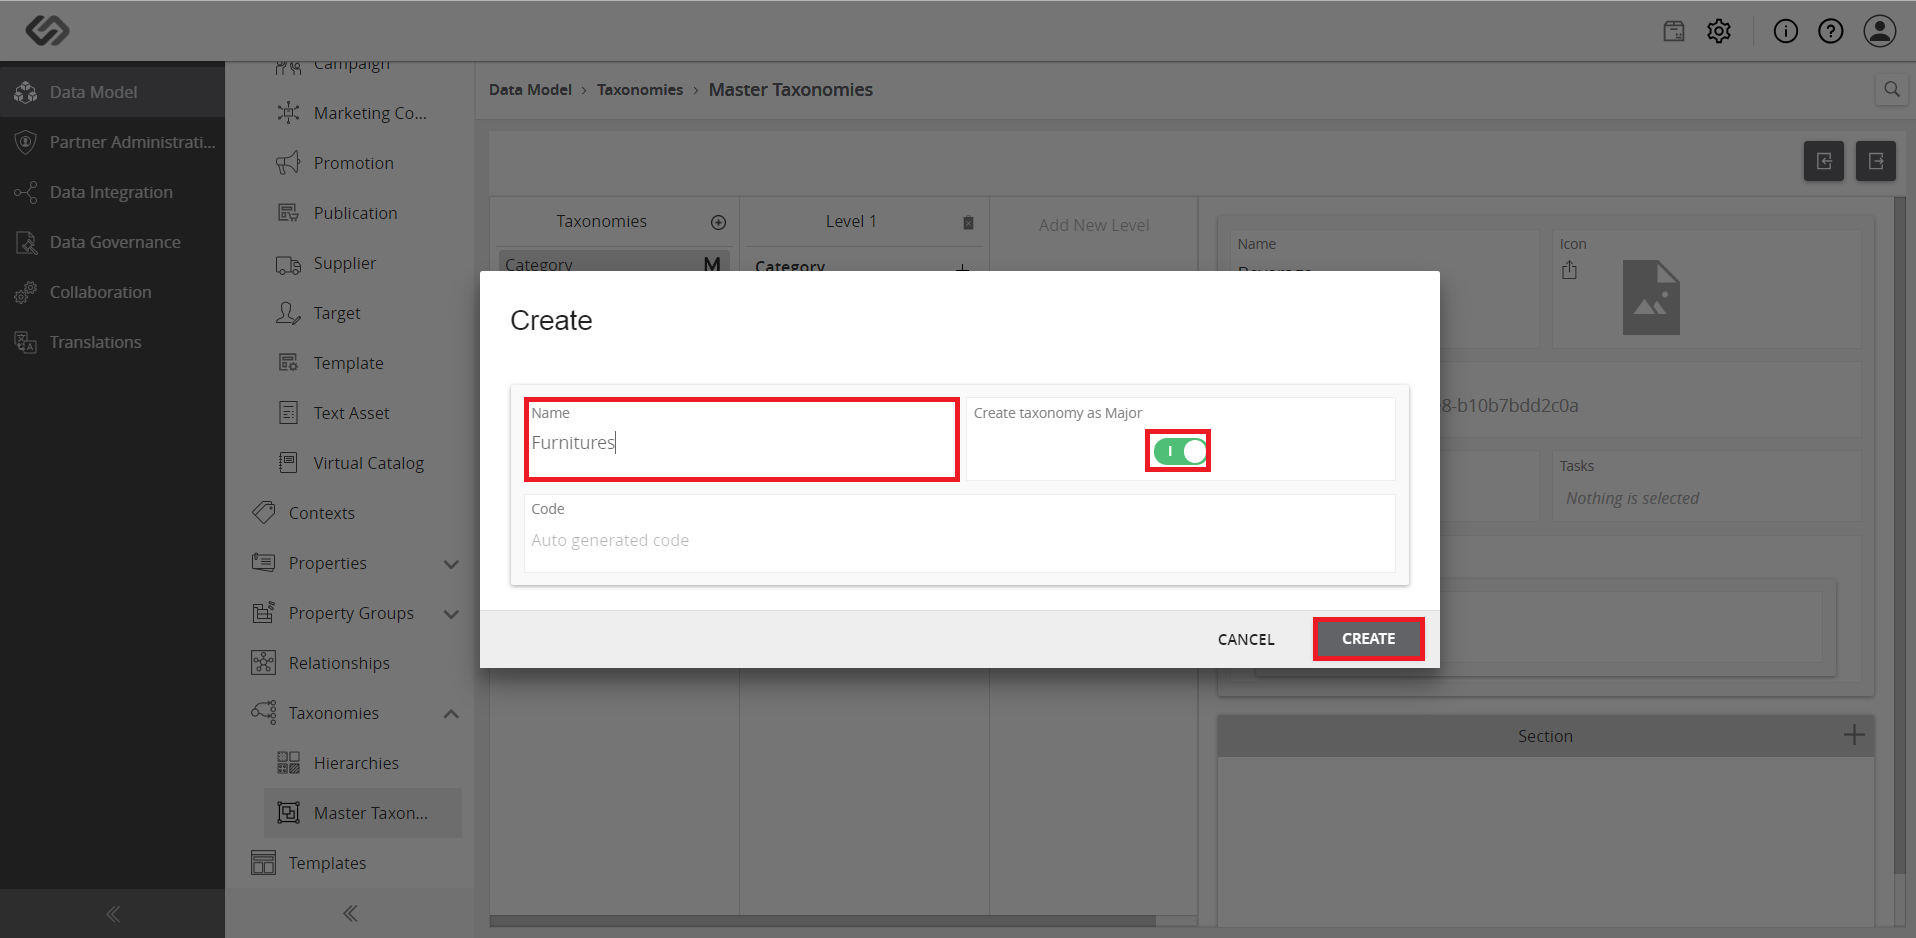
  • Enter the necessary data and click the Create button.
../../../../../../_images/pxp_managetaxonomy_enternecessary.PNG


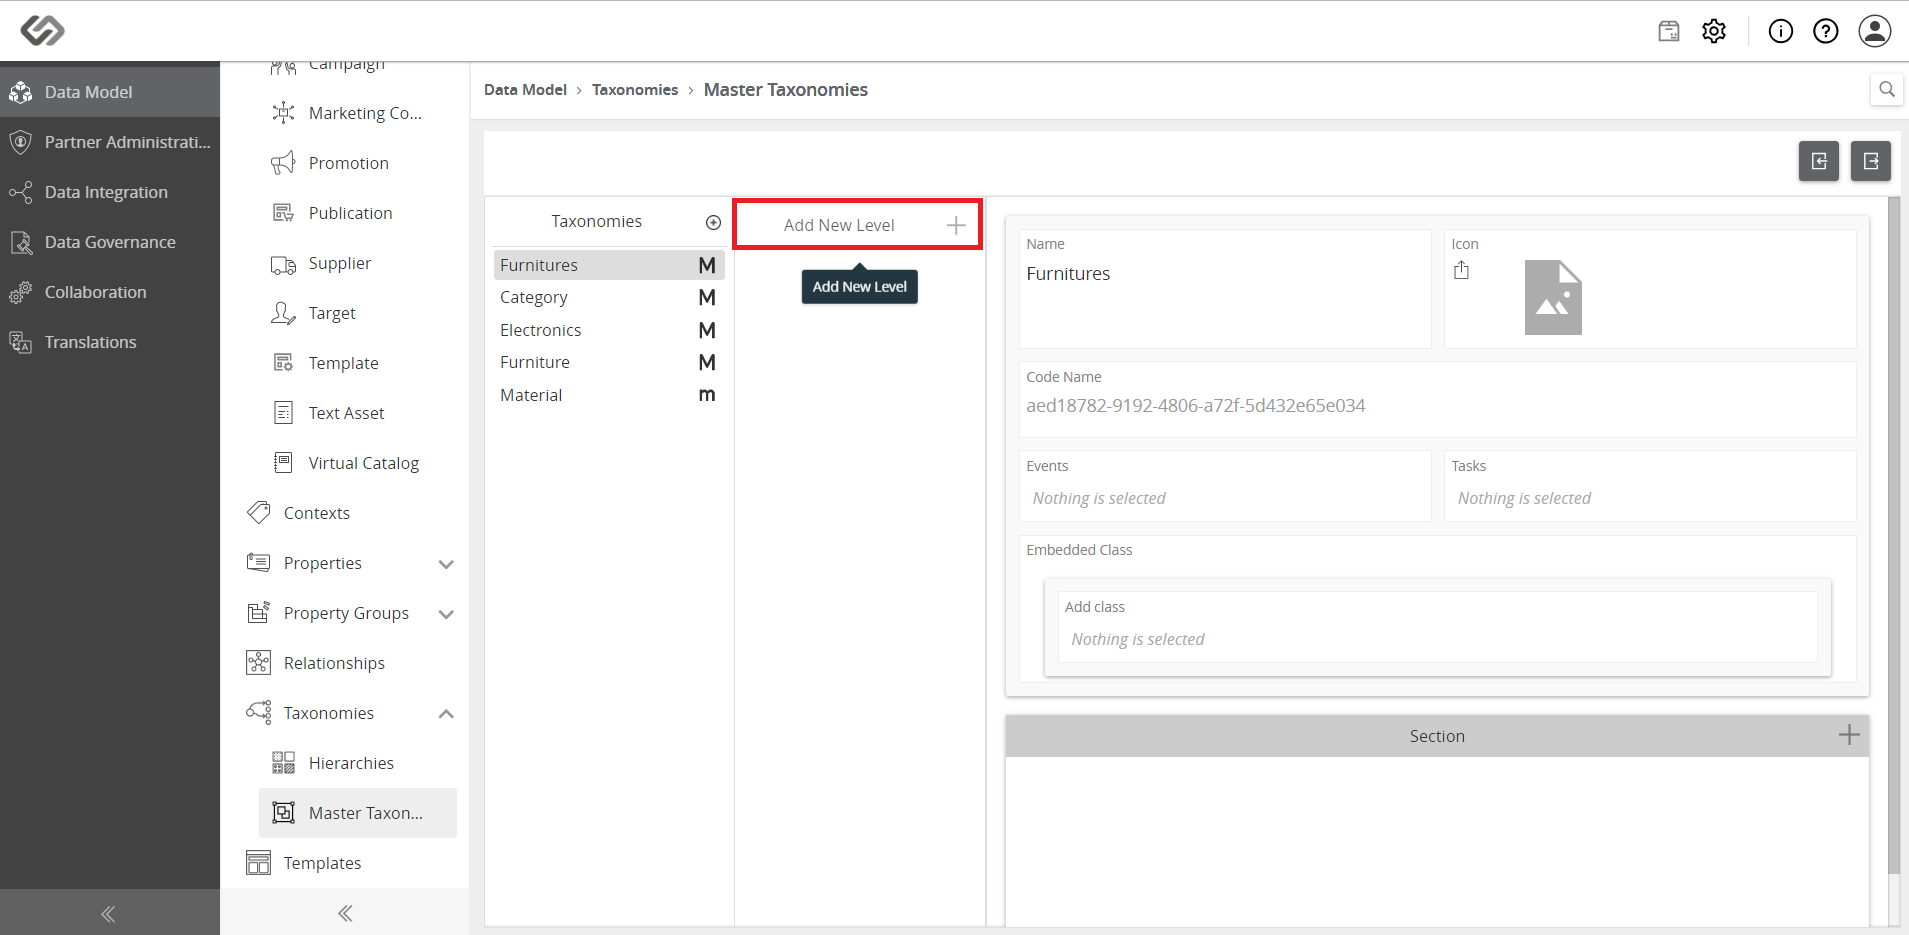
  • To make a hierarchy, click on the created taxonomy and click on the Add New Level button.
../../../../../../_images/pxp_managetaxonomy_tomakeheirarchy.PNG


../../../../../../_images/pxp_managetaxonomy_tomakeheirarchy2.PNG


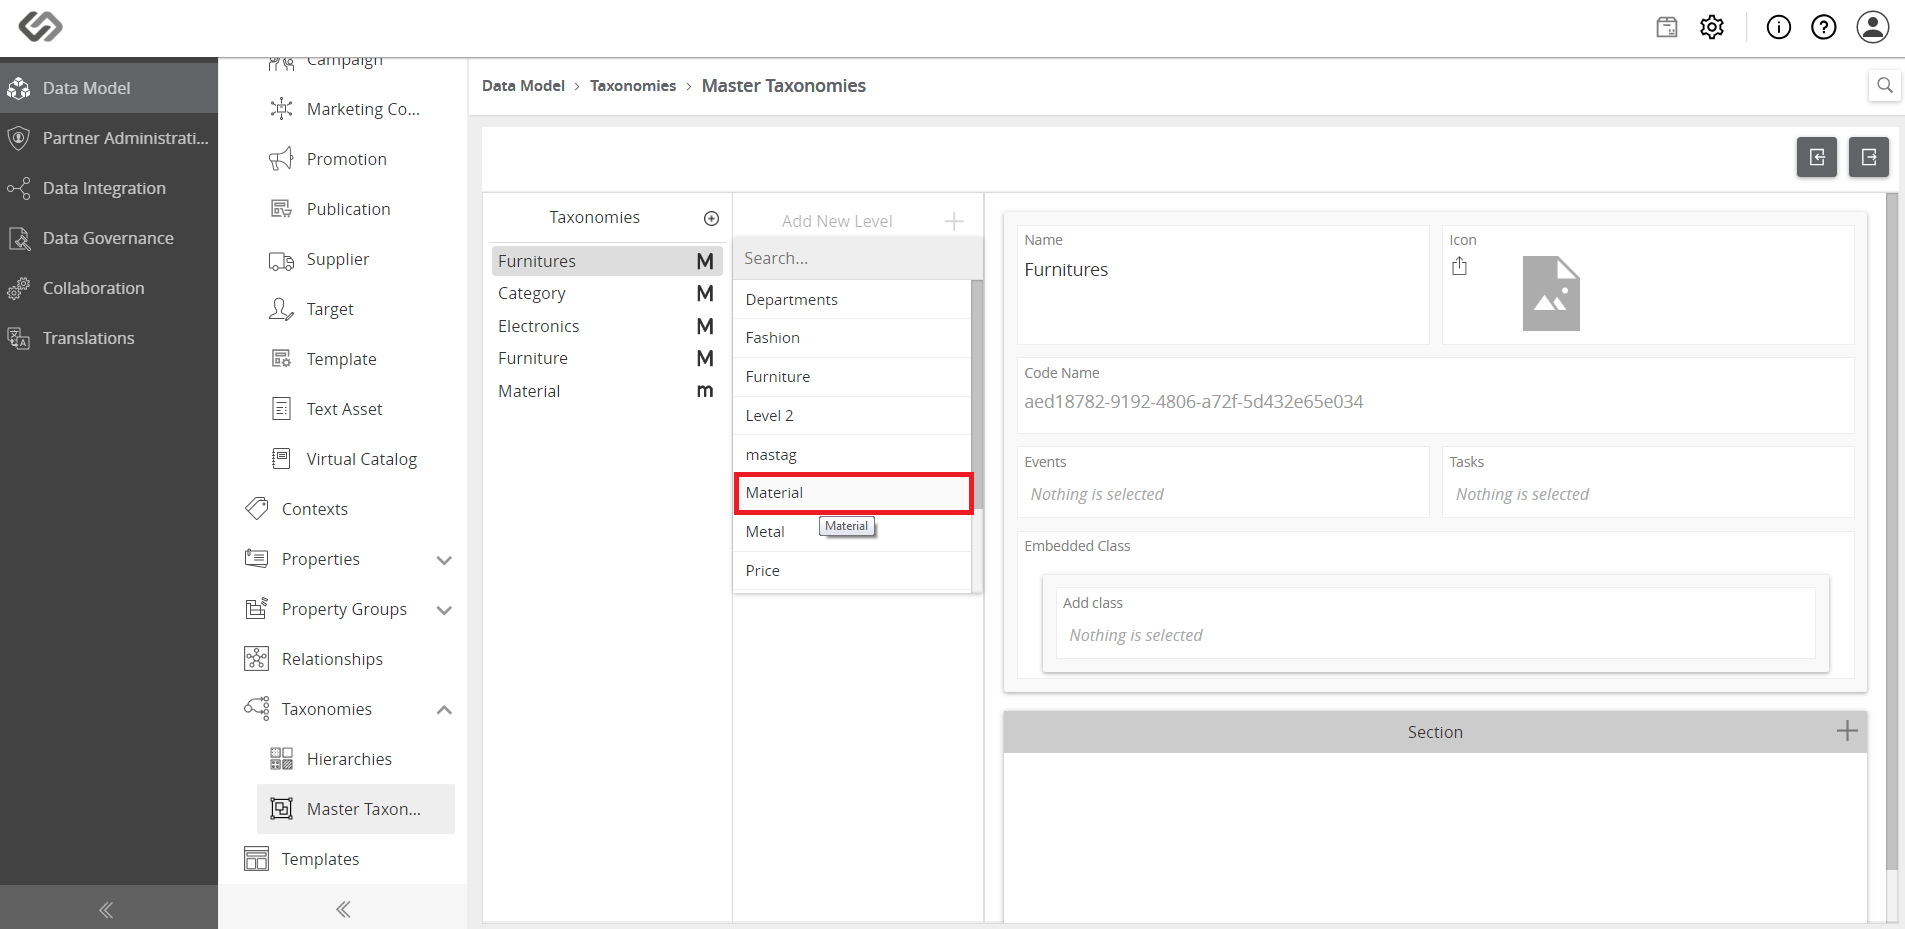
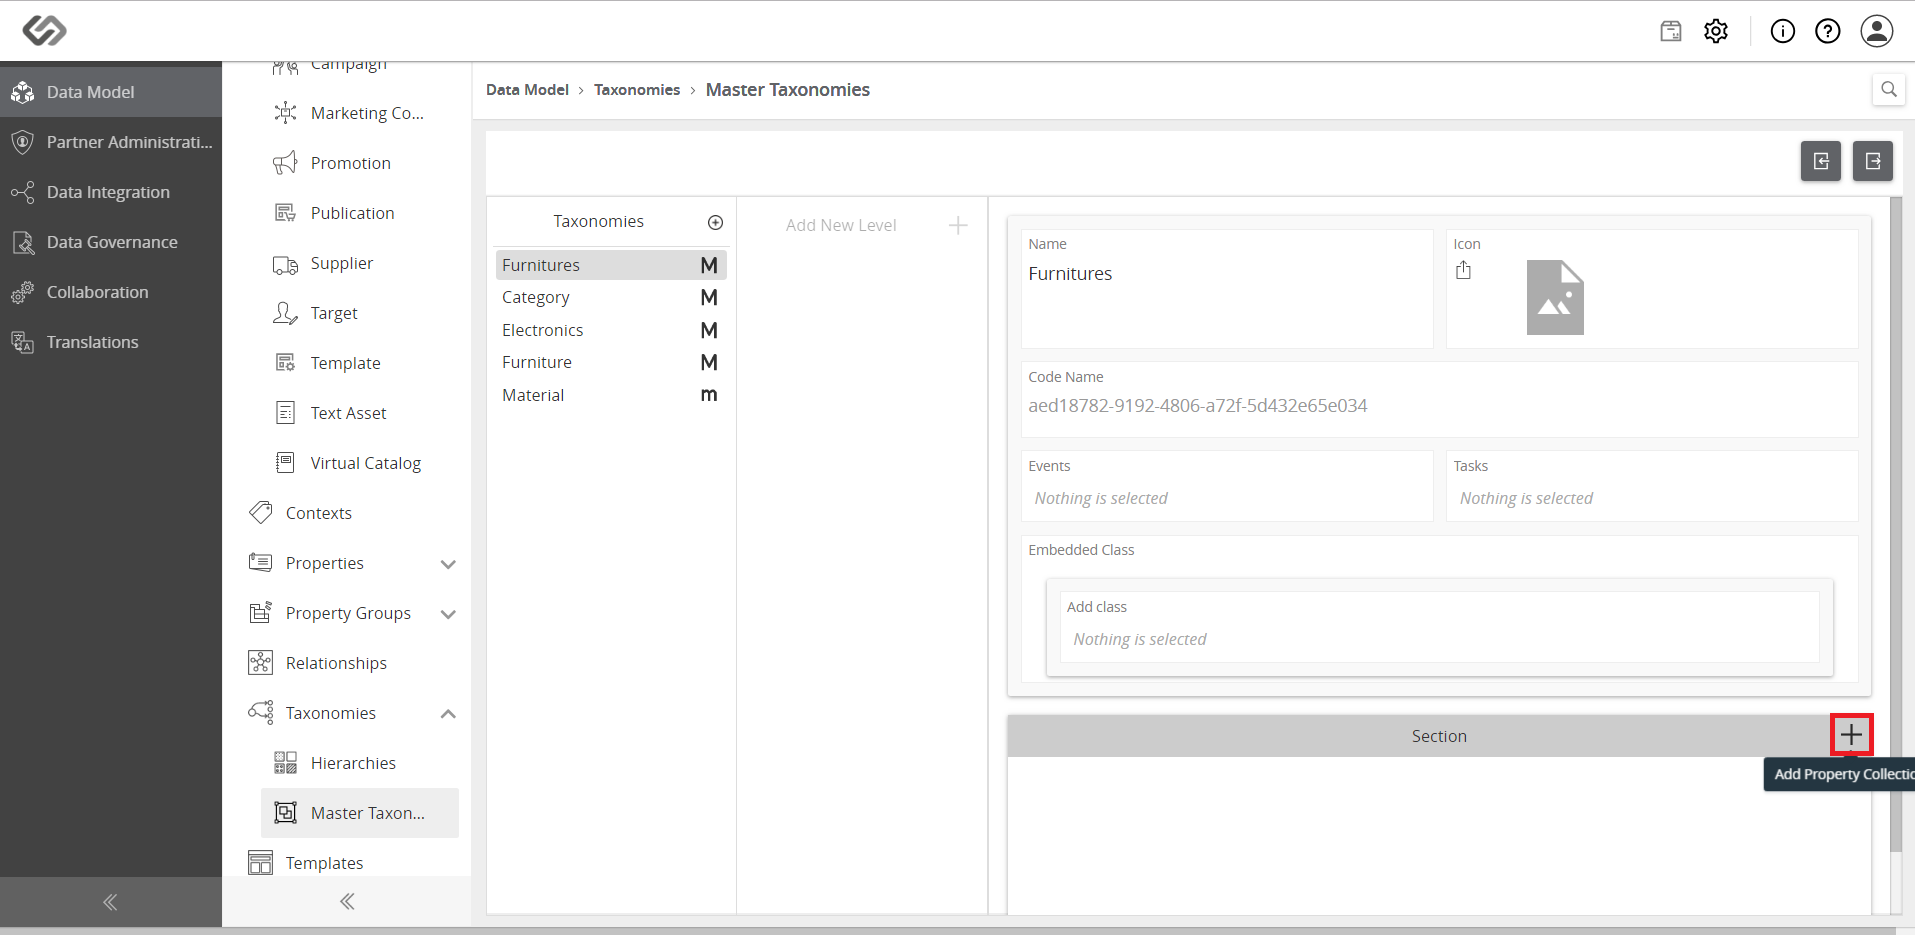
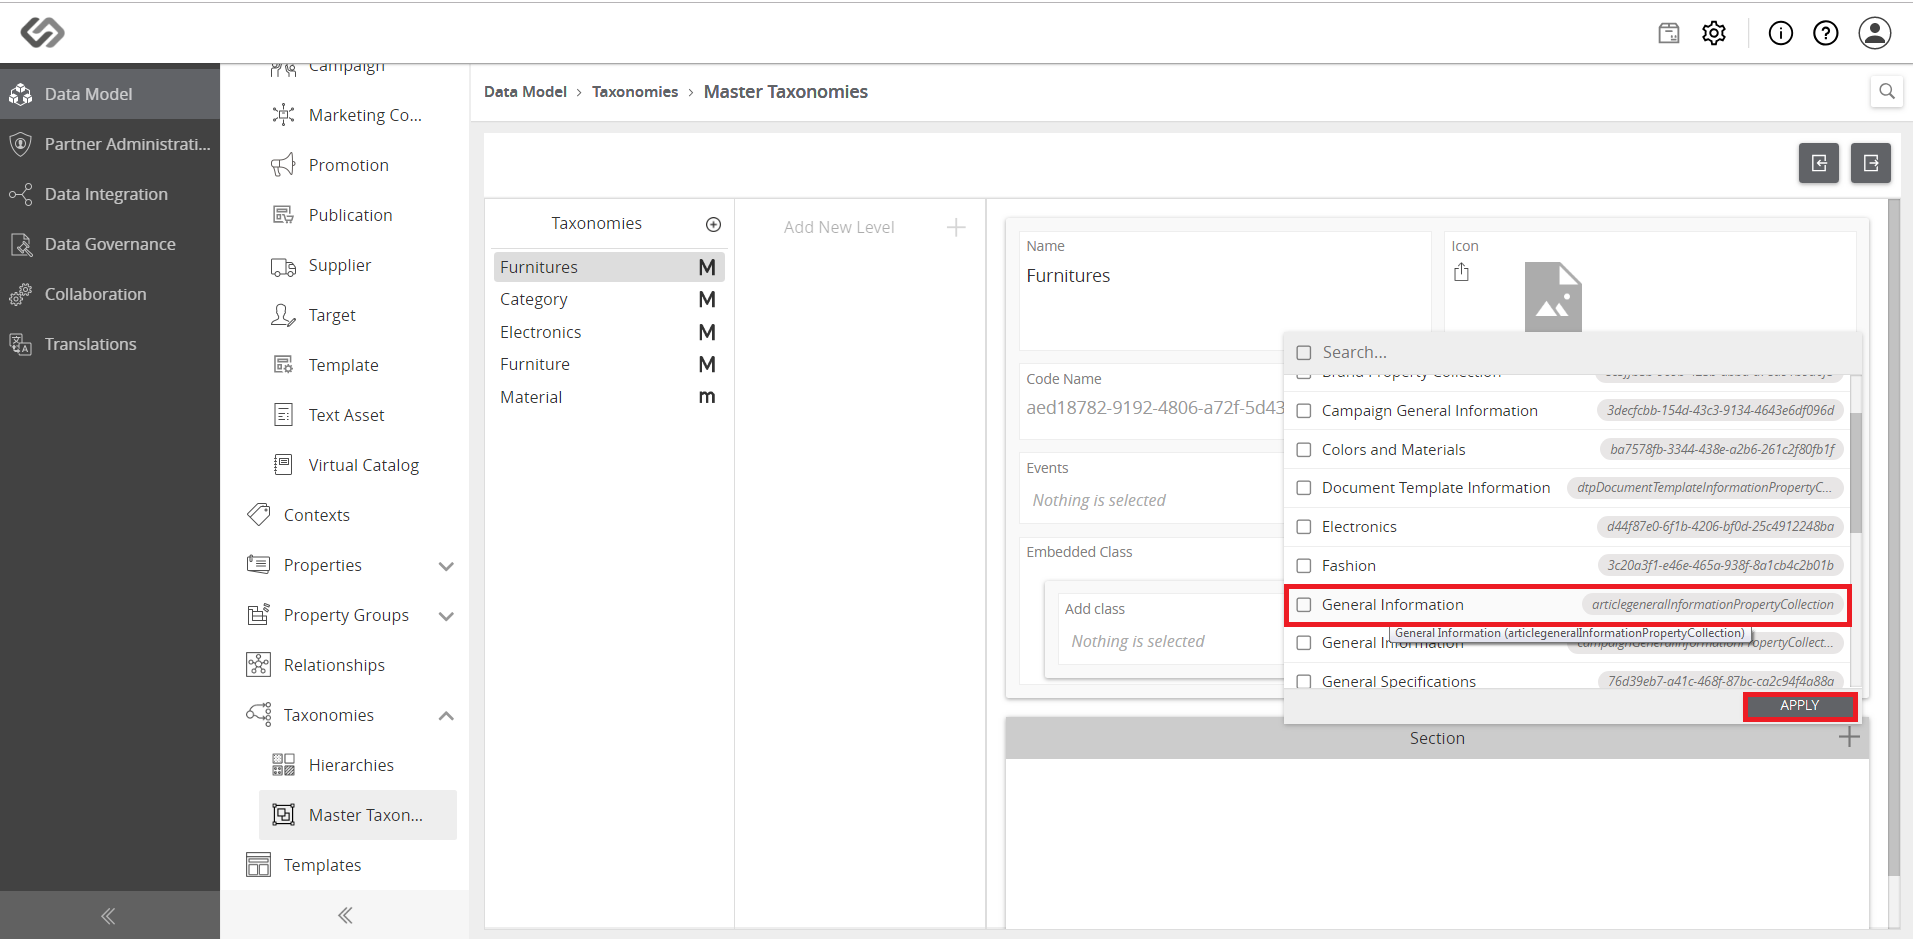
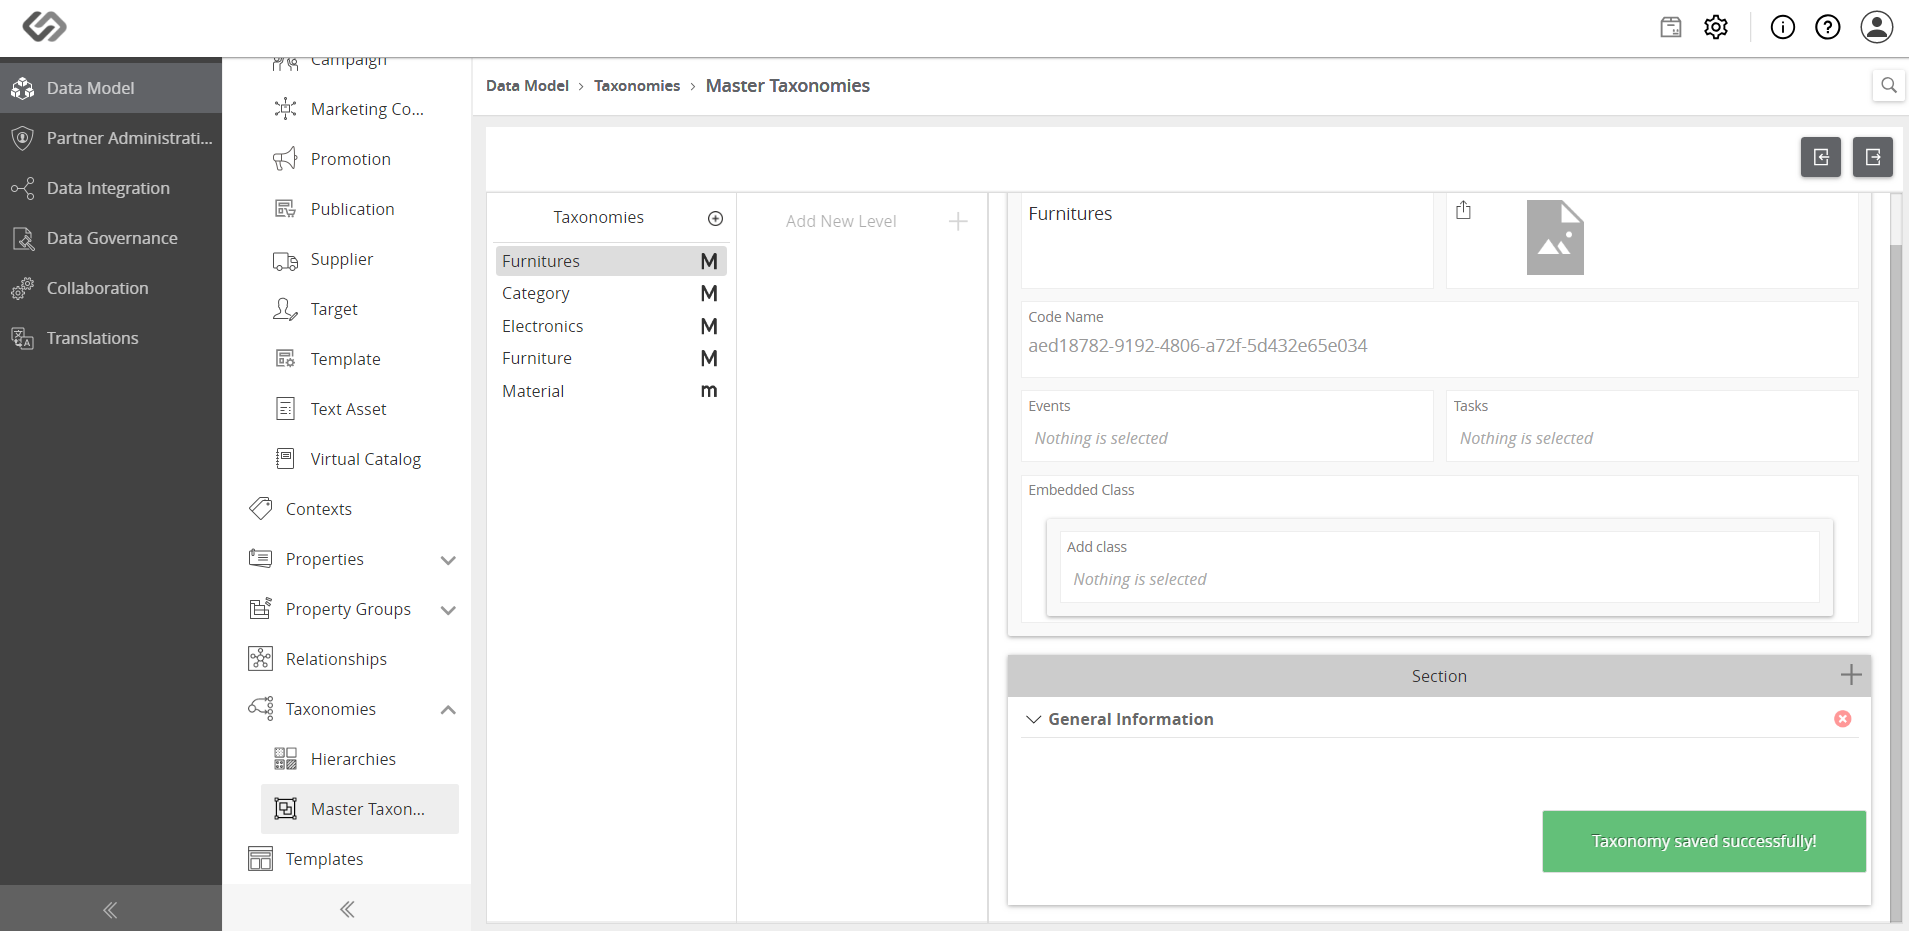
  • Click on the ‘+’ icon to add a Property Collection, select from the dropdown list, and click the Apply button.
../../../../../../_images/pxp_managetaxonomy_clickplusproperty.PNG


../../../../../../_images/pxp_managetaxonomy_clickplusproperty2.PNG


../../../../../../_images/pxp_managetaxonomy_clickplusproperty3.PNG


  • Go to Products, click on the Create button, and select a type of product.
../../../../../../_images/pxp_managetaxonomy_gotoproducts.PNG


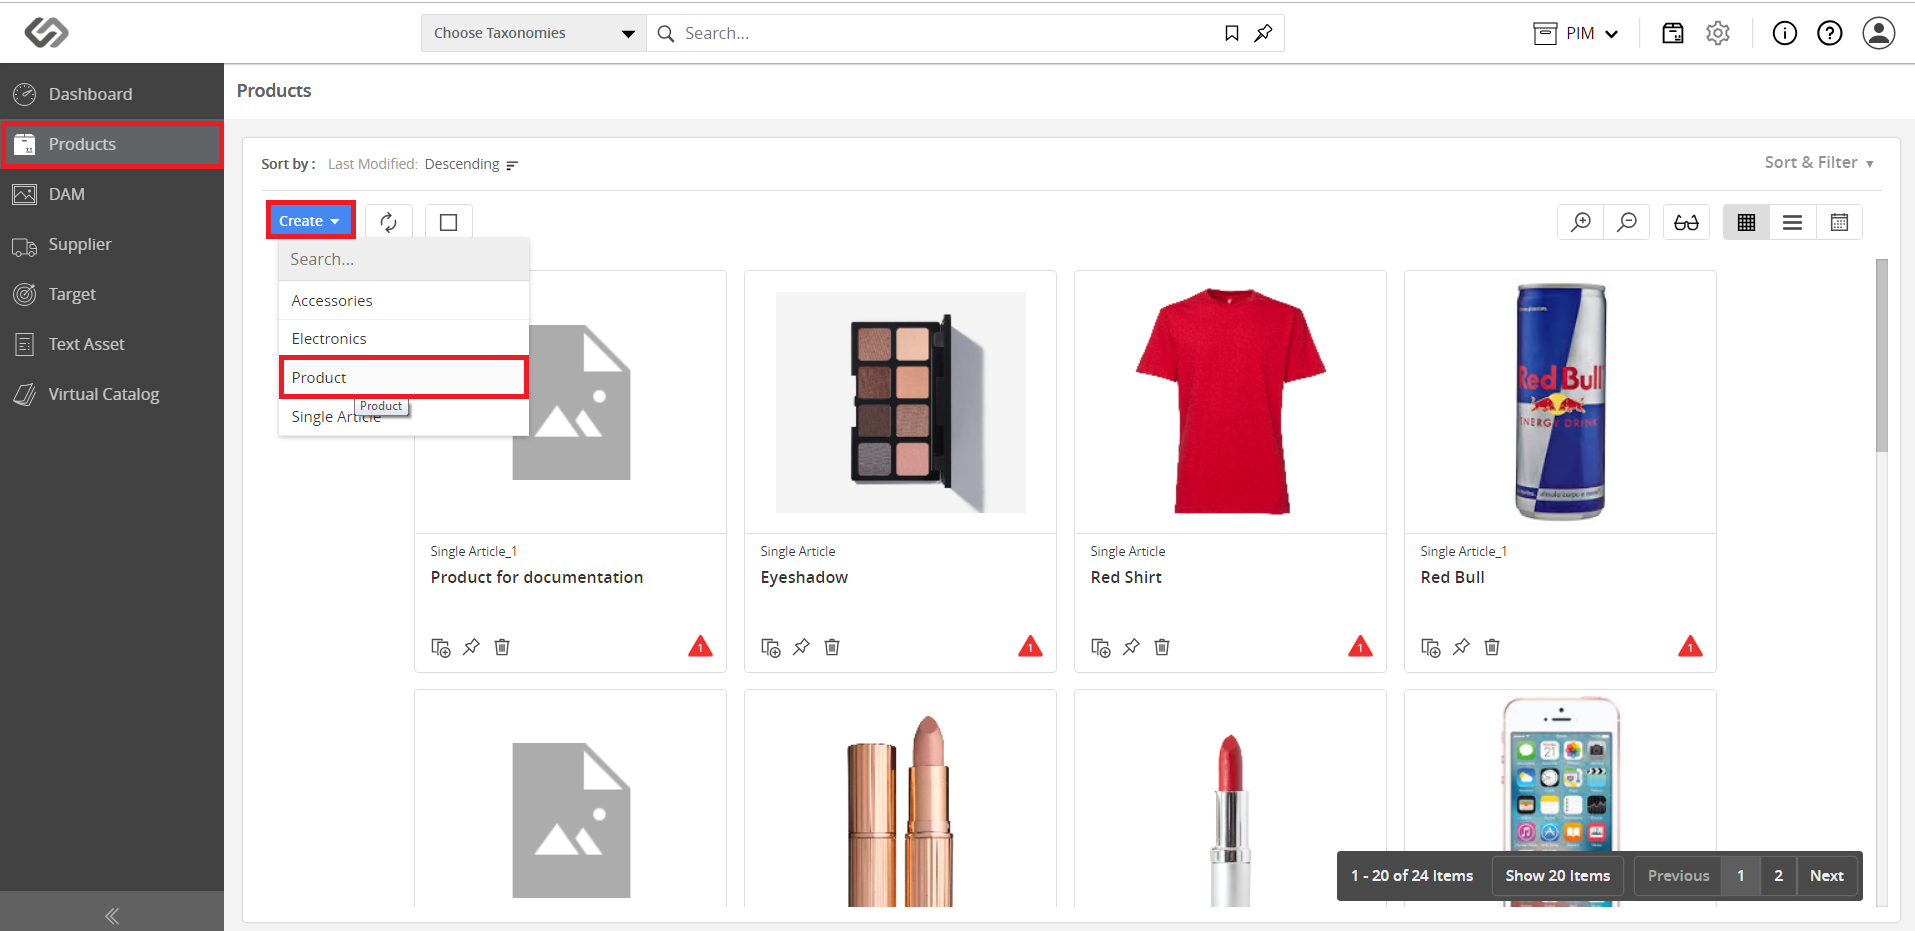
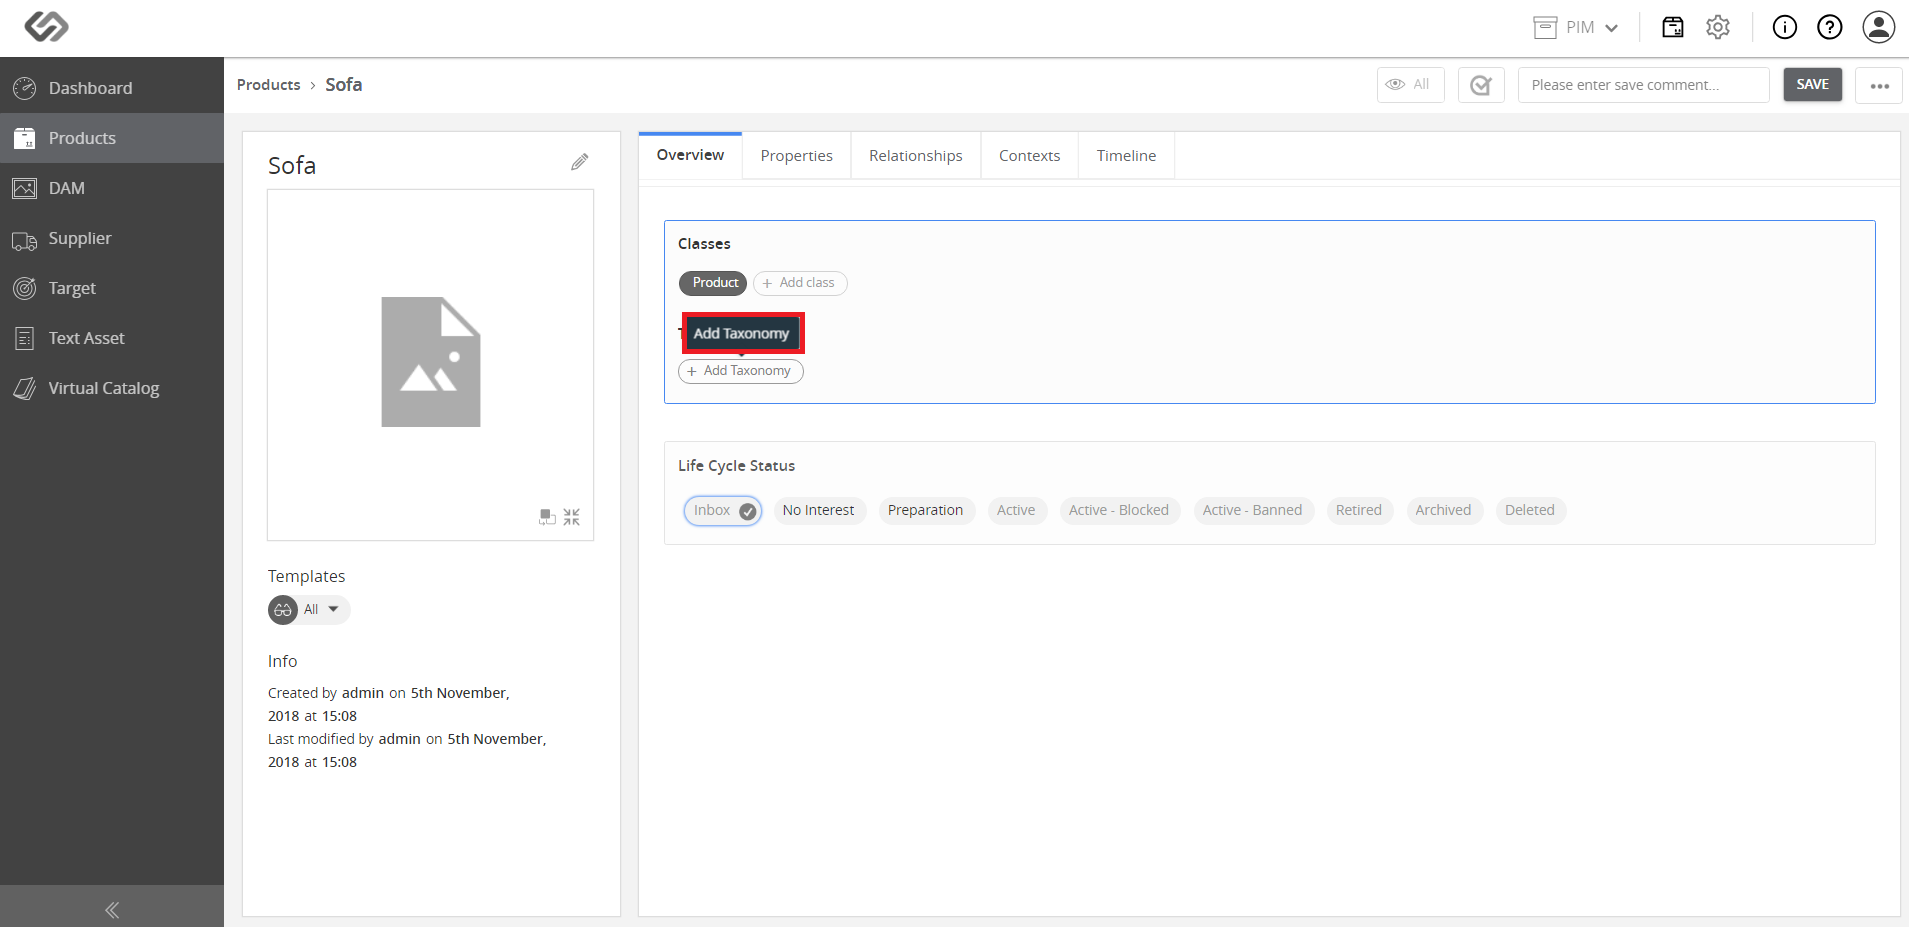
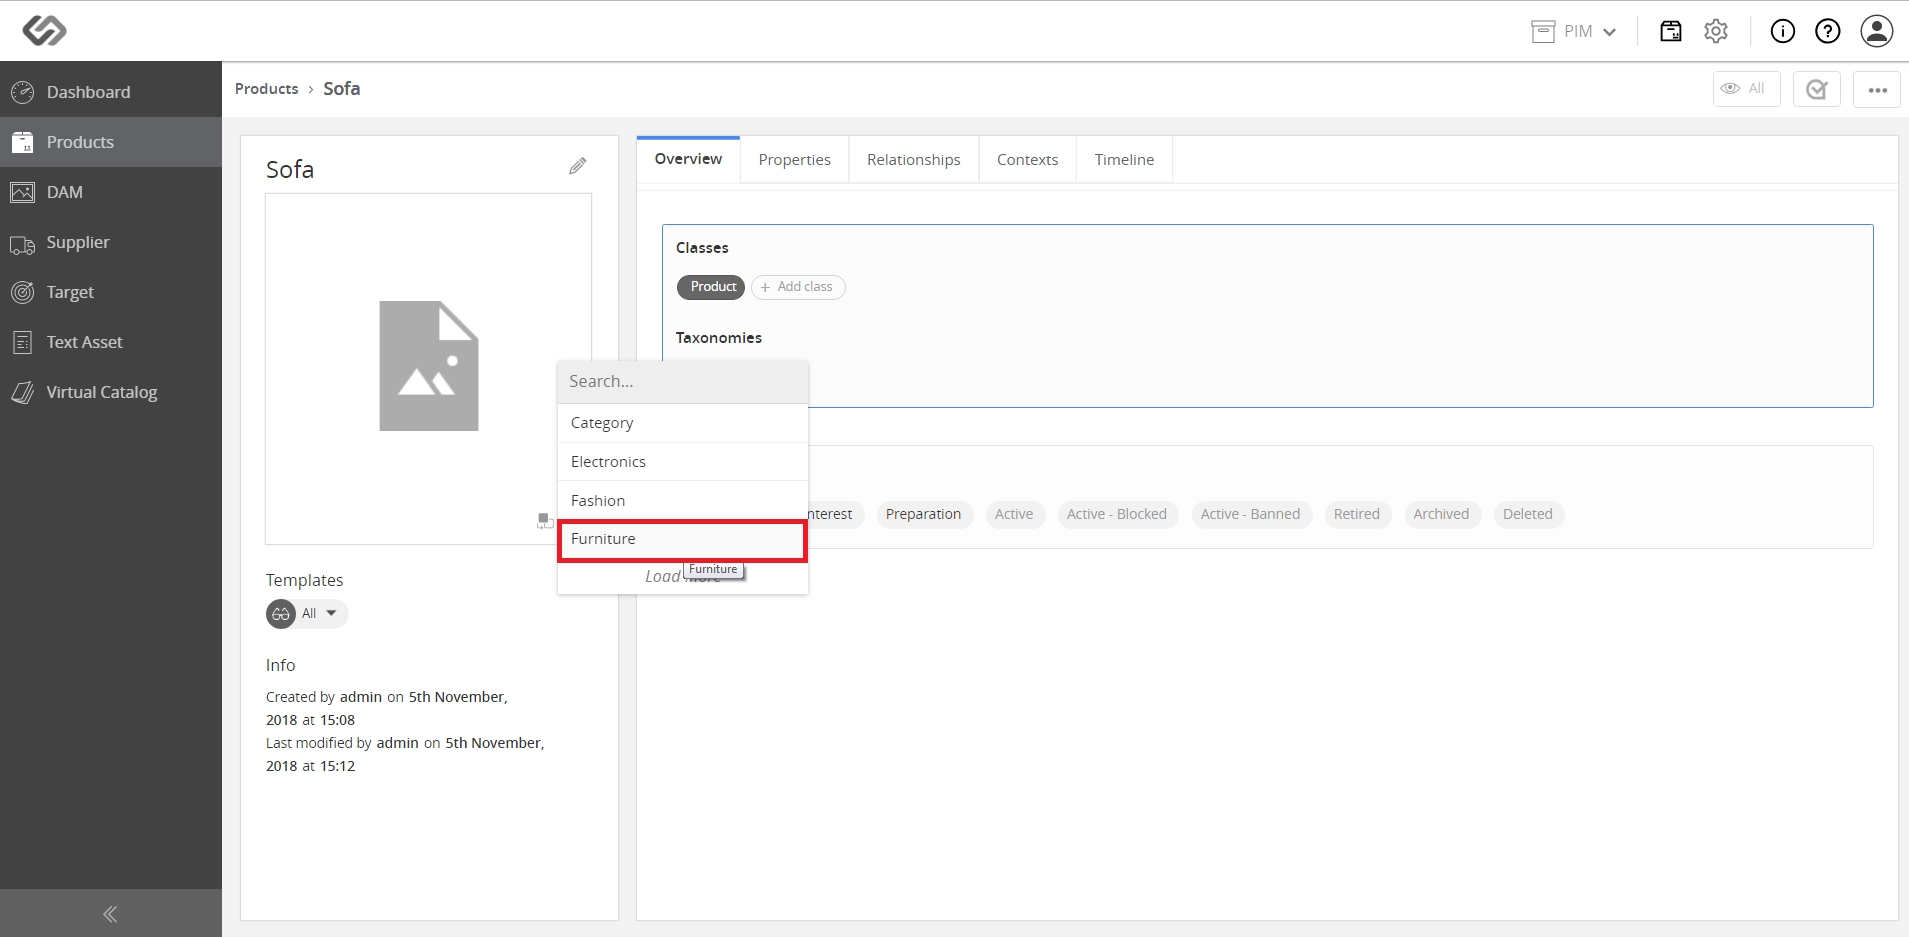
  • Enter data and click the Add Taxonomy button.
../../../../../../_images/pxp_managetaxonomy_enternece_addtax.PNG


../../../../../../_images/pxp_managetaxonomy_enternece_addtax2.PNG


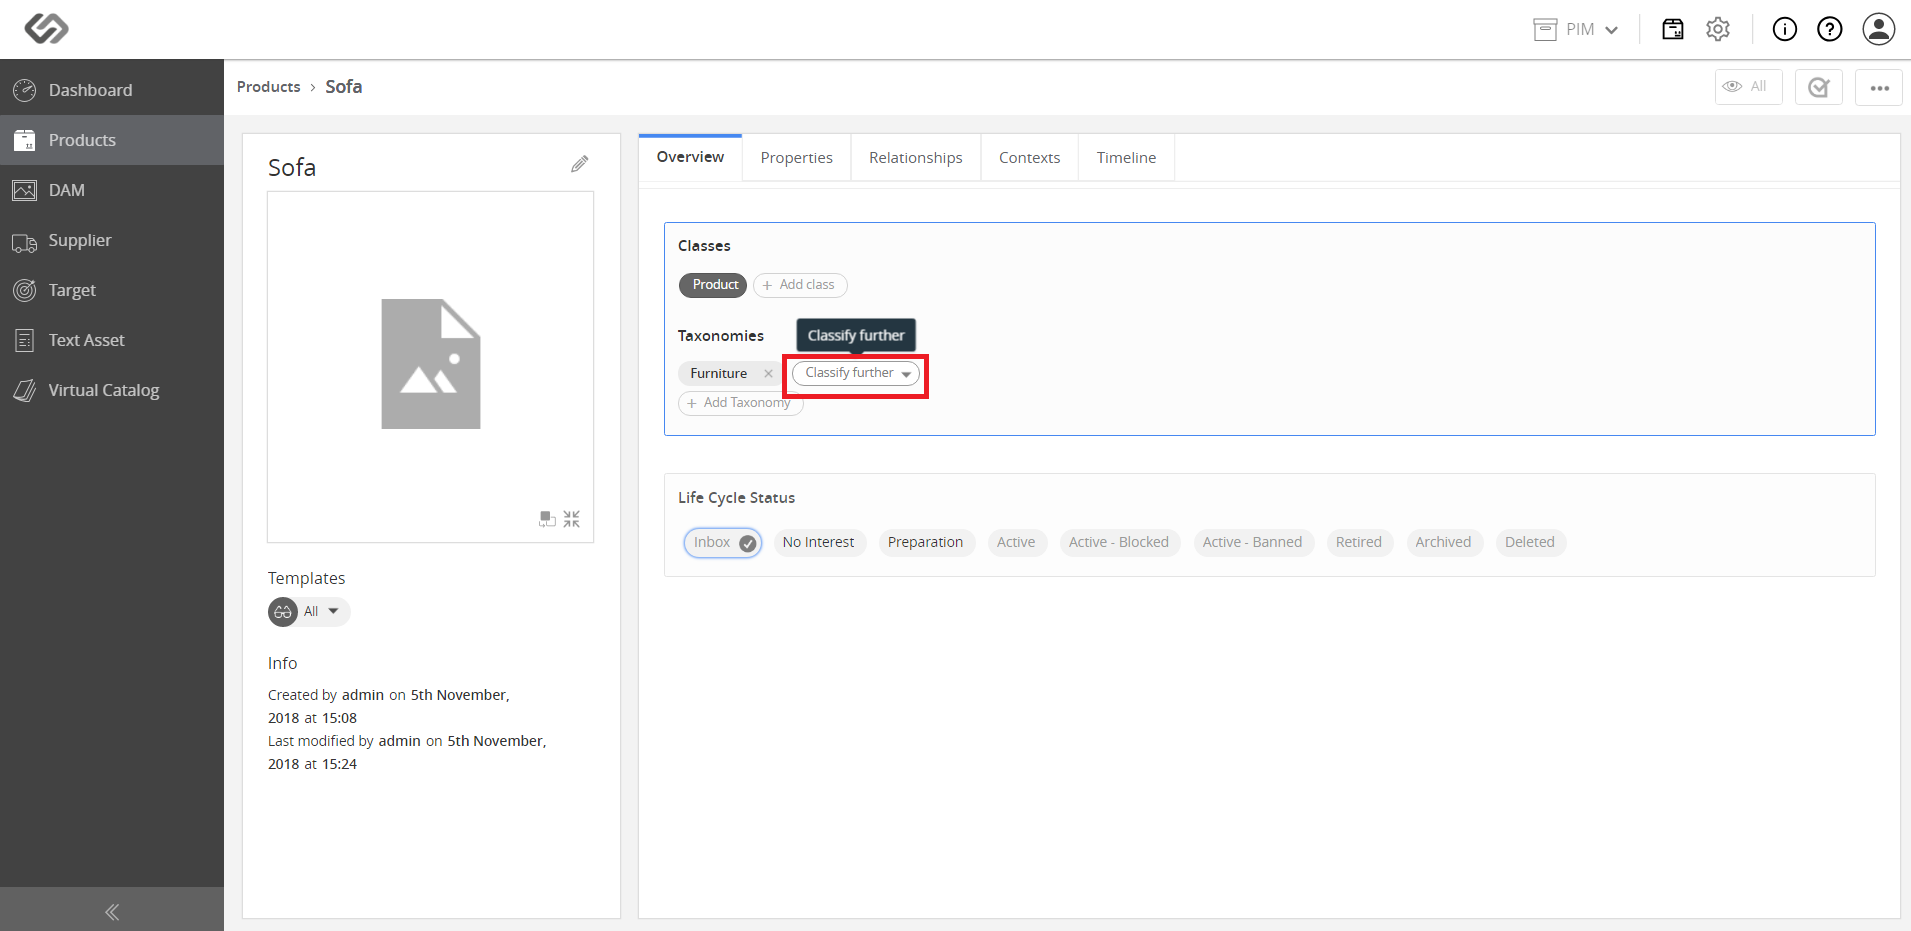
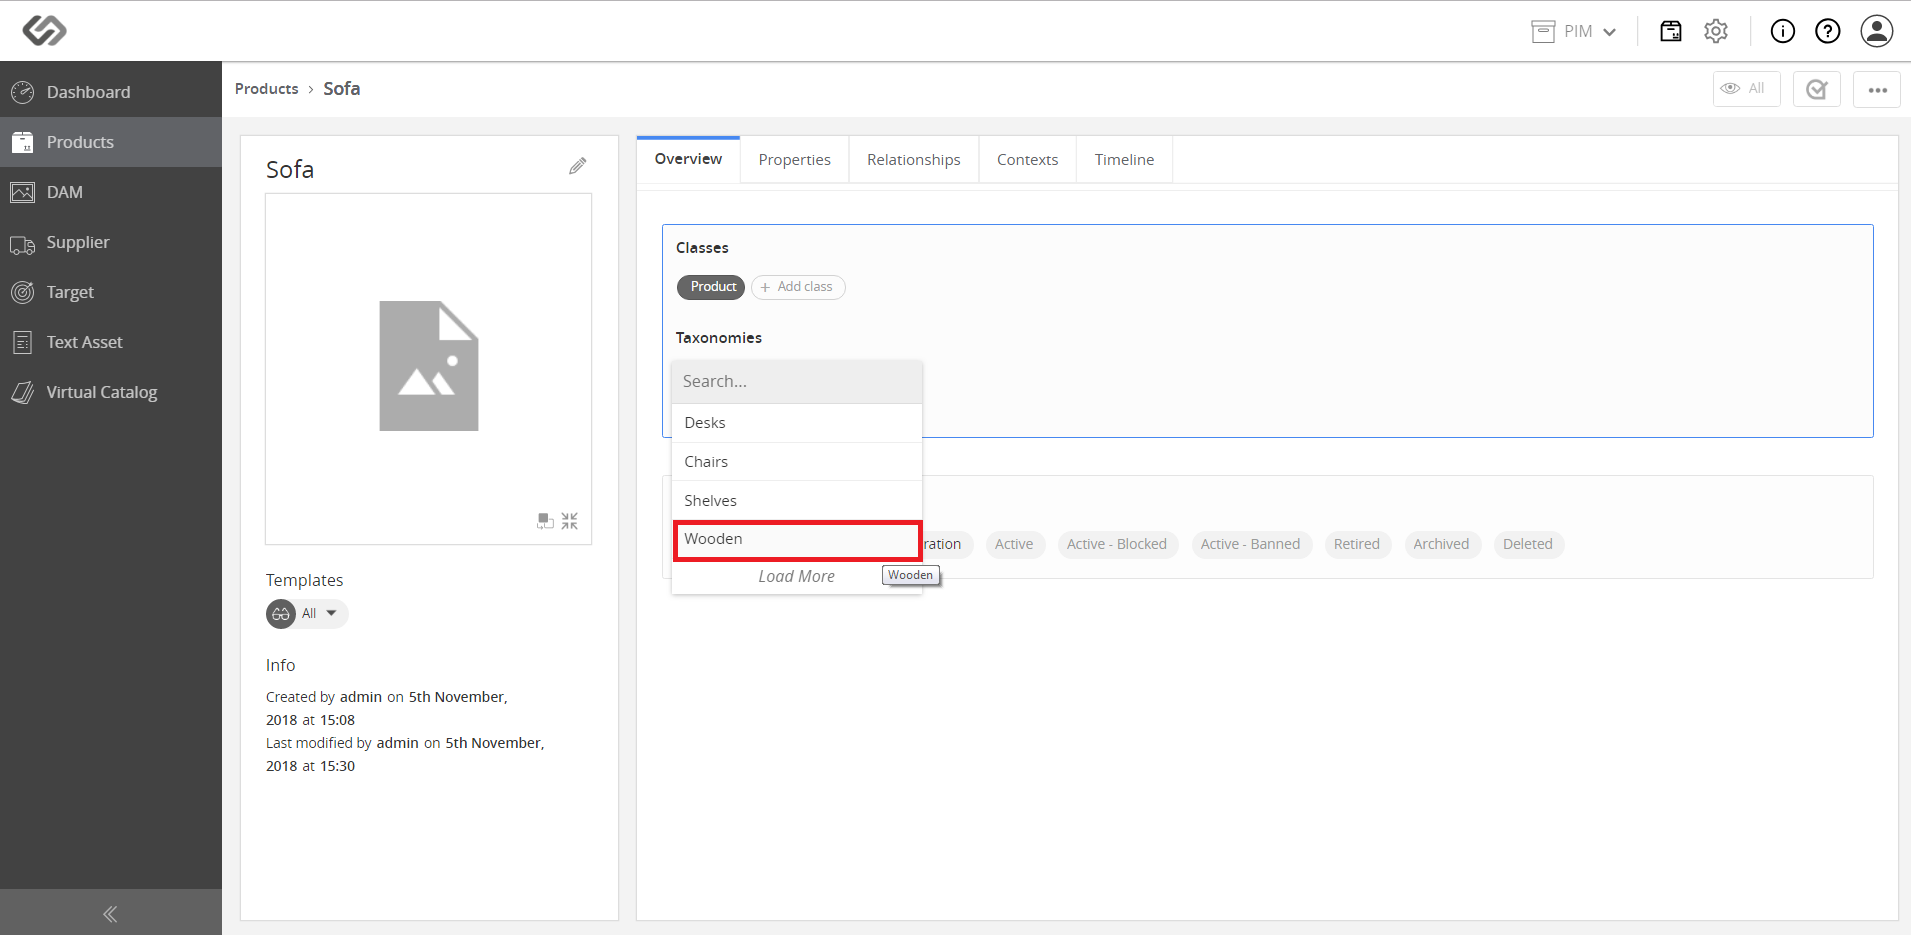
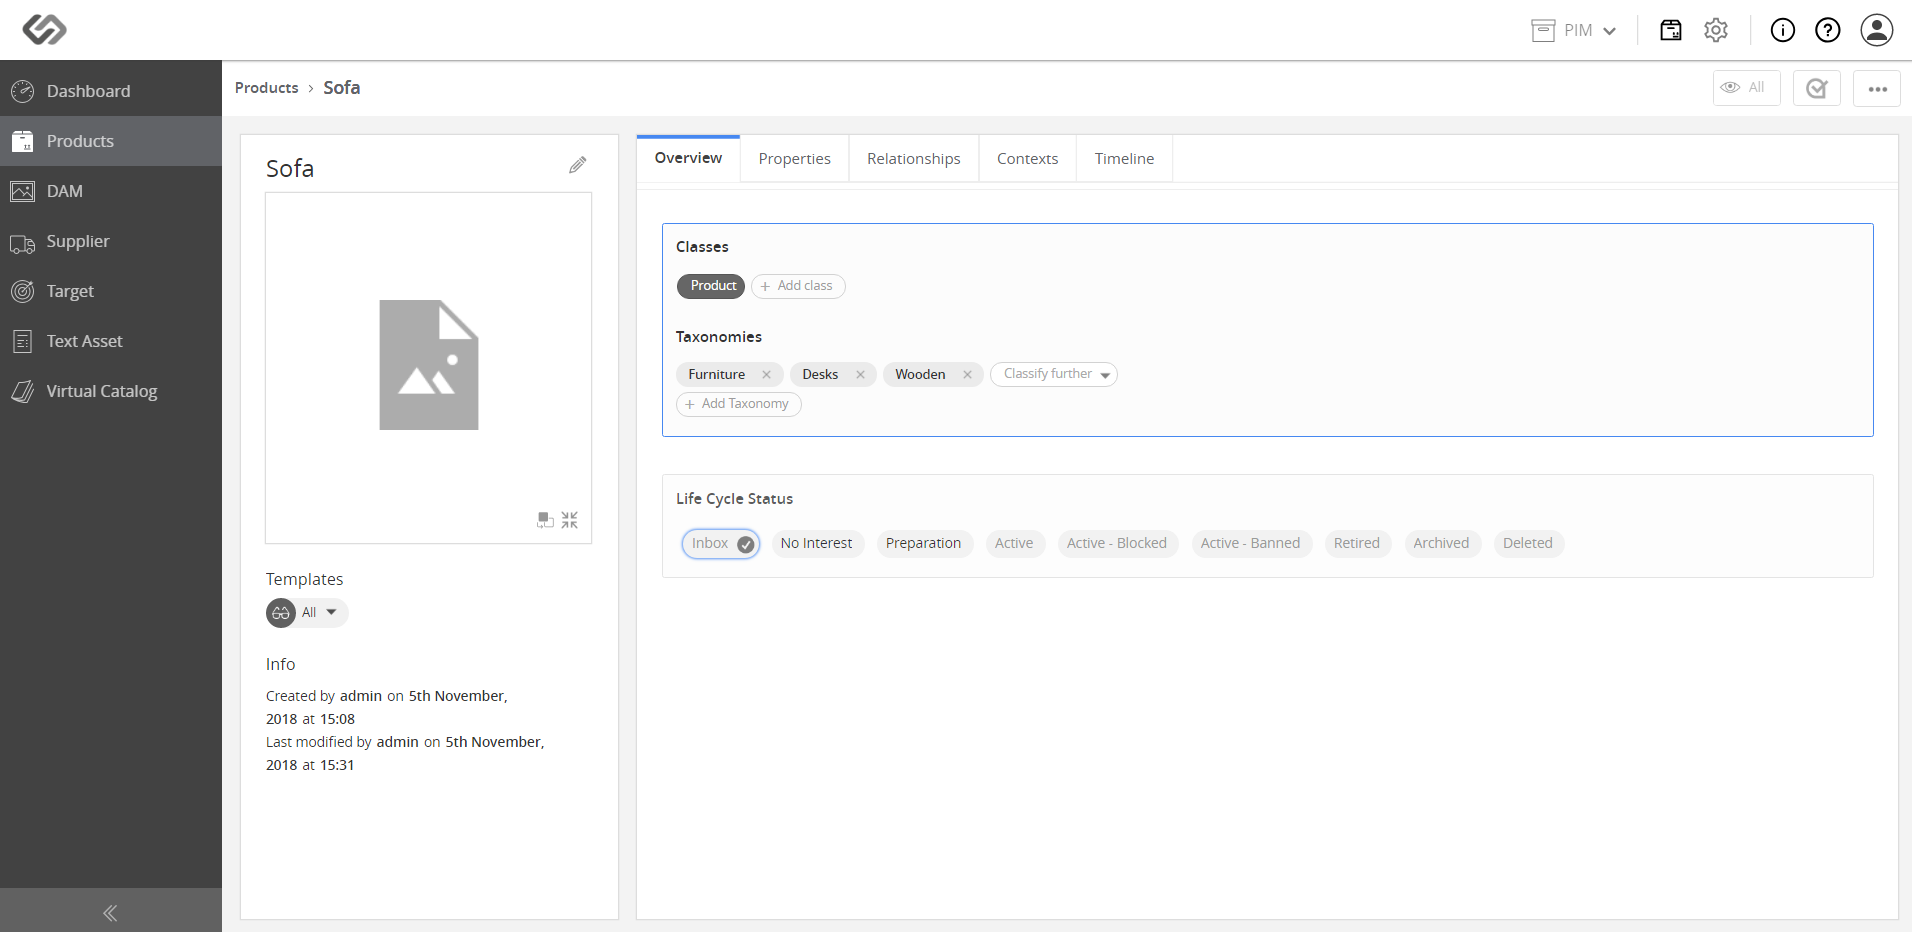
  • For additional classification, click Classify further button.
../../../../../../_images/pxp_managetaxonomy_additionalclass.PNG

../../../../../../_images/pxp_managetaxonomy_additionalclass2.PNG

../../../../../../_images/pxp_managetaxonomy_additionalclass3.PNG

Contentserv line