Add an Image to the DAM
Products with displayed images are more appealing for the users to the system, which can be stored in DAM (Data Asset Management).
How-to: Add an Image
To do this, follow these steps:
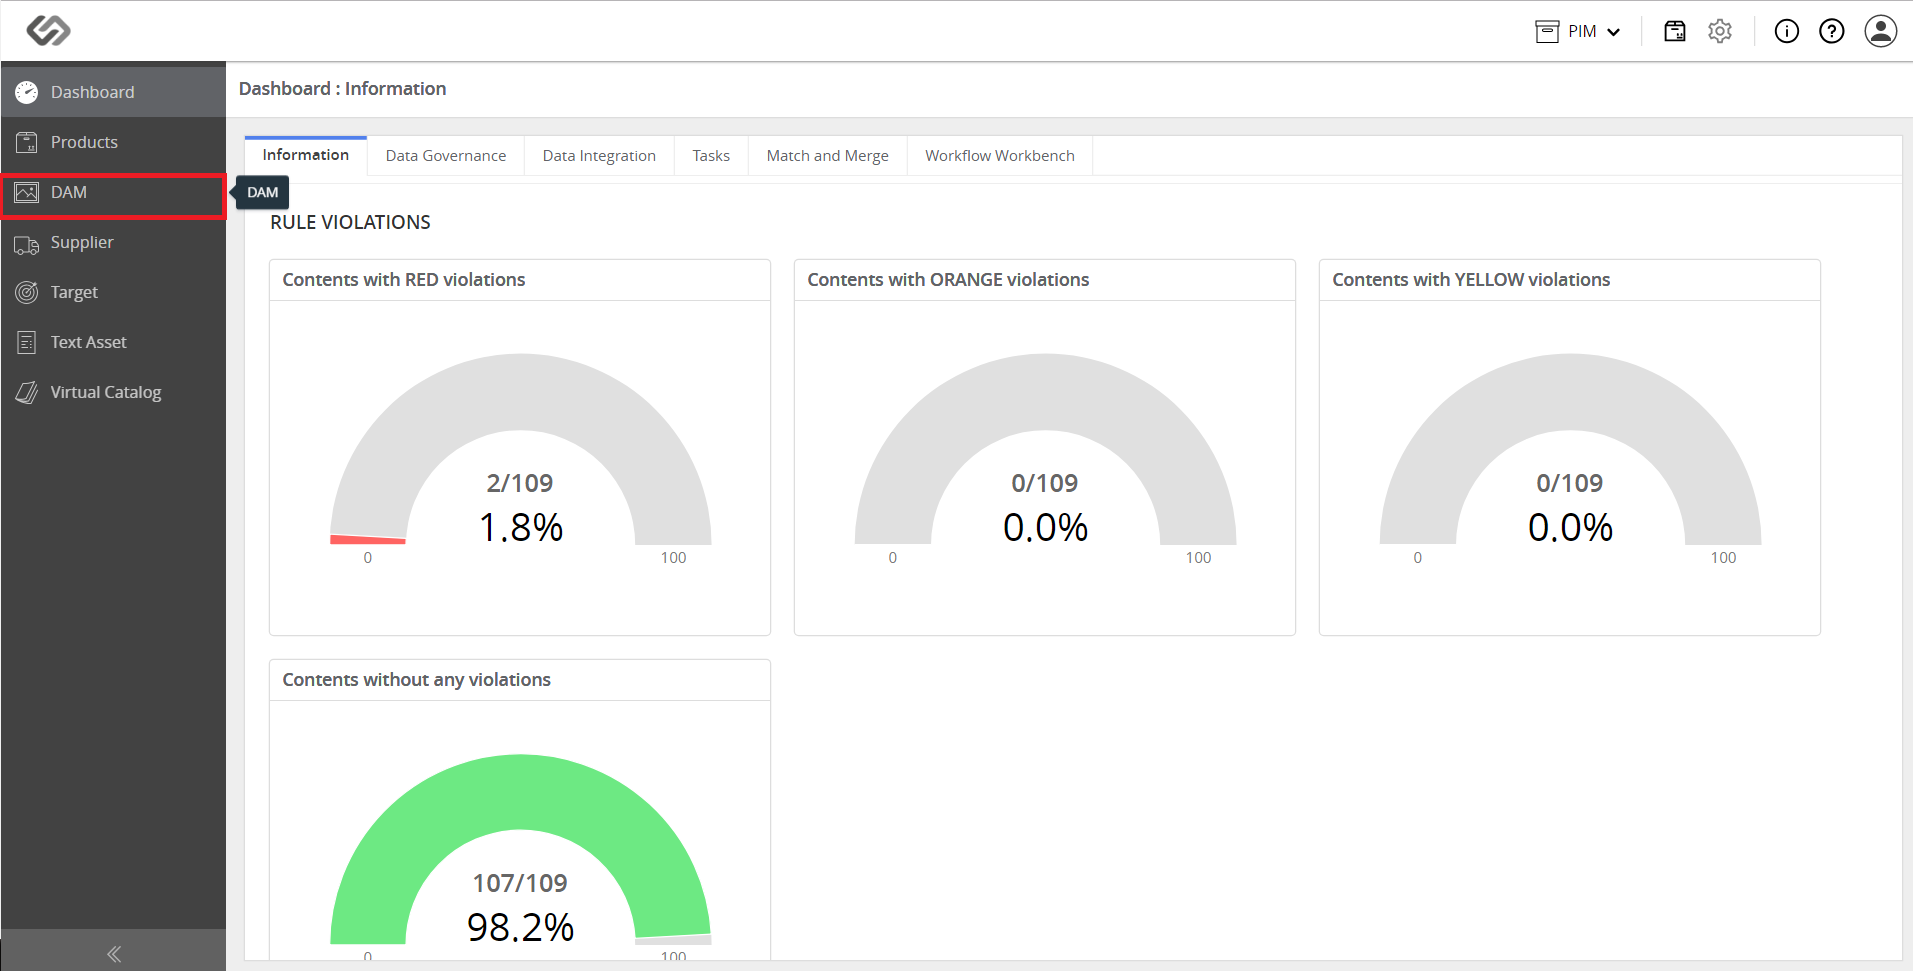
- Log in and click on DAM.
- Click on the Create button.
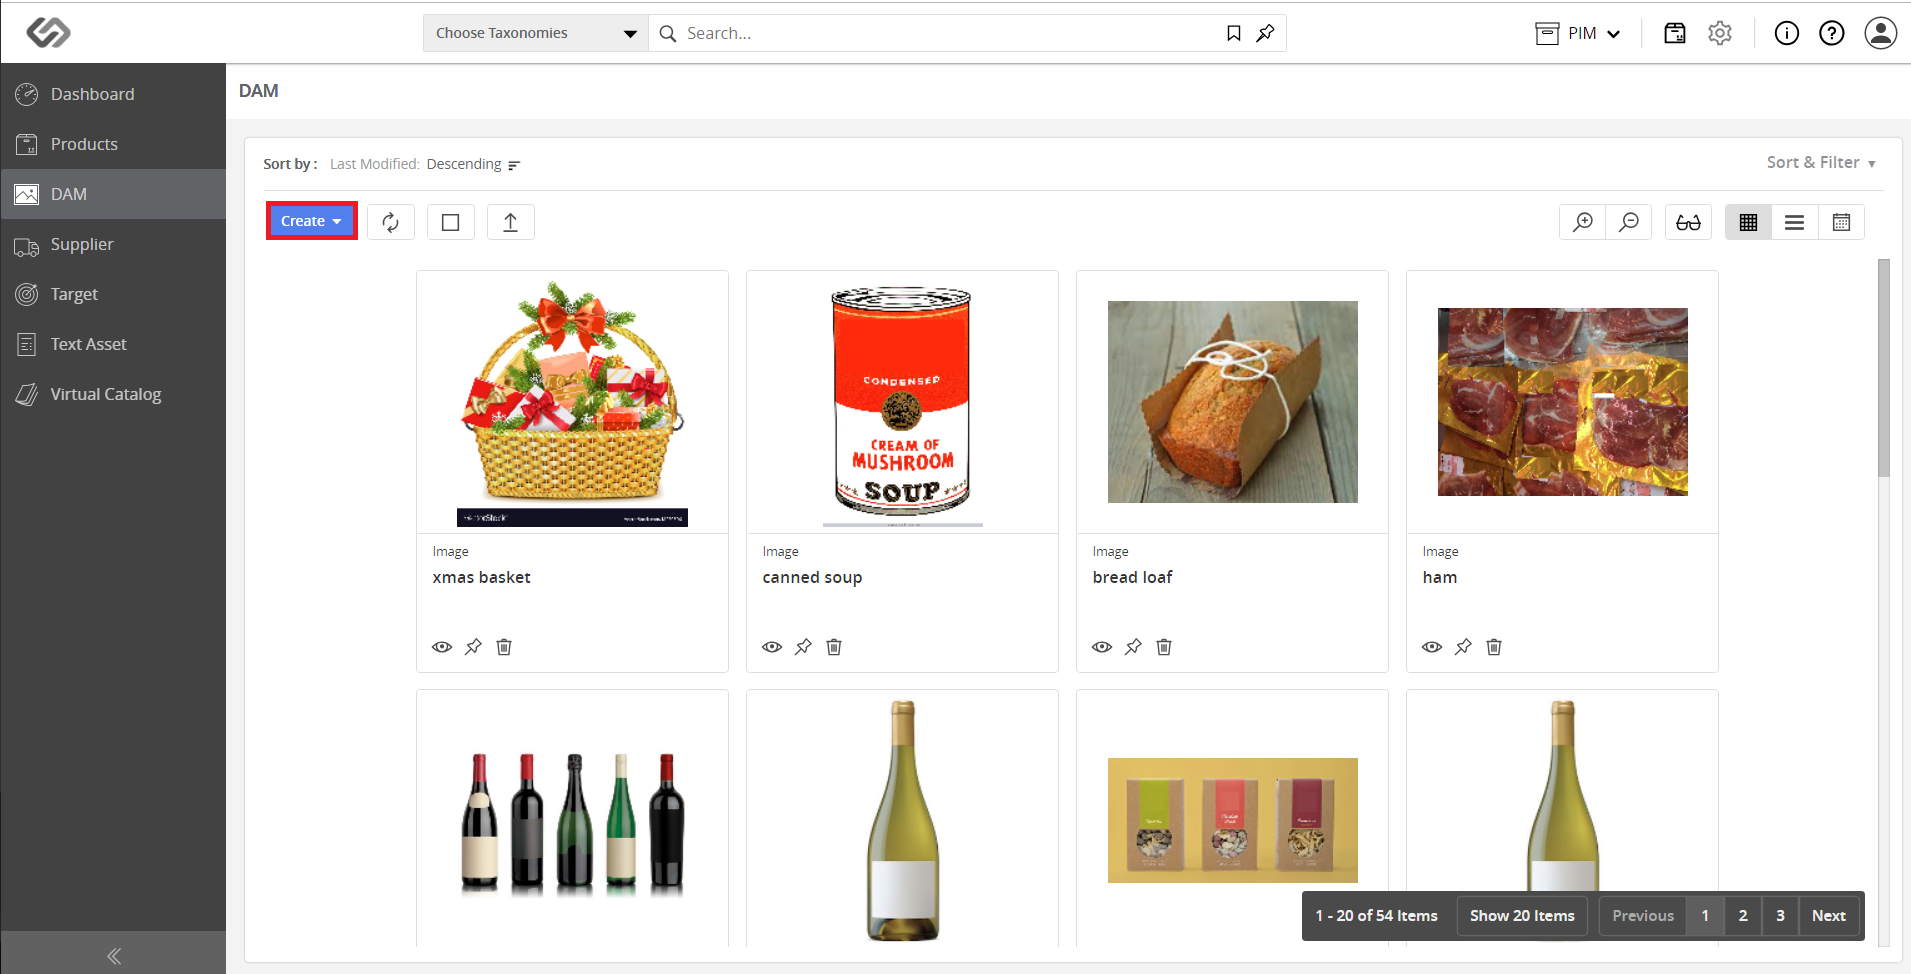
- Click on Image.

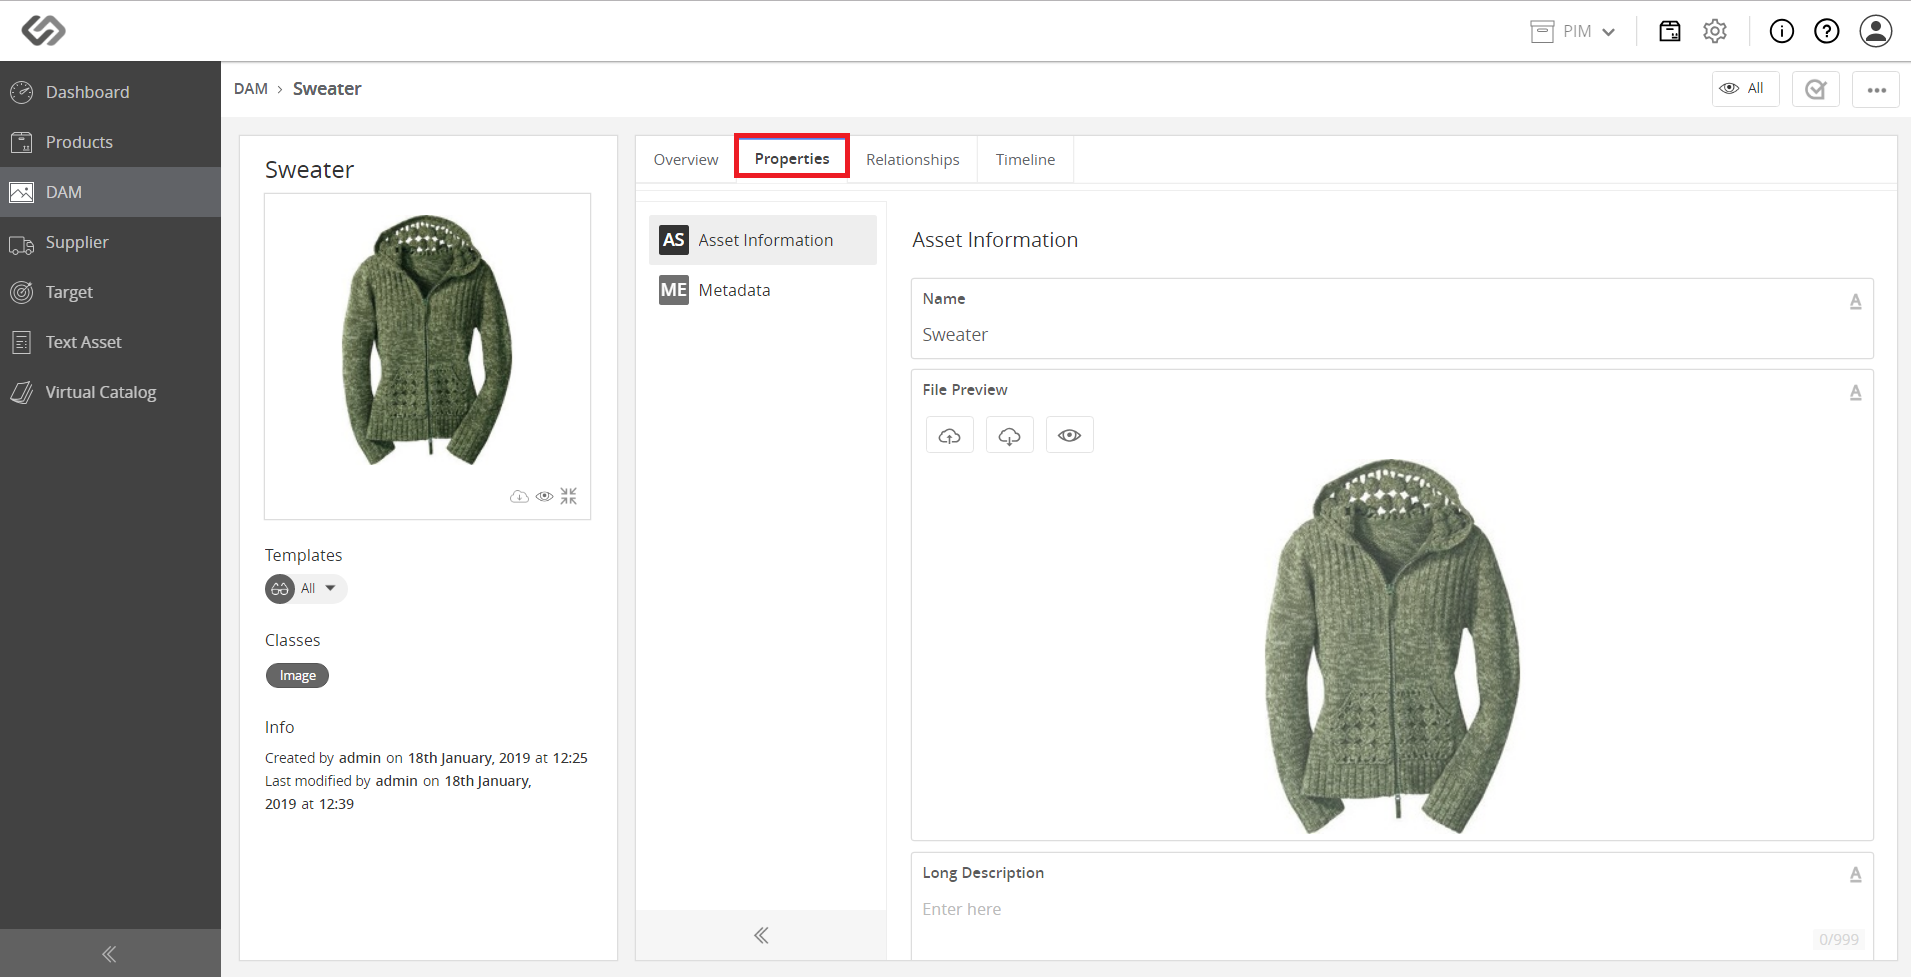
- Click on the Add Image icon on the File Preview section, and select your desired image from your computer.
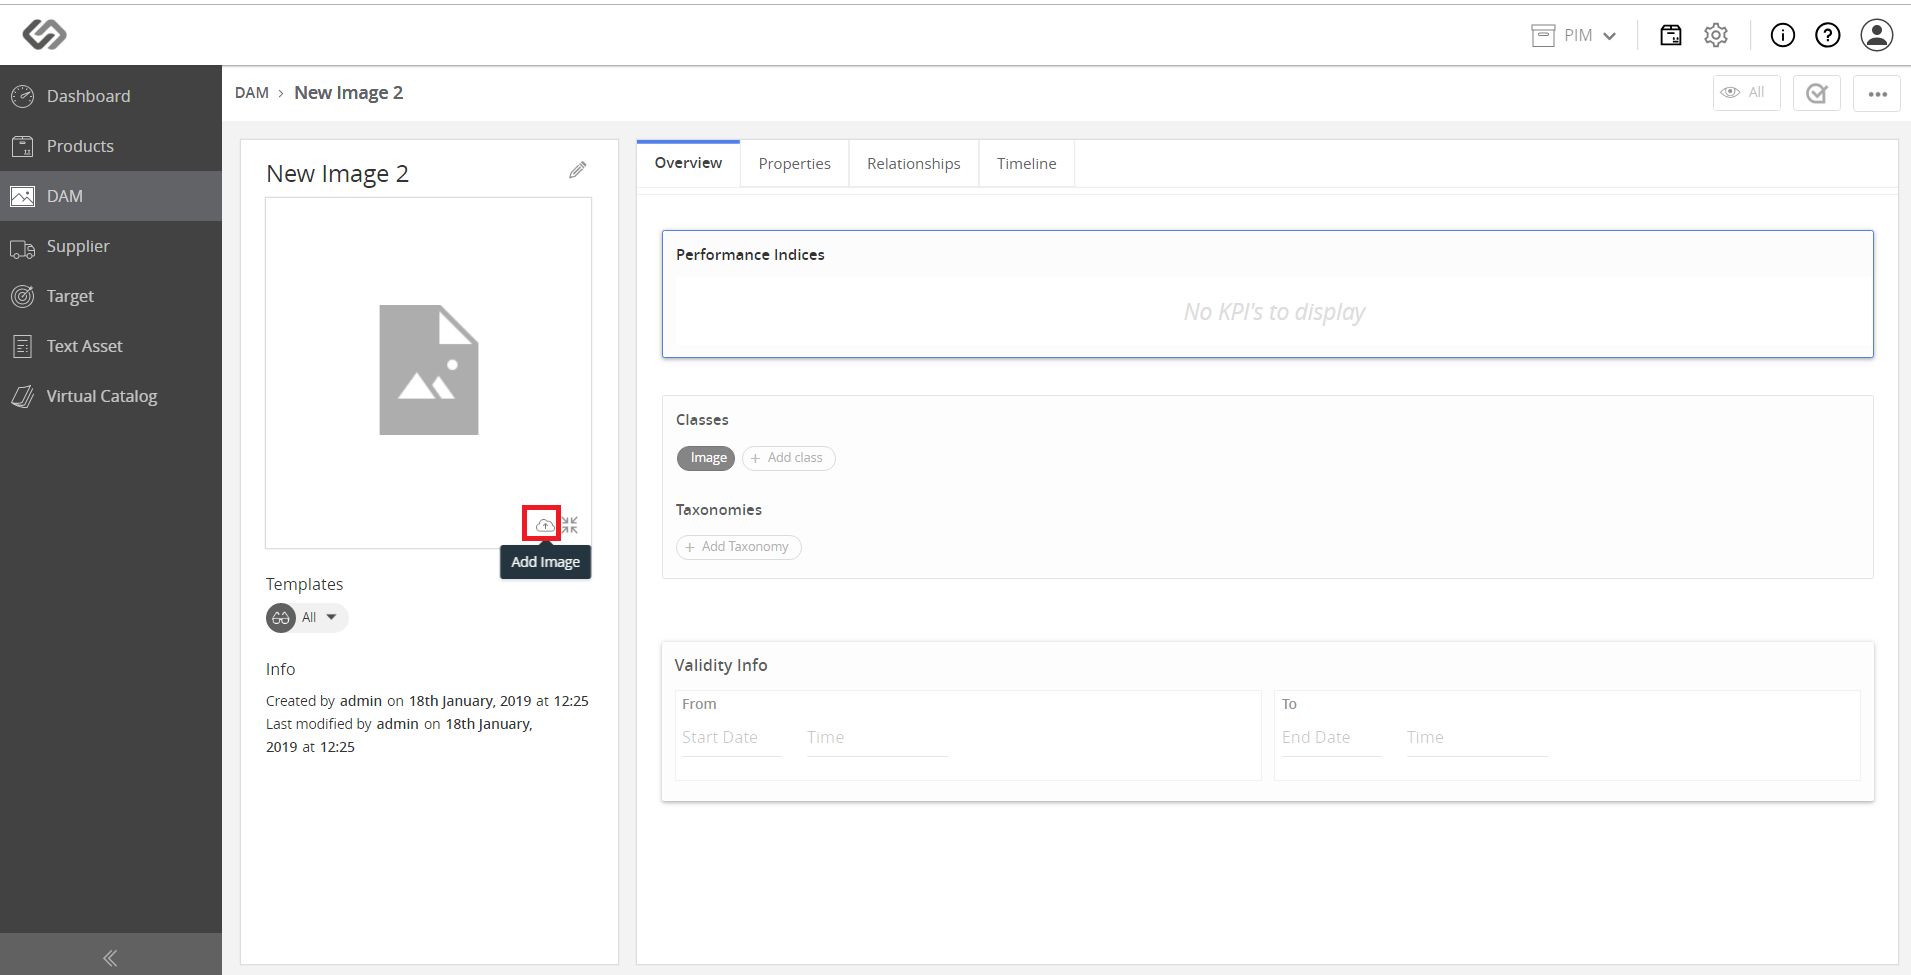
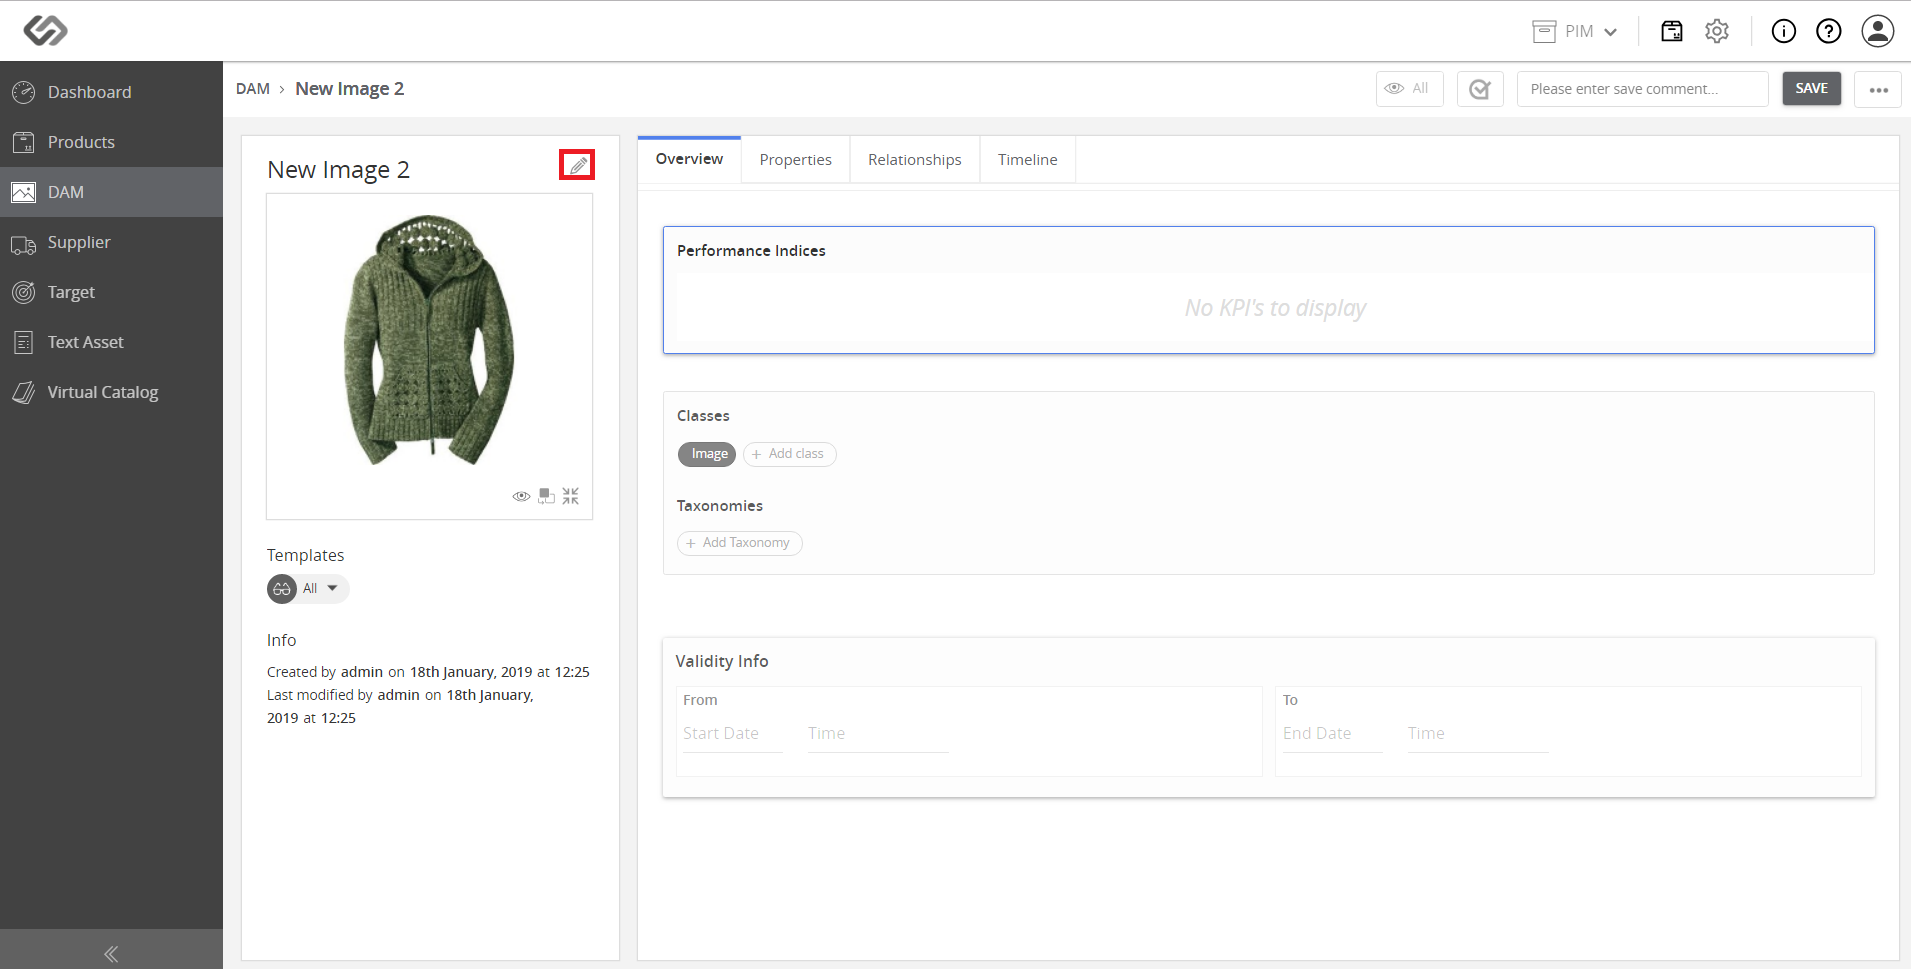
- The image appears on the File Preview section, and click on the Edit icon to enter a name for the image.
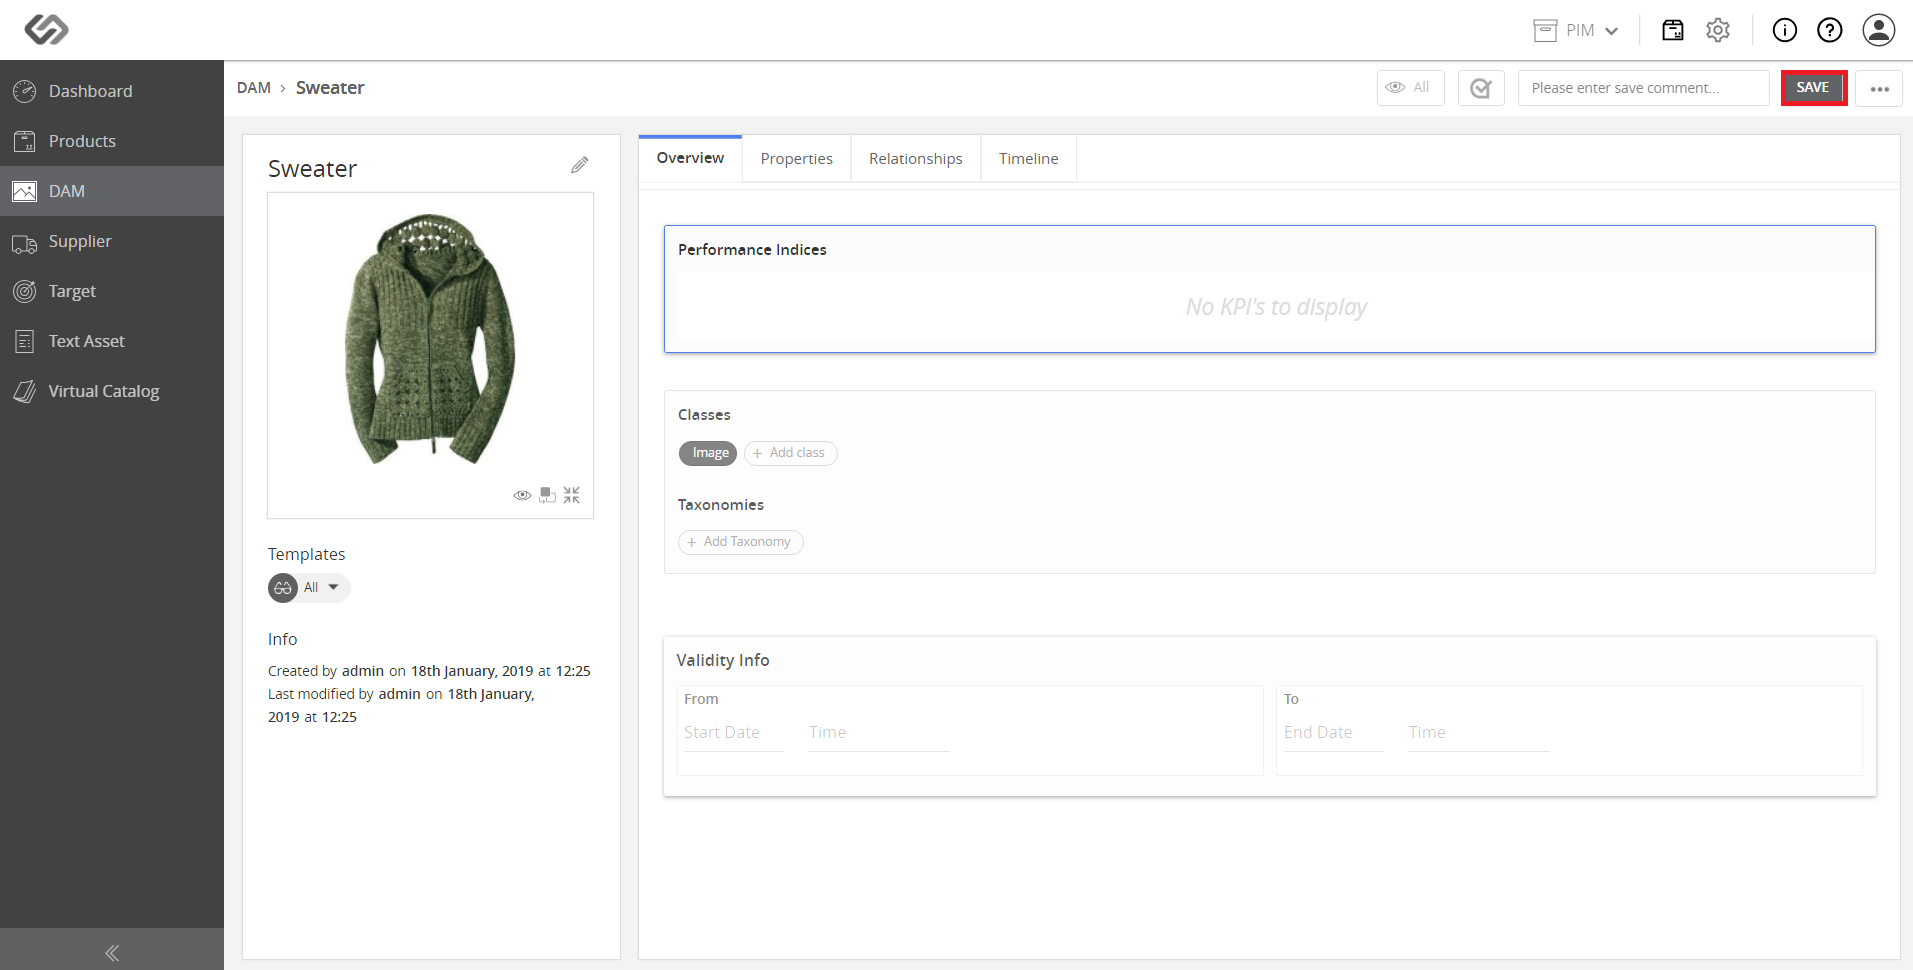
- Click on the Save button.
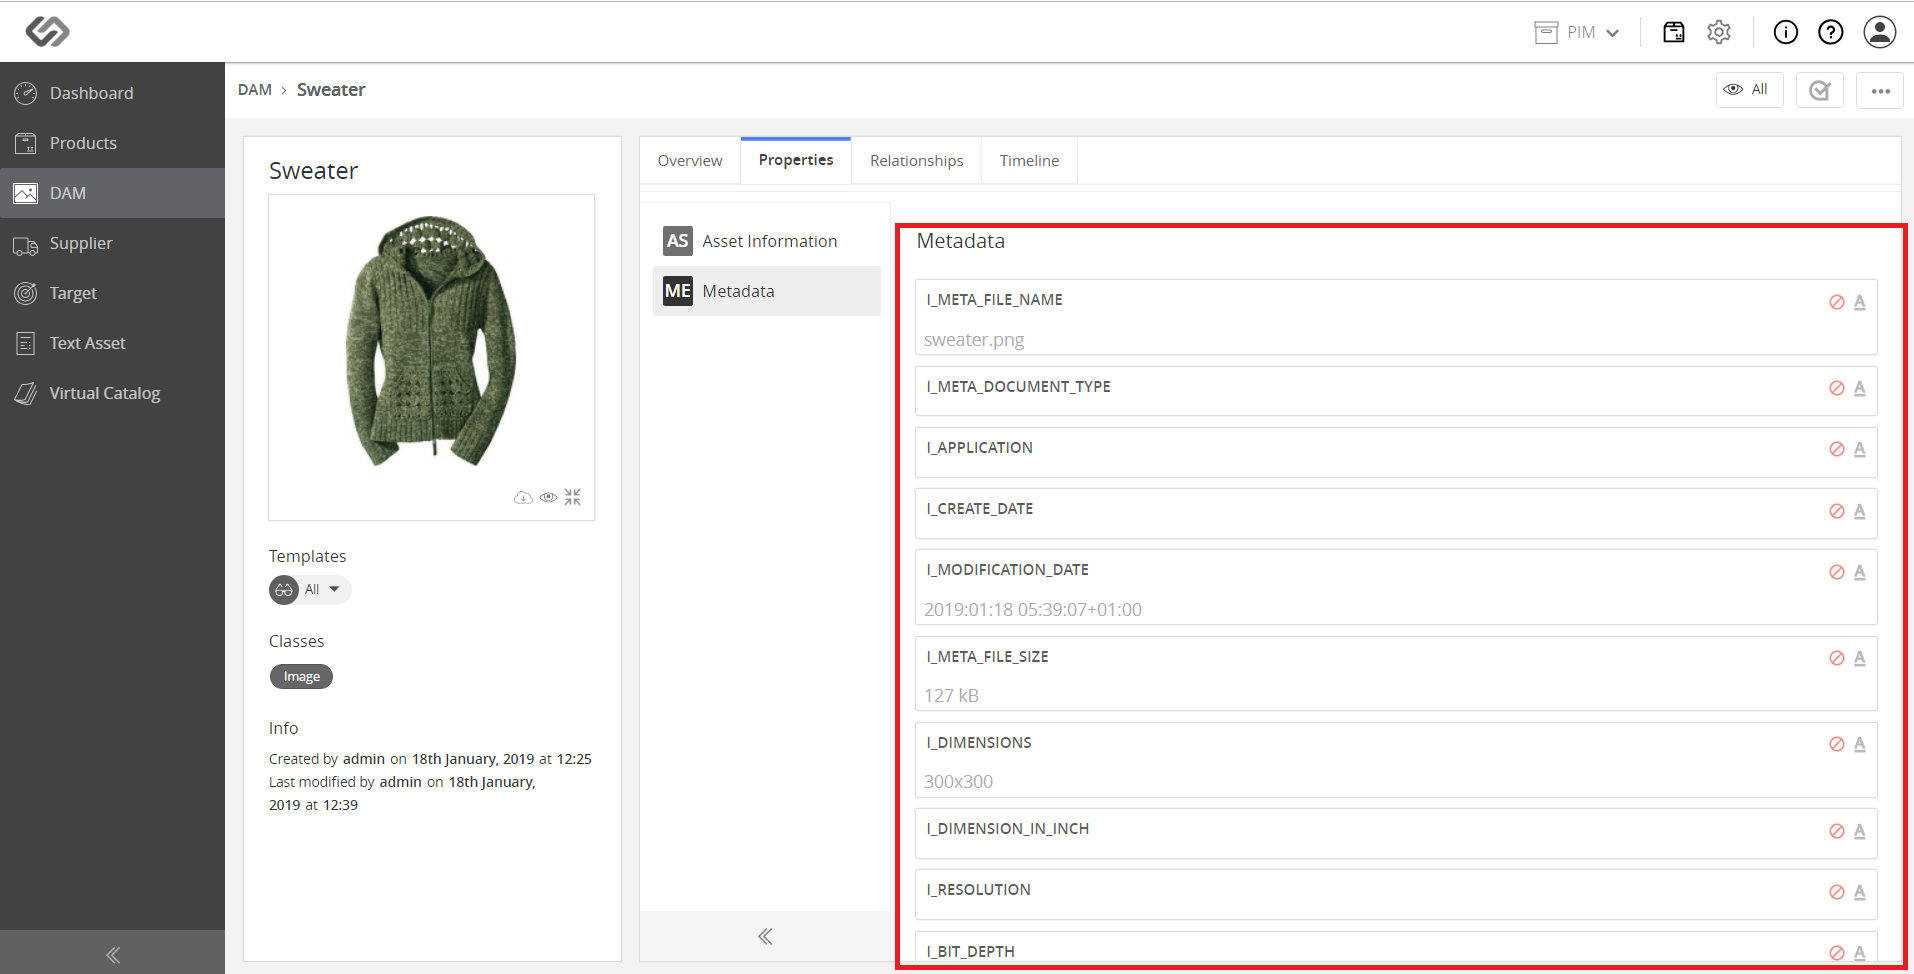
- Go to the Metadata under the Properties tab.
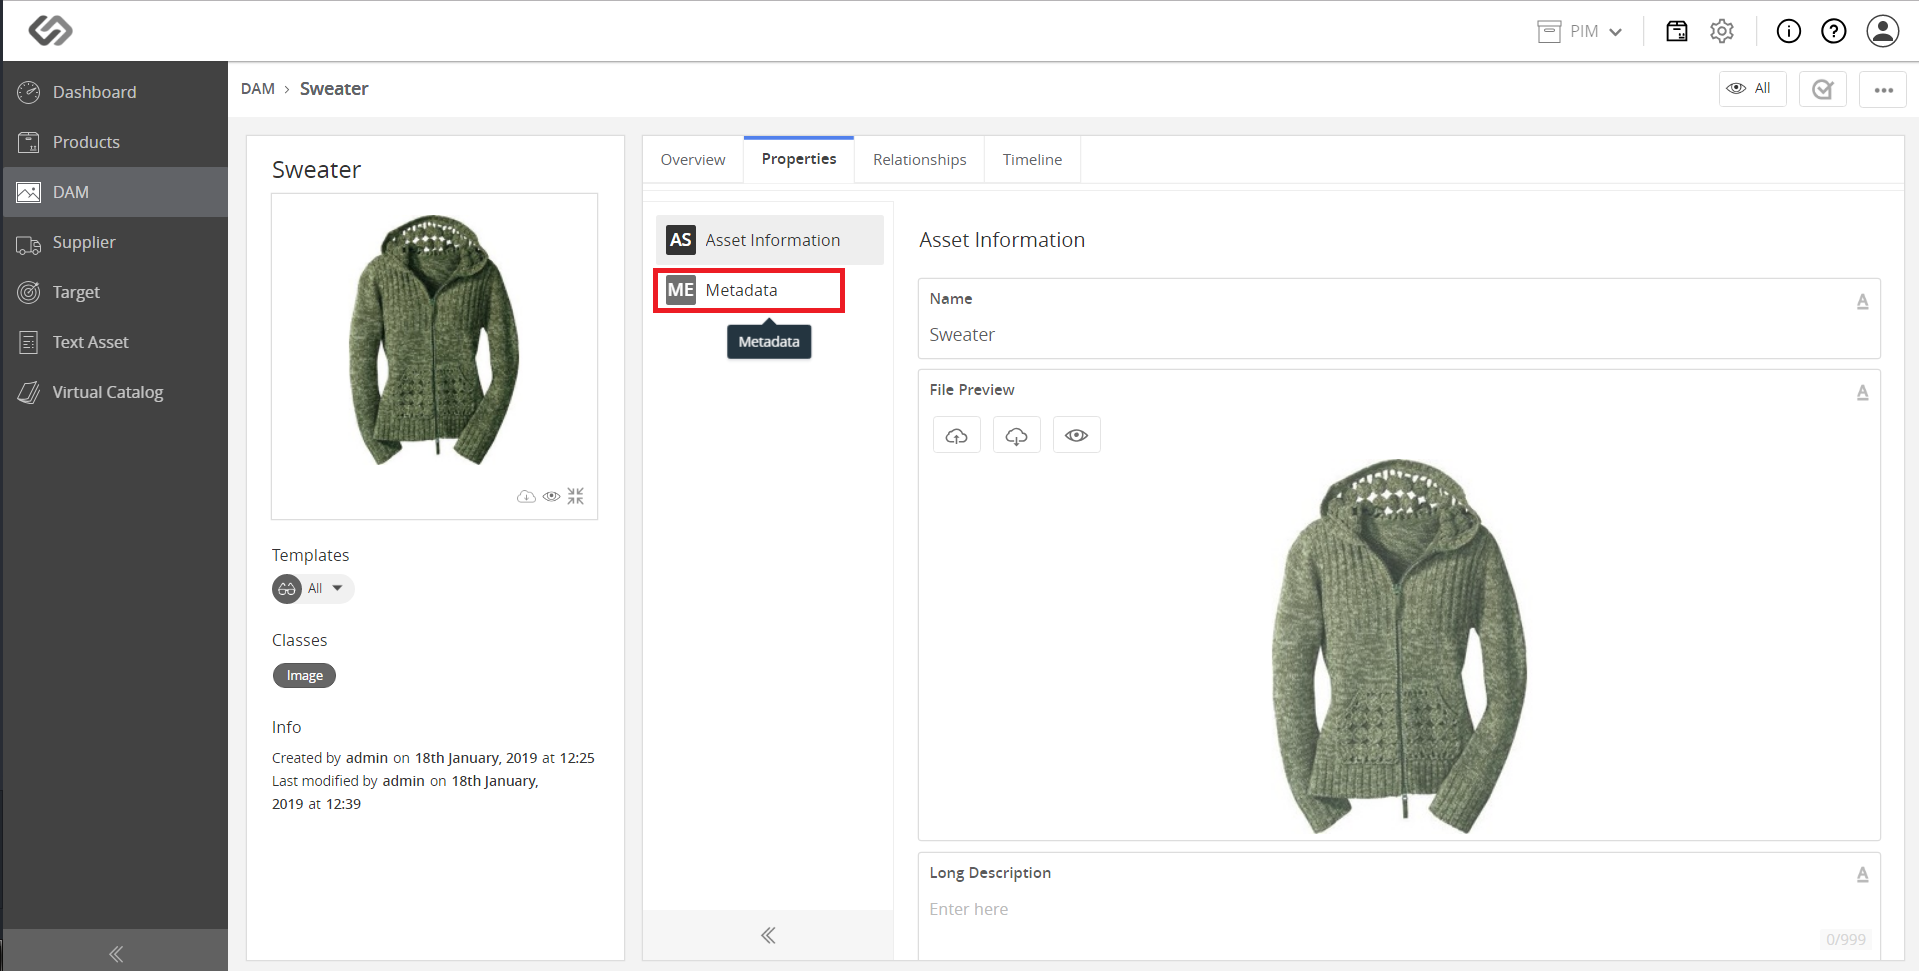
- The available metadata on the Meta Data section will auto-complete but the fields can be manually filled out as desired.