Tasks to Complete Actions
The Tasks to Complete Actions feature automates the assigning of tasks to users involved in a process or workflow.
| Key Term: |
|
| Description: |
|
| Related topics: | |
| Application: |
|
How-to: Tasks to Complete Actions
To do this feature, follow these steps:
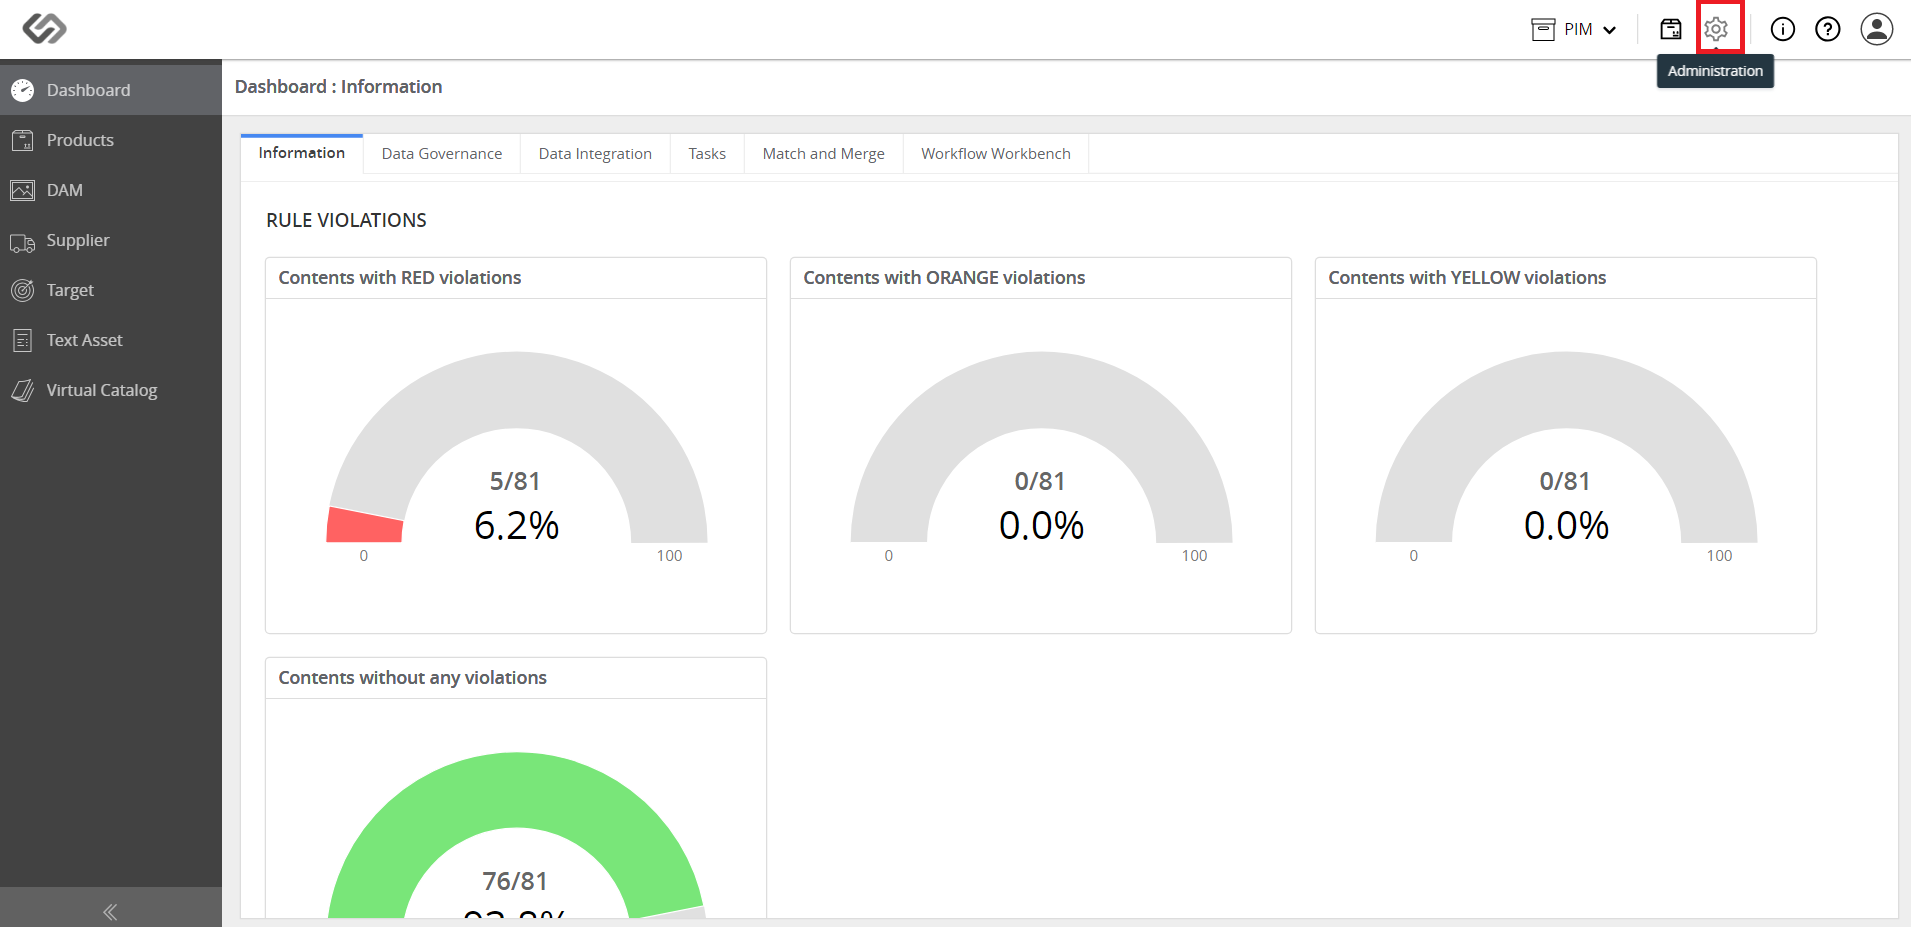
- Log in and go to Administration.
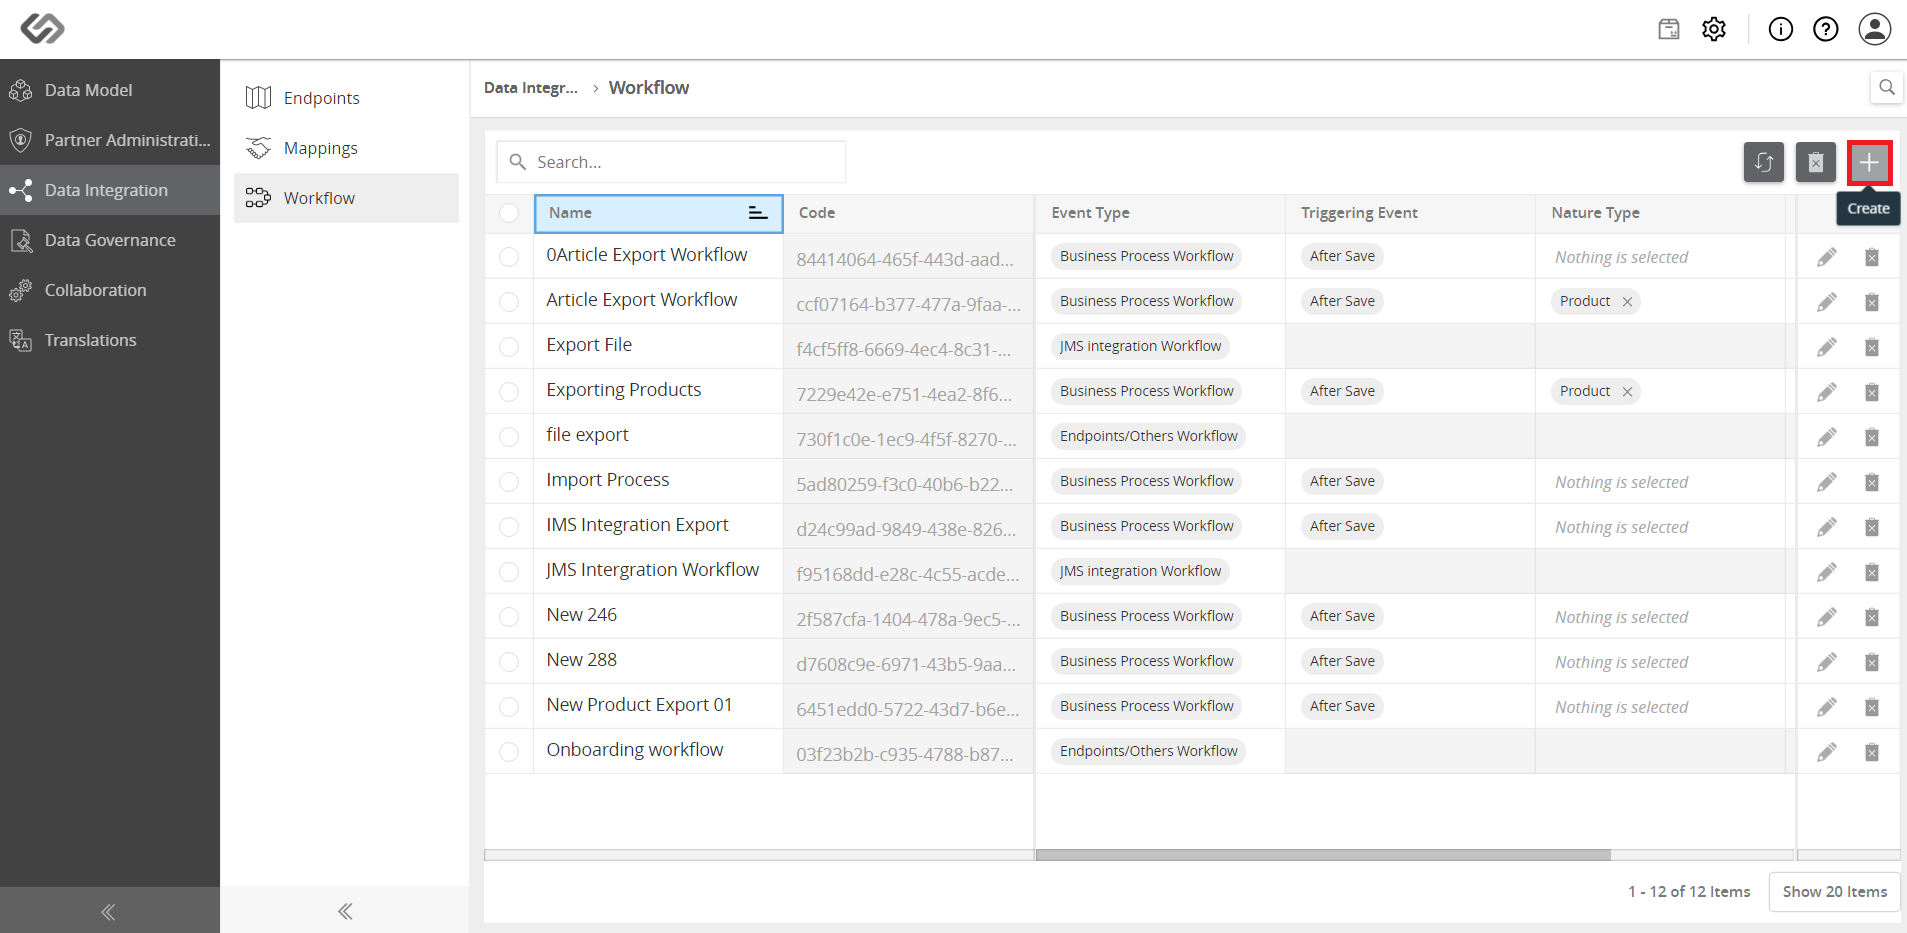
- Click on the Data Integration tab and then go to Workflow.

- Click on the ‘+’ icon to create a new workflow.
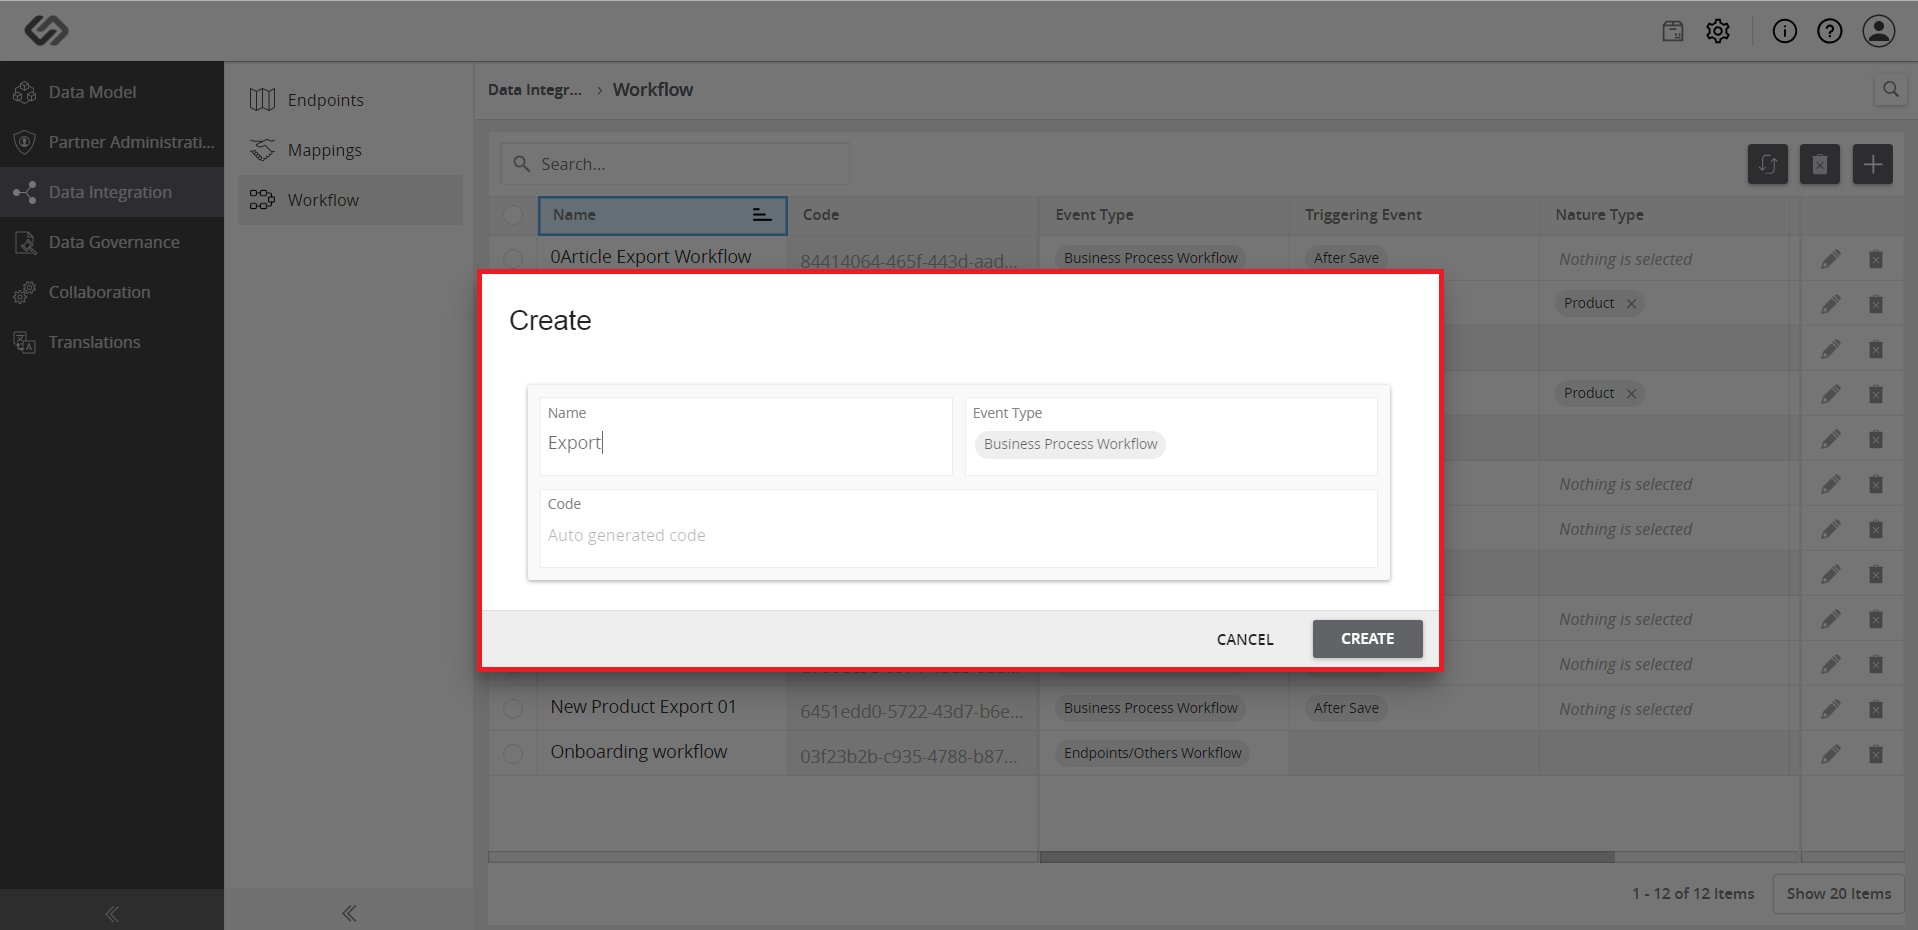
- Provide the details on the window that will pop up like the Name and Event Type. Click on the Create button.

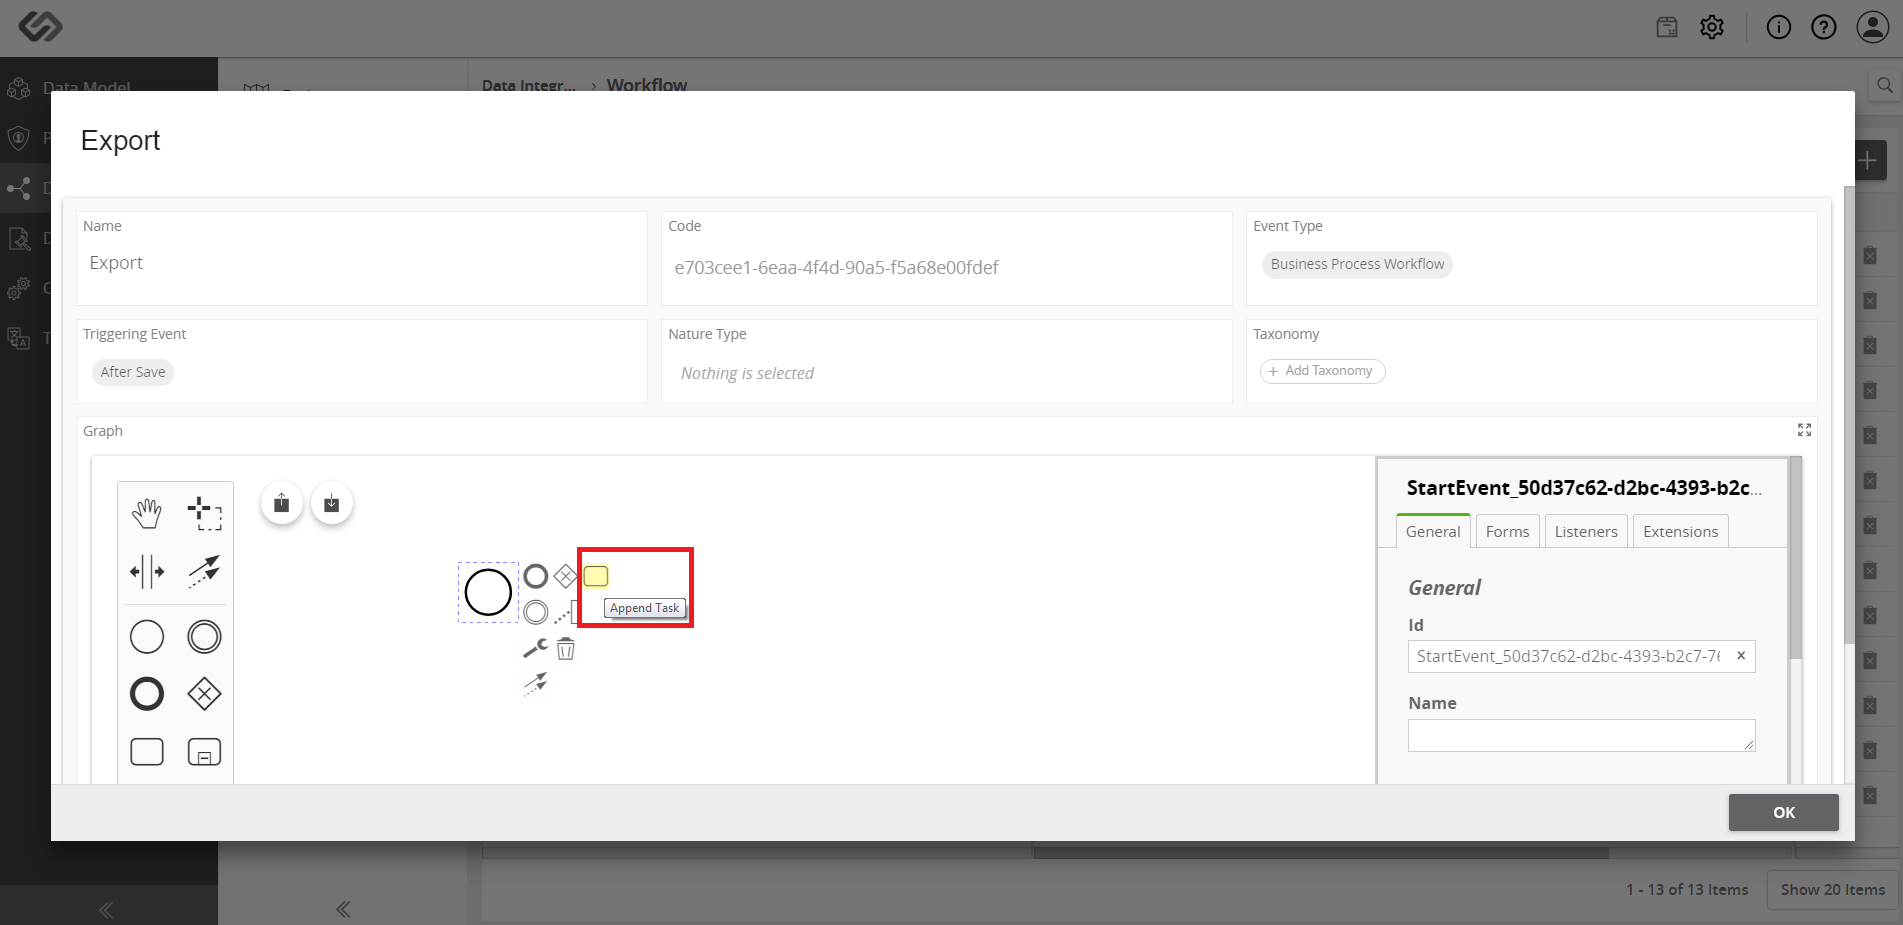
- Once the button is clicked, a new window will appear where the workflow can be created. Drag and drop notations from the Workflow Modeler to create the process.

- A workflow starts with a Start Event. Click on the Start Event notation; drag and drop it on the workflow board.

- Click on the Start Event notation to view the options that can be added after it. These options will appear on the right of the notation.

- Click on the Append Task icon. Custom actions for different users can be managed through the Workflow Task.
- Once you click on the icon, it will be added in the workflow. You may also select the Task Notation from the menu on the left.

- Adding a Task Notation simply defines the task. Provide more definition to what kind of task it is by identifying whether it is an import article, import asset, import relationship, etc. Do this by clicking on the Change Type icon (icon that looks like a wrench).
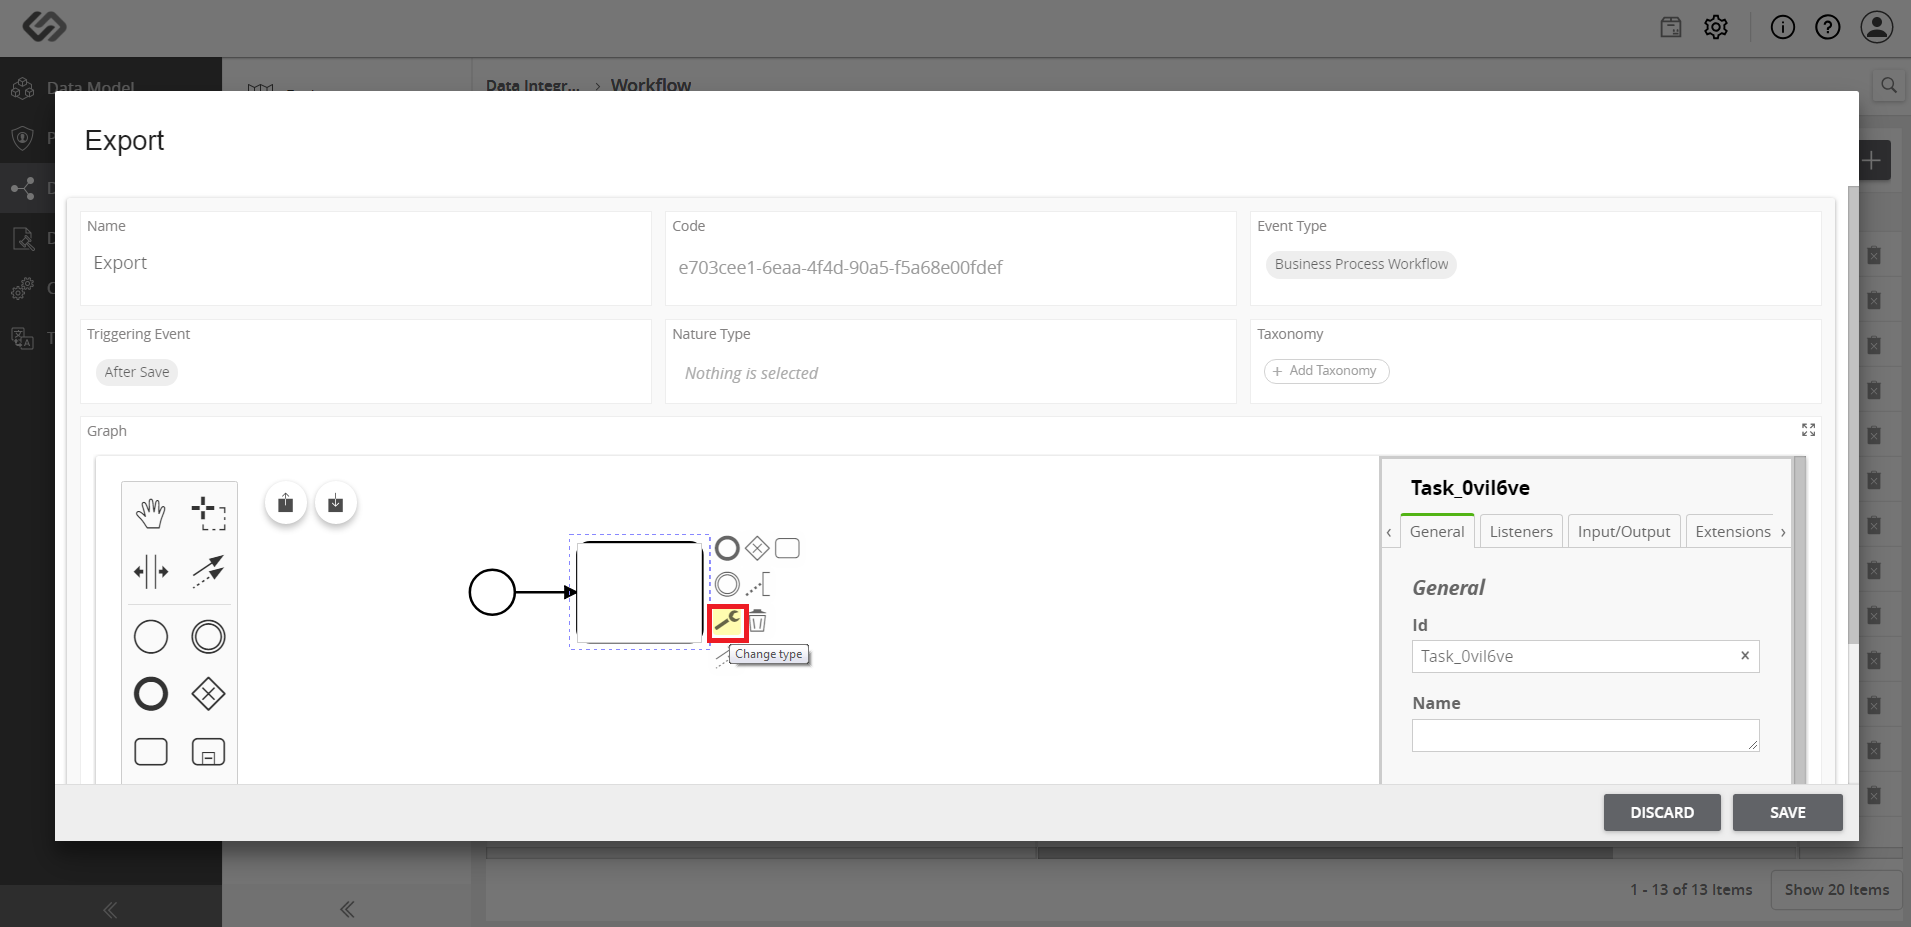
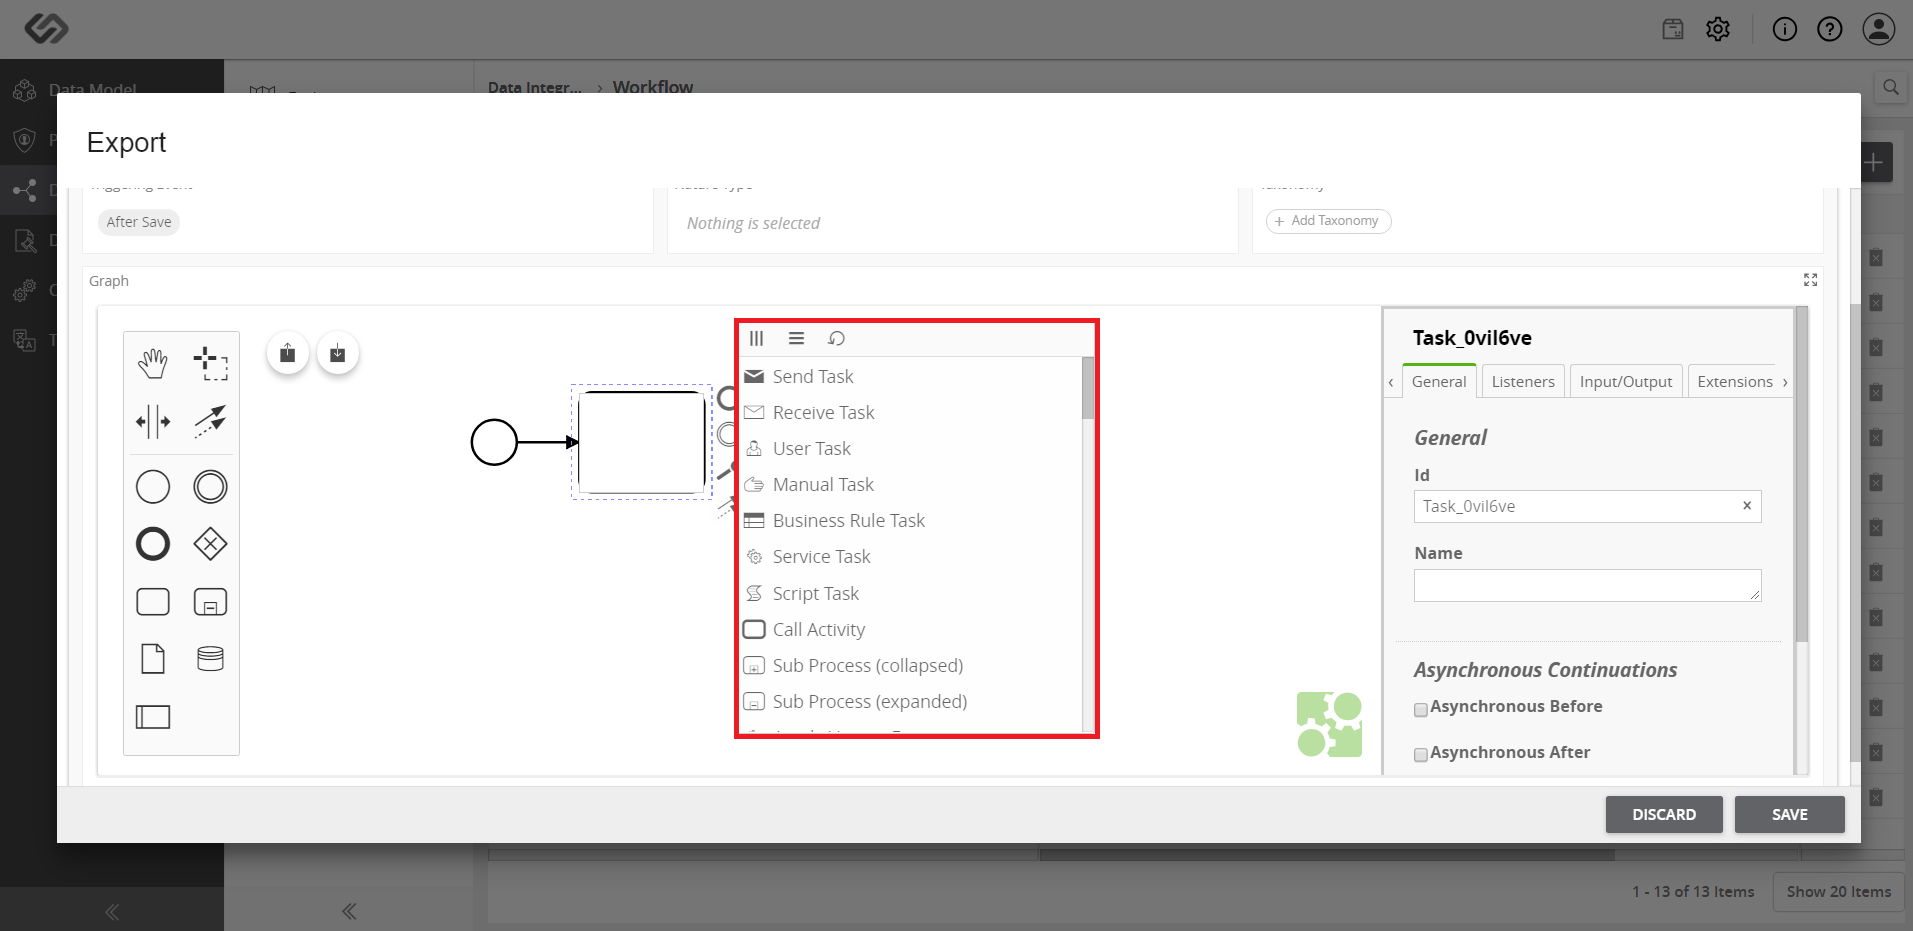
- As soon as the wrench icon is clicked, it will show a selection containing the various types of task. If you are defining a user task, choose the Custom User Task option from the selection.

- Once selected, provide the details of the user task on a window found on the right side of the screen.

- Assign the appropriate users with different roles: Responsible, Accountable, Consulted, Informed, Verified, or Signoff by selecting the user and clicking the Apply button.
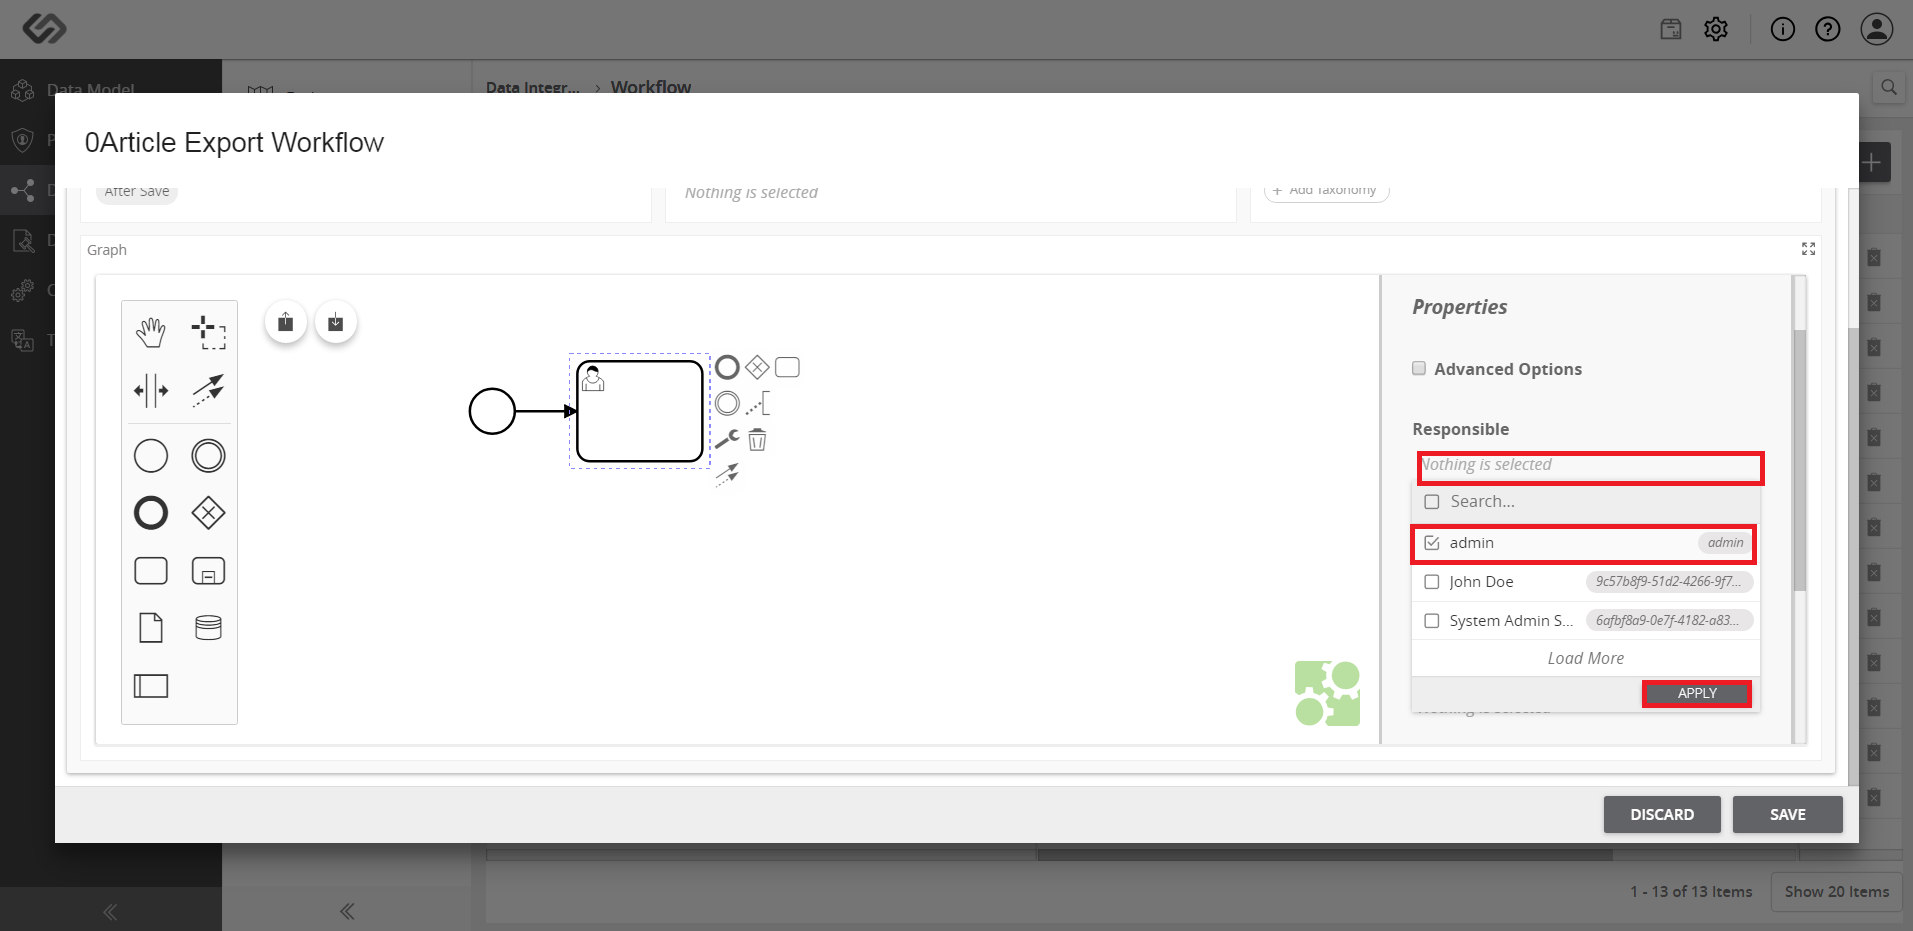
- Once done, click the Save button.

