Target and Channel Contextualization

Target and Channel Contextualization is a feature that allows users to have attributes that can have multiple values which vary based on context.

Key Term:
  • Taxonomy: taxonomy is a scheme of classification used for an organization’s products.
Description:
  • Target and channel contextualization enables the user to setup values which are based on a context.
  • This feature is particularly useful for values that are dependent on a context or tag.
  • The value can be based on two or more contexts.
Related topics:
Application:
  • Set up multi-value attributes based on a context or tag.

  • Example:

    A product has different prices depending on the regions it is being sold to. In this example, “Region” is the context that drives the price attribute.

How-to: Target and Channel Contextualization

To do this, follow these steps:


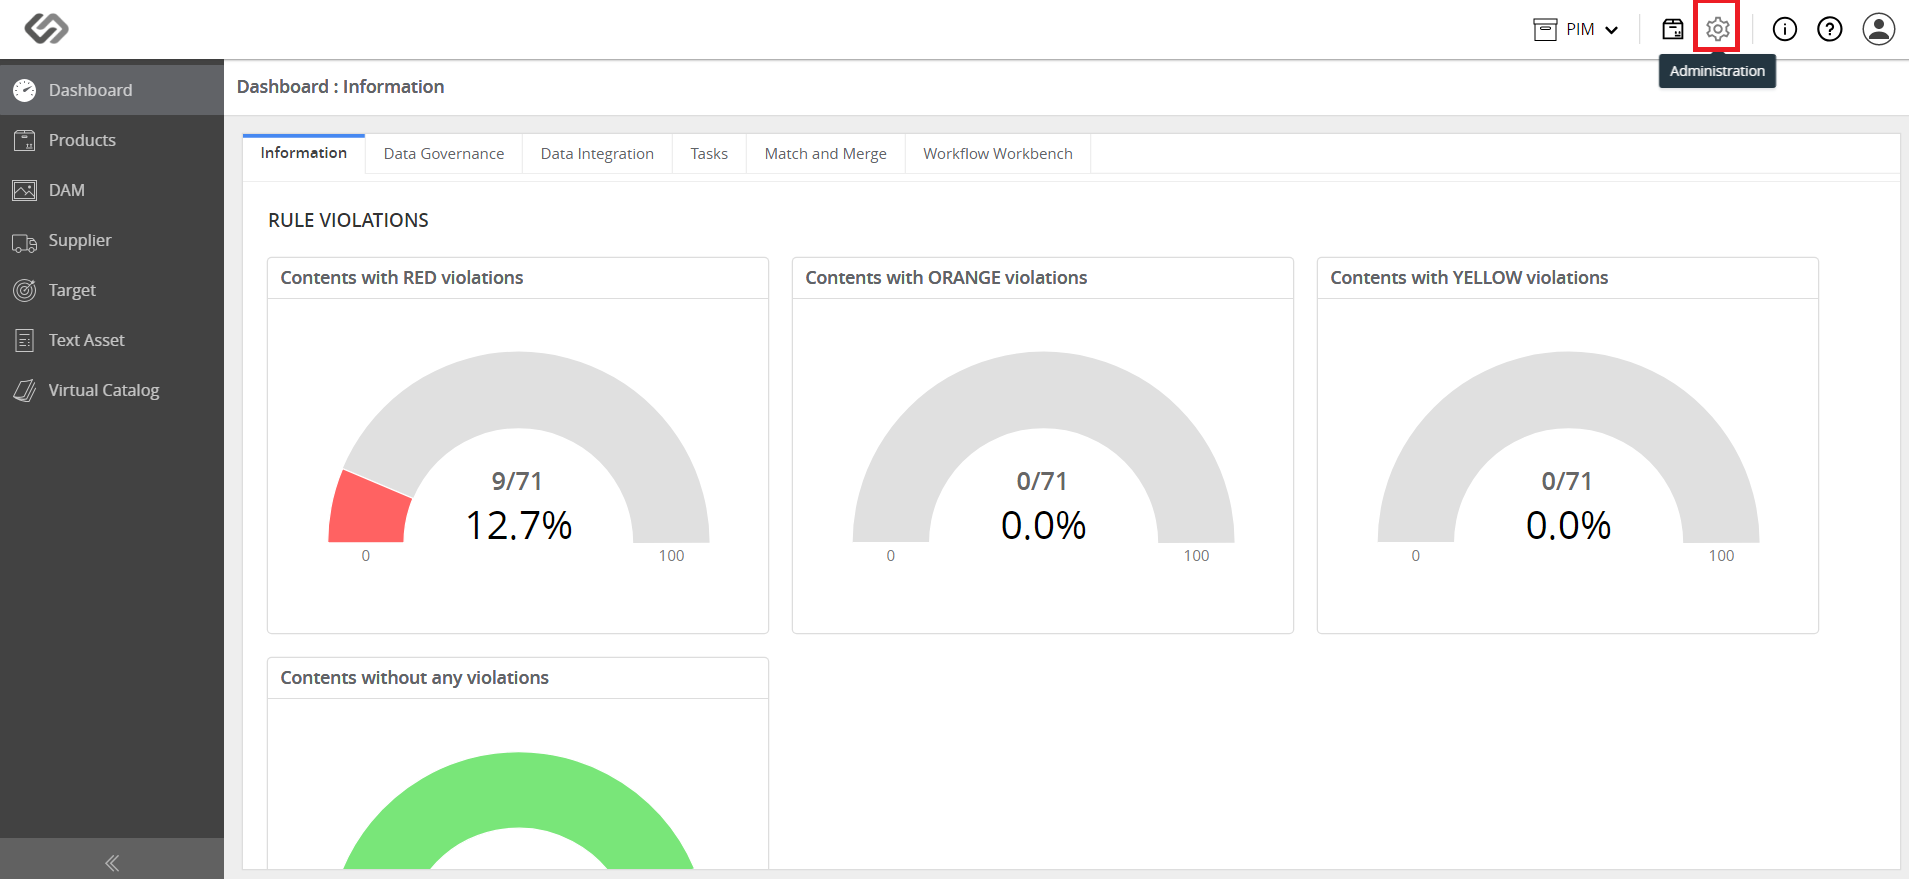
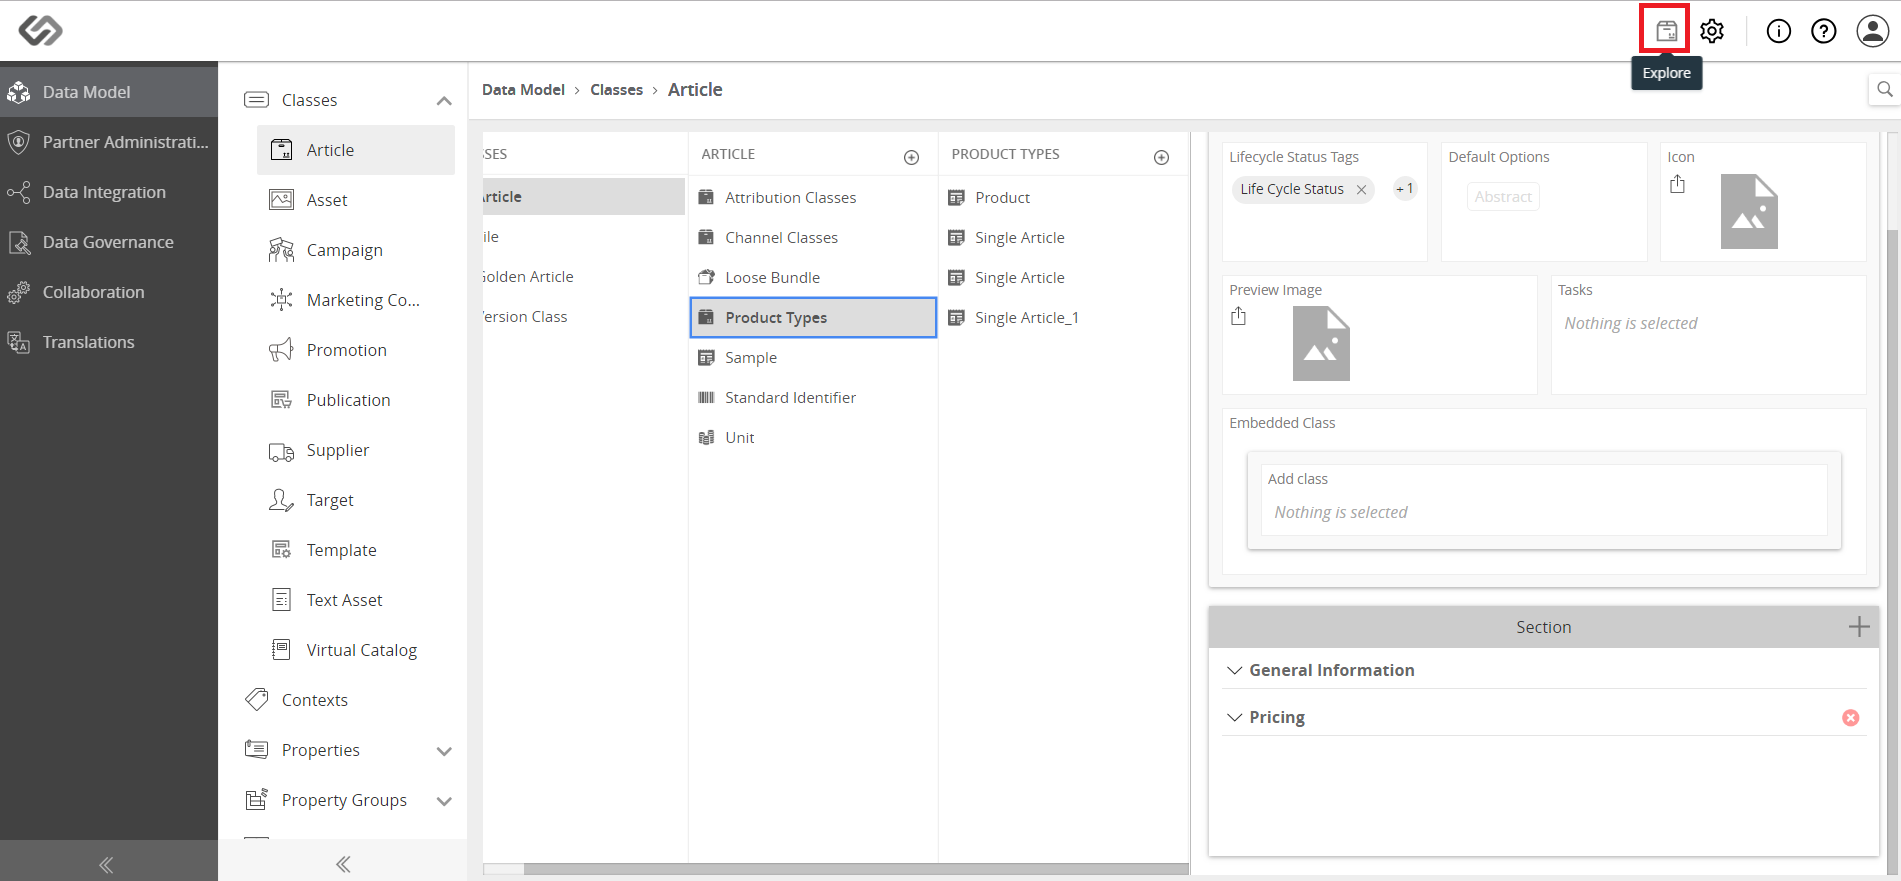
  • Go to Administration.
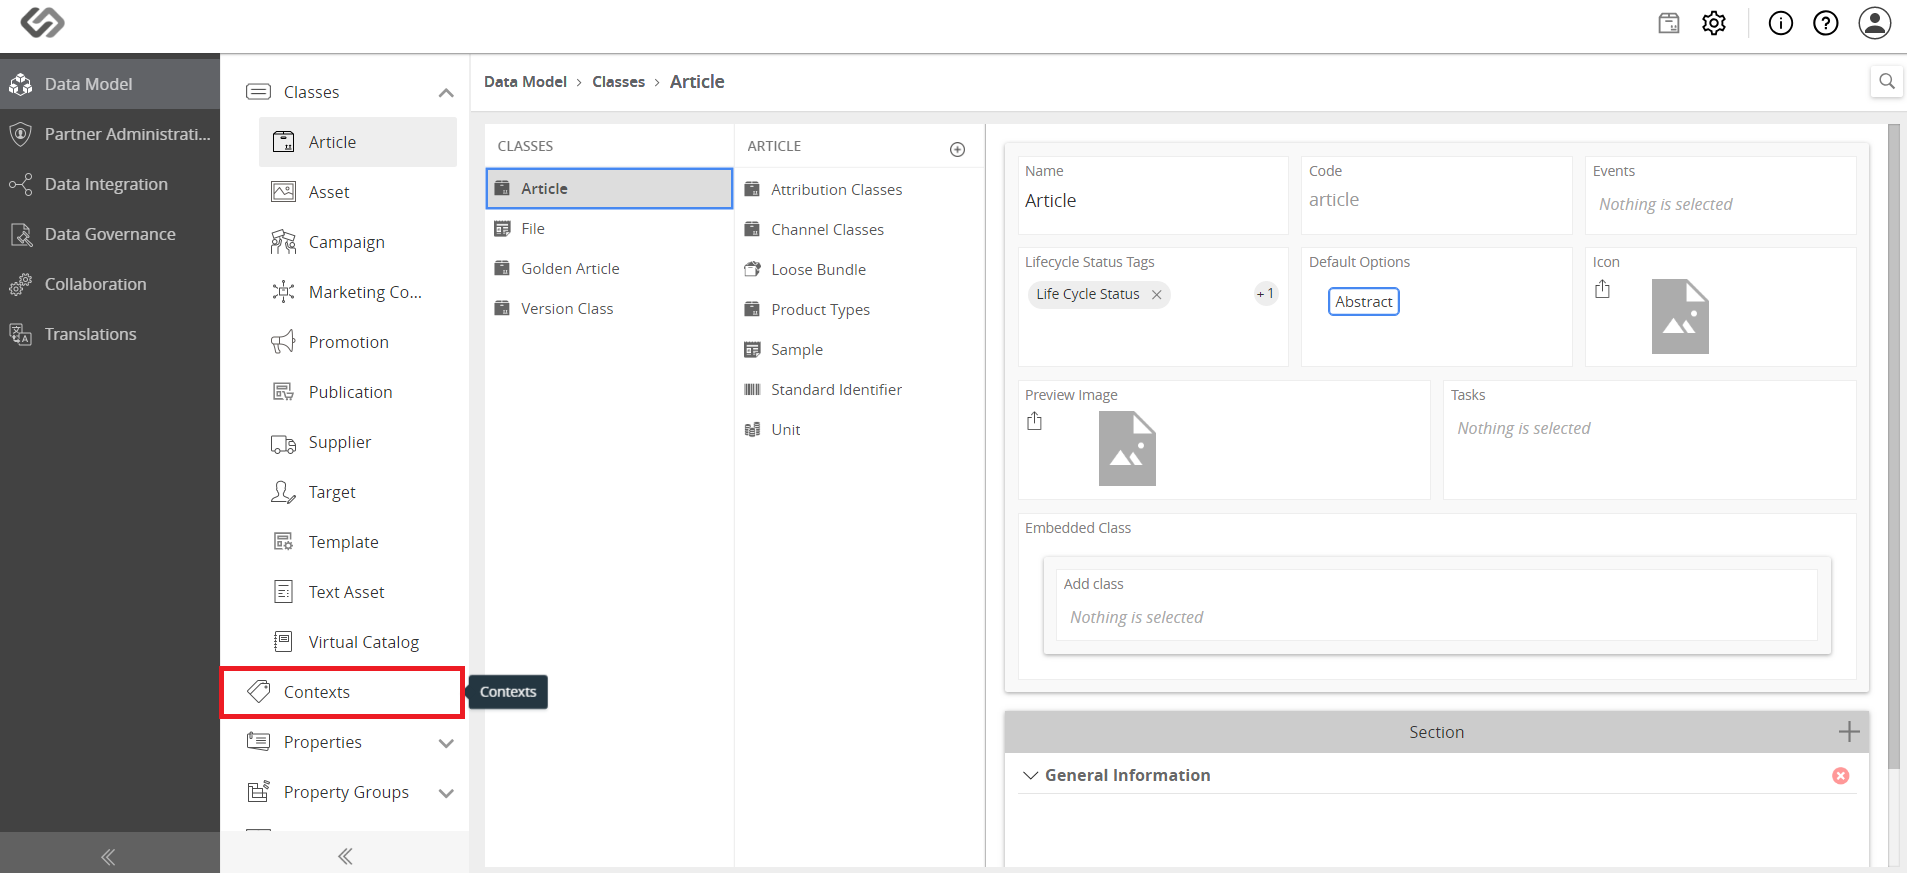
../../../../../_images/pxp_targetandchannel_gotoadministration.PNG


  • Select Context.
../../../../../_images/pxp_targetandchannel_selectcontextconfiguration.PNG


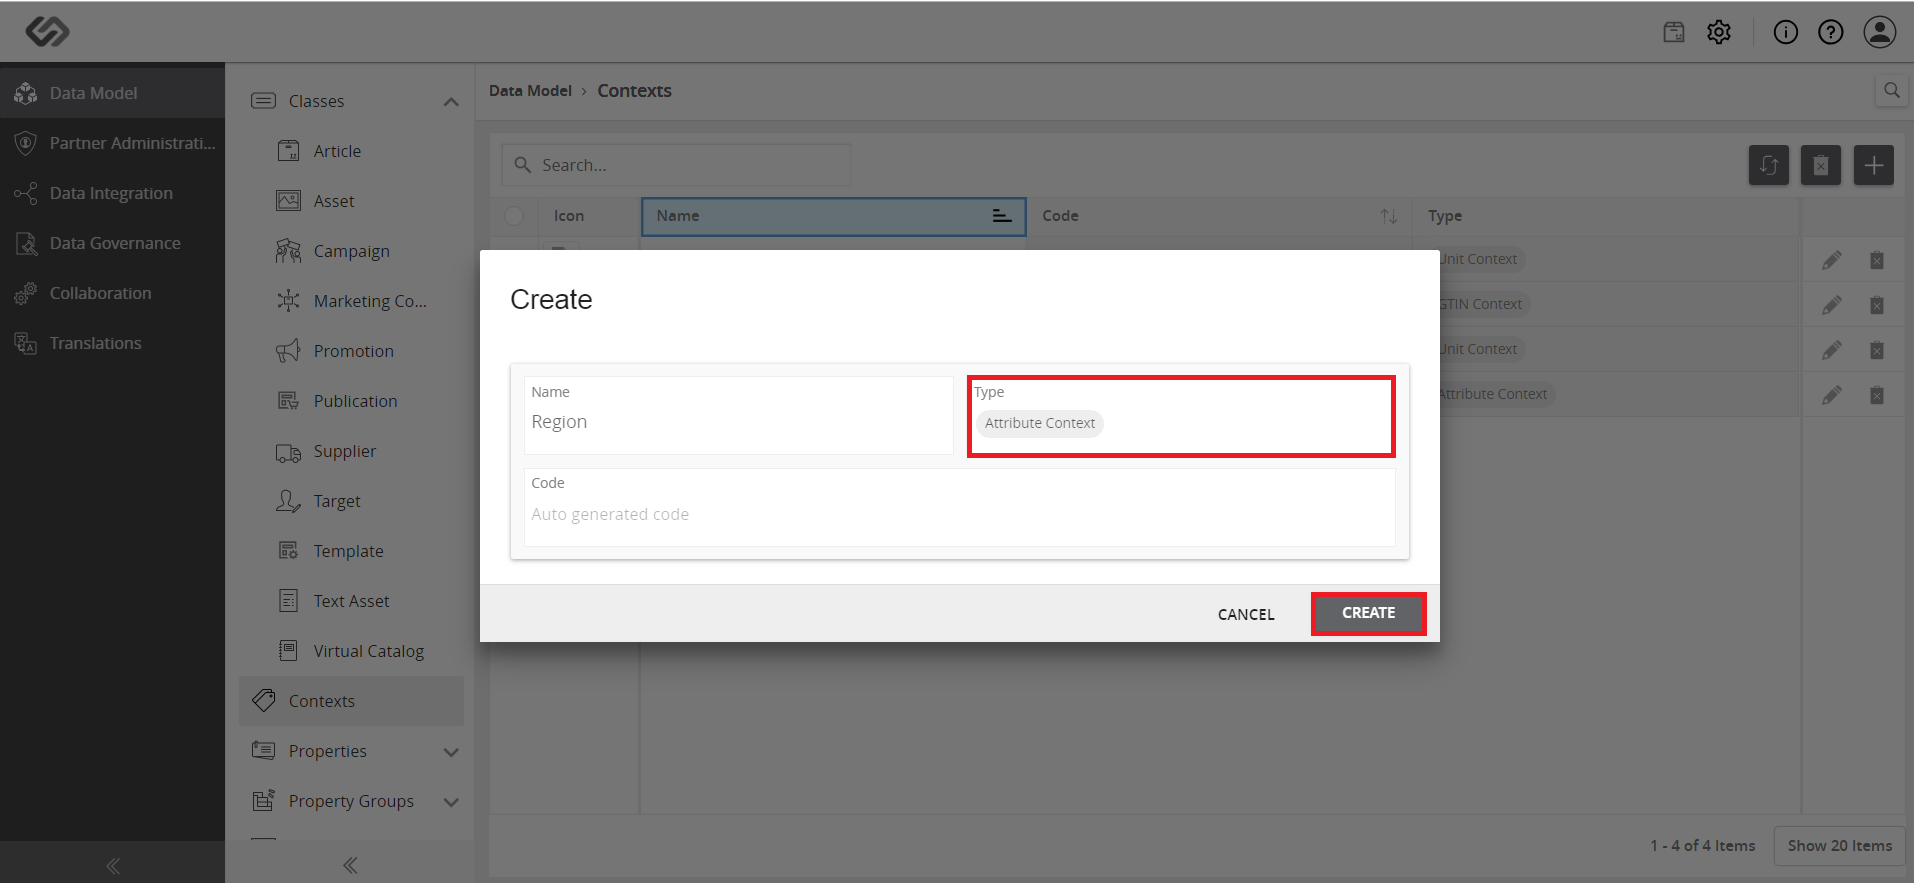
  • Create a new context.
../../../../../_images/pxp_targetandchannel_createnewcontext.PNG


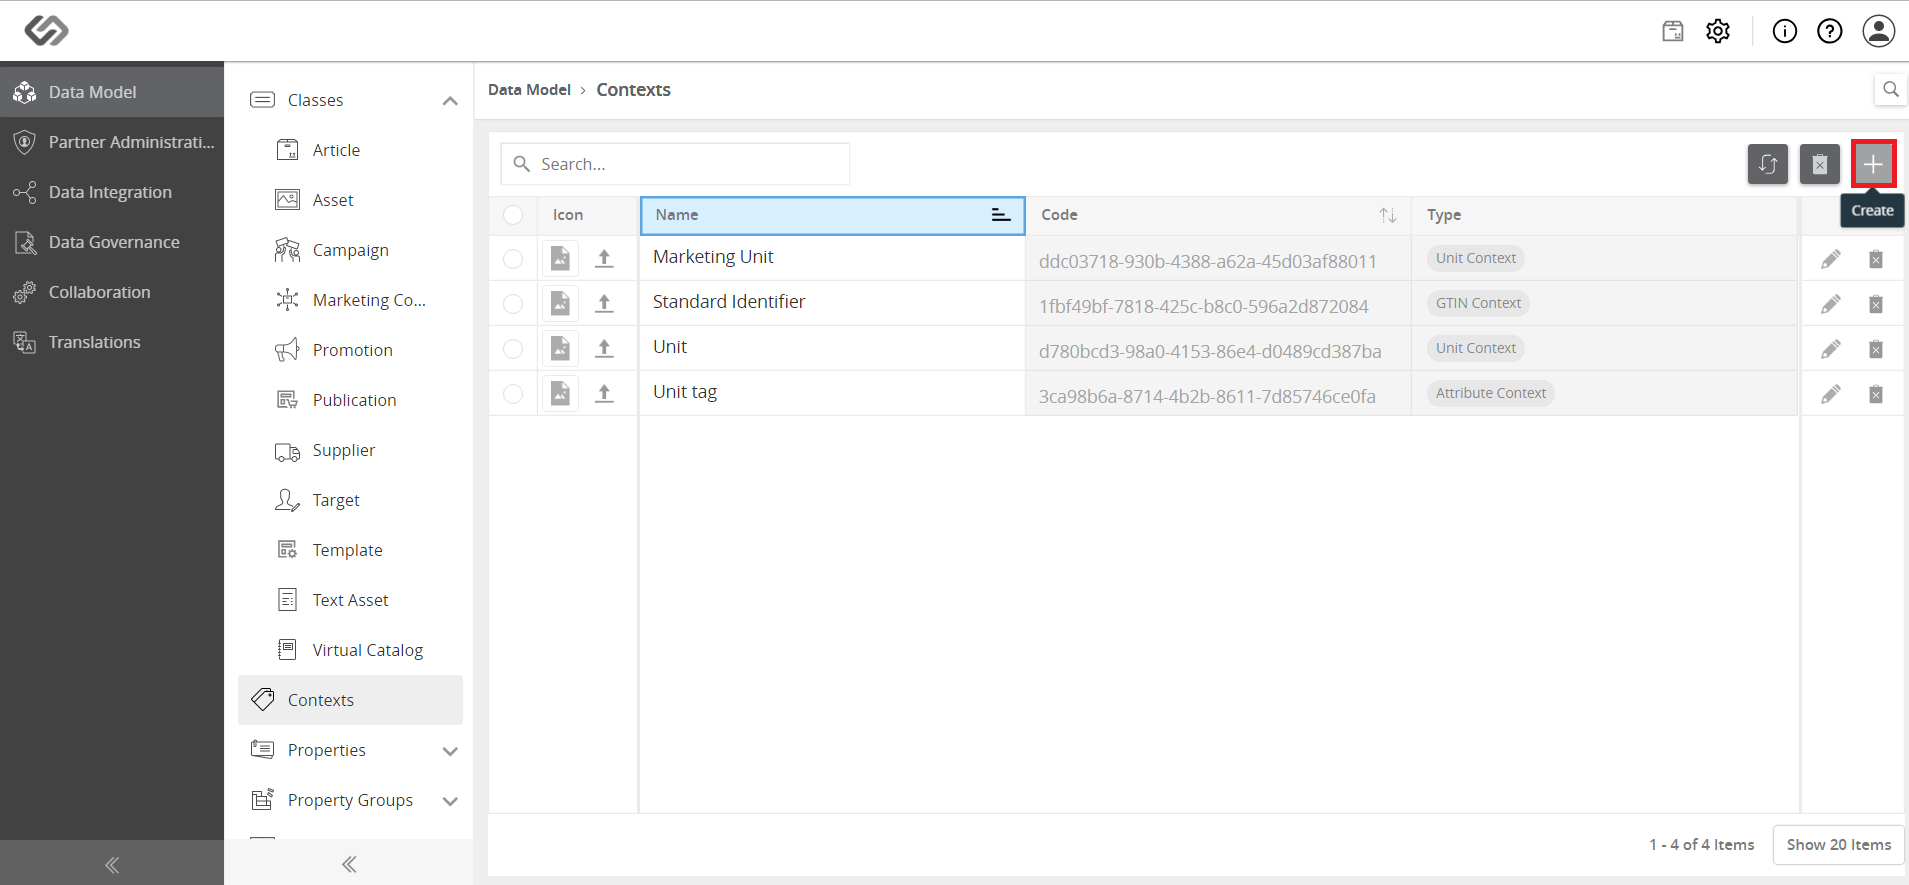
  • Fill in the name and click to select Attribute Context as the feature type.
../../../../../_images/pxp_targetandchannel_fillinnameselectattributecontext.PNG


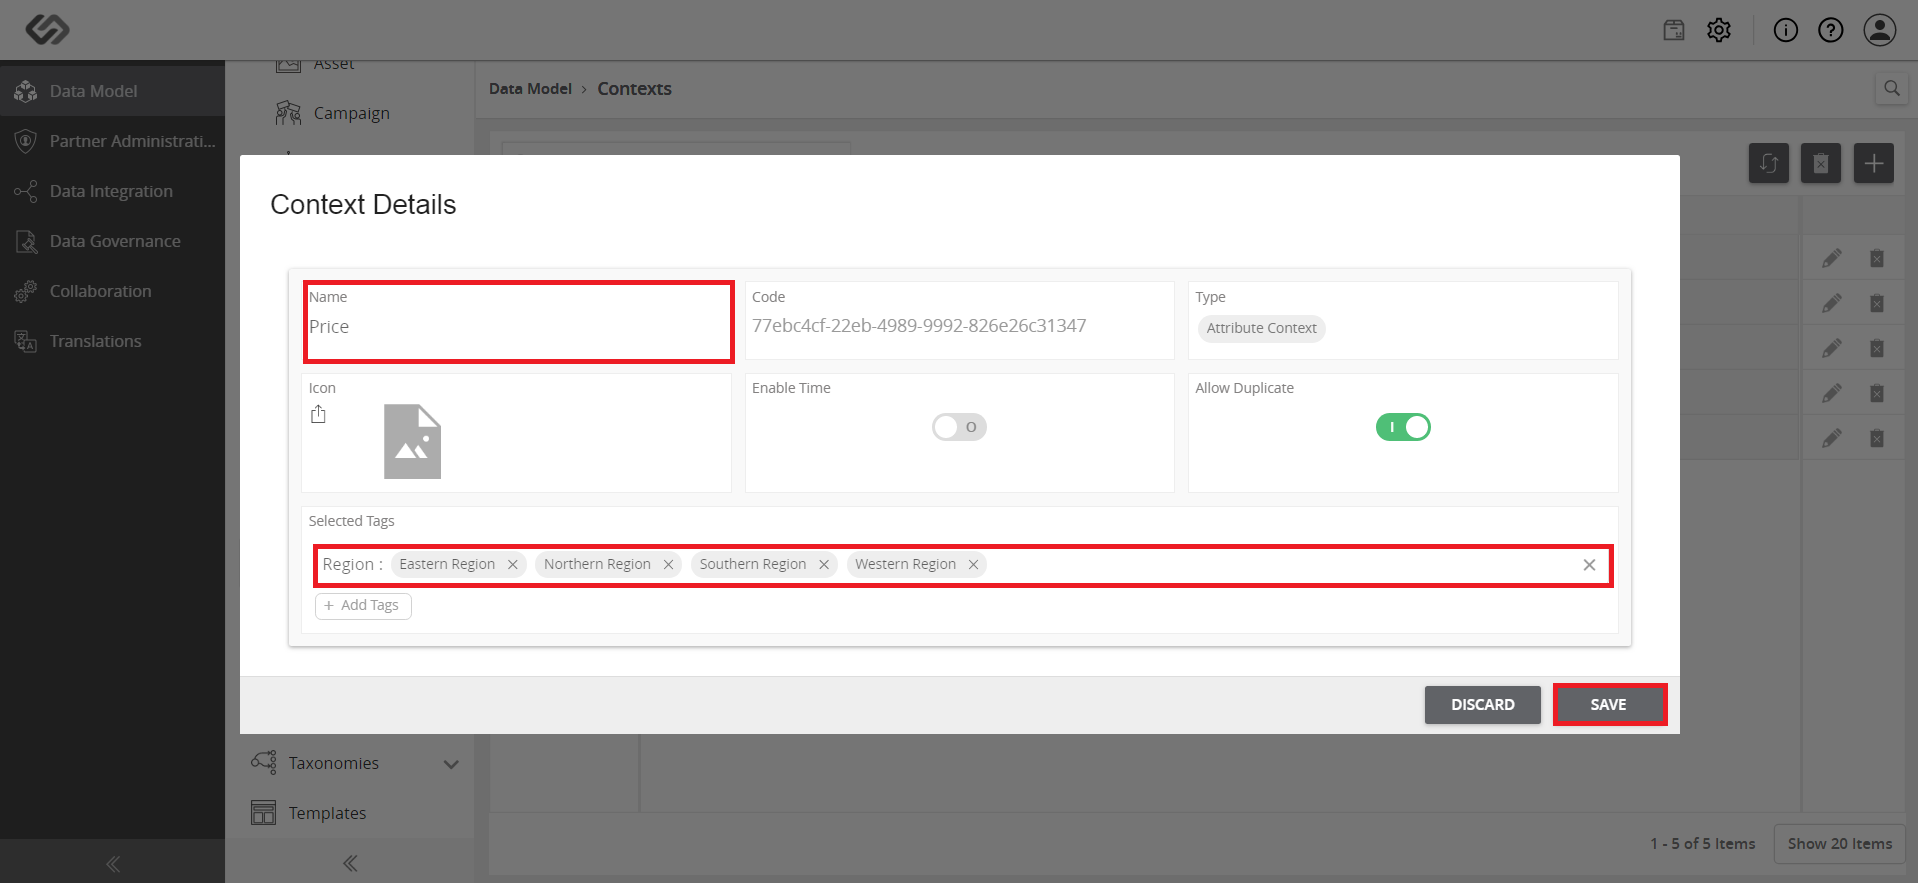
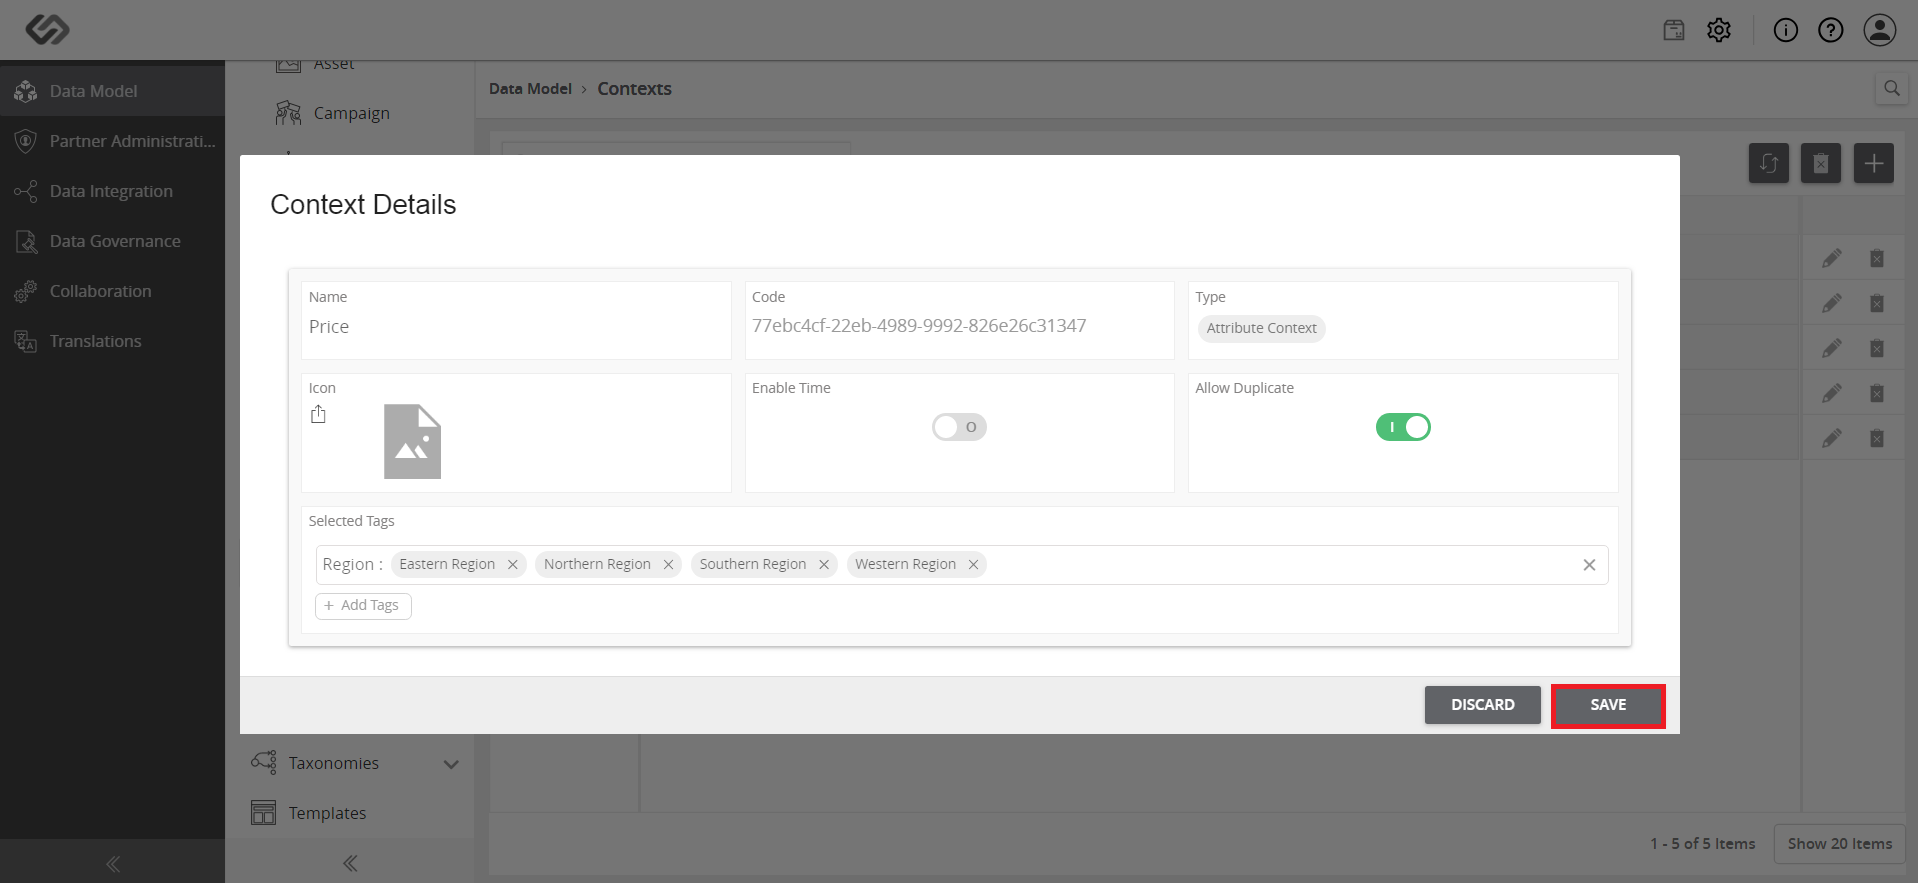
  • Select tag group to be added in the context and click on the Save button.
../../../../../_images/pxp_targetandchannel_fillinnameselecttaggroup.PNG


../../../../../_images/pxp_targetandchannel_fillinnameselecttaggroup2.PNG


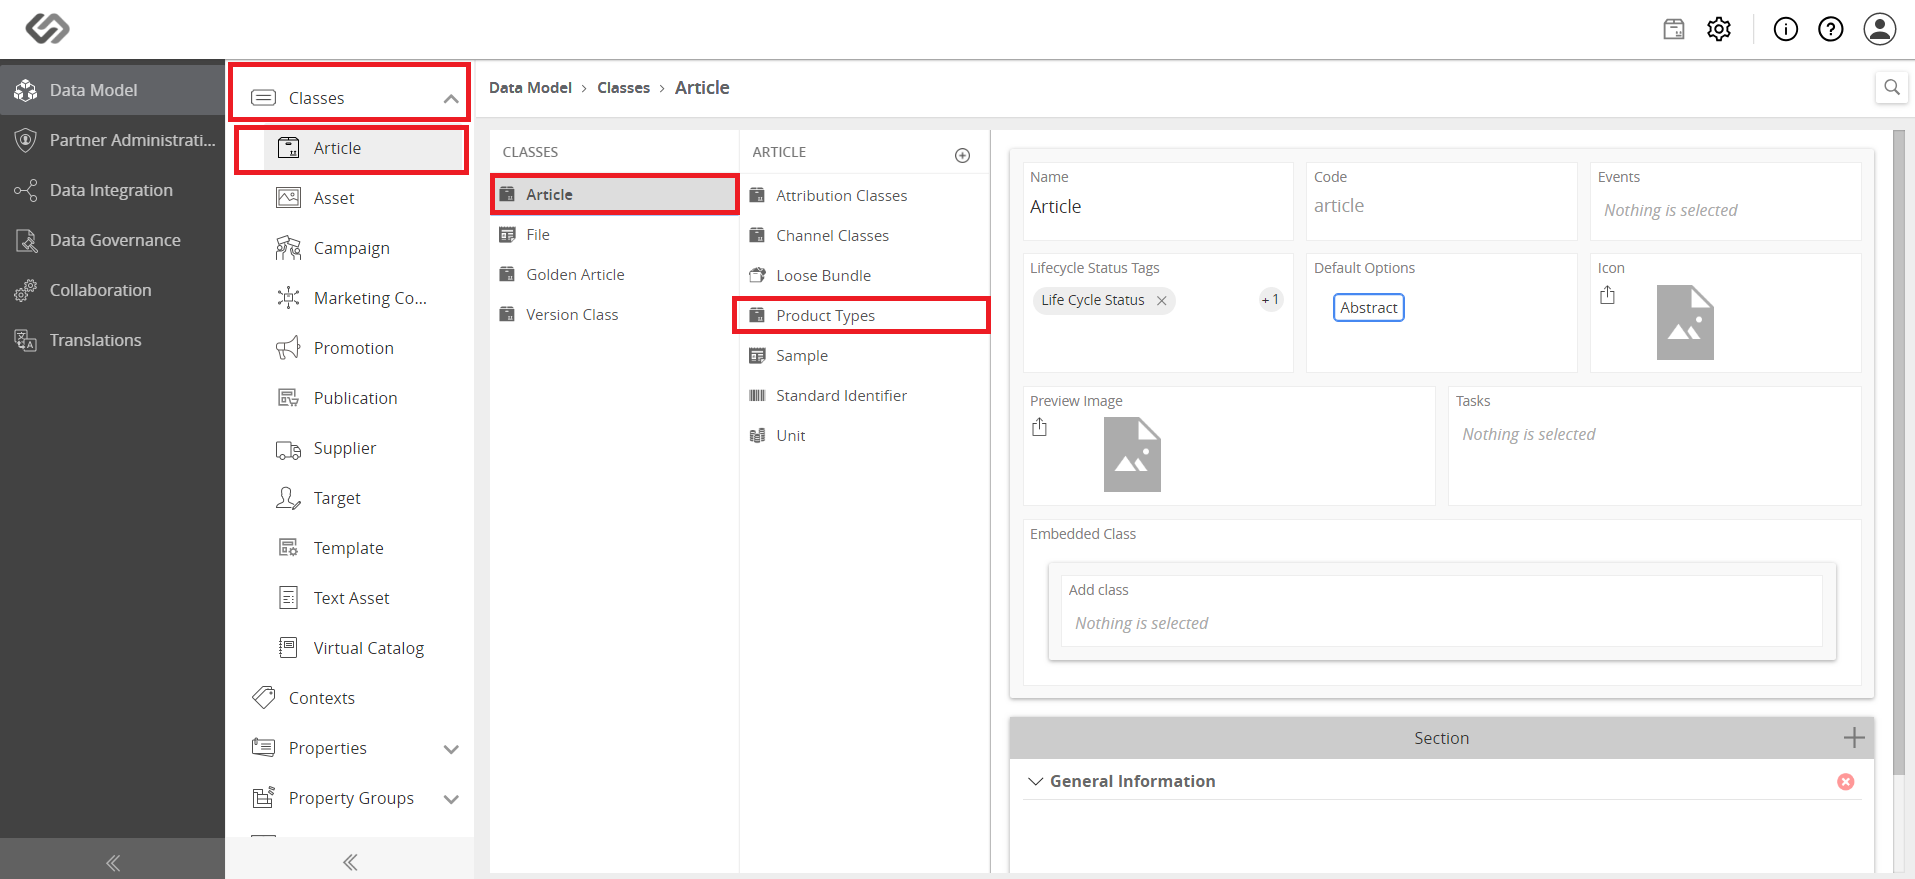
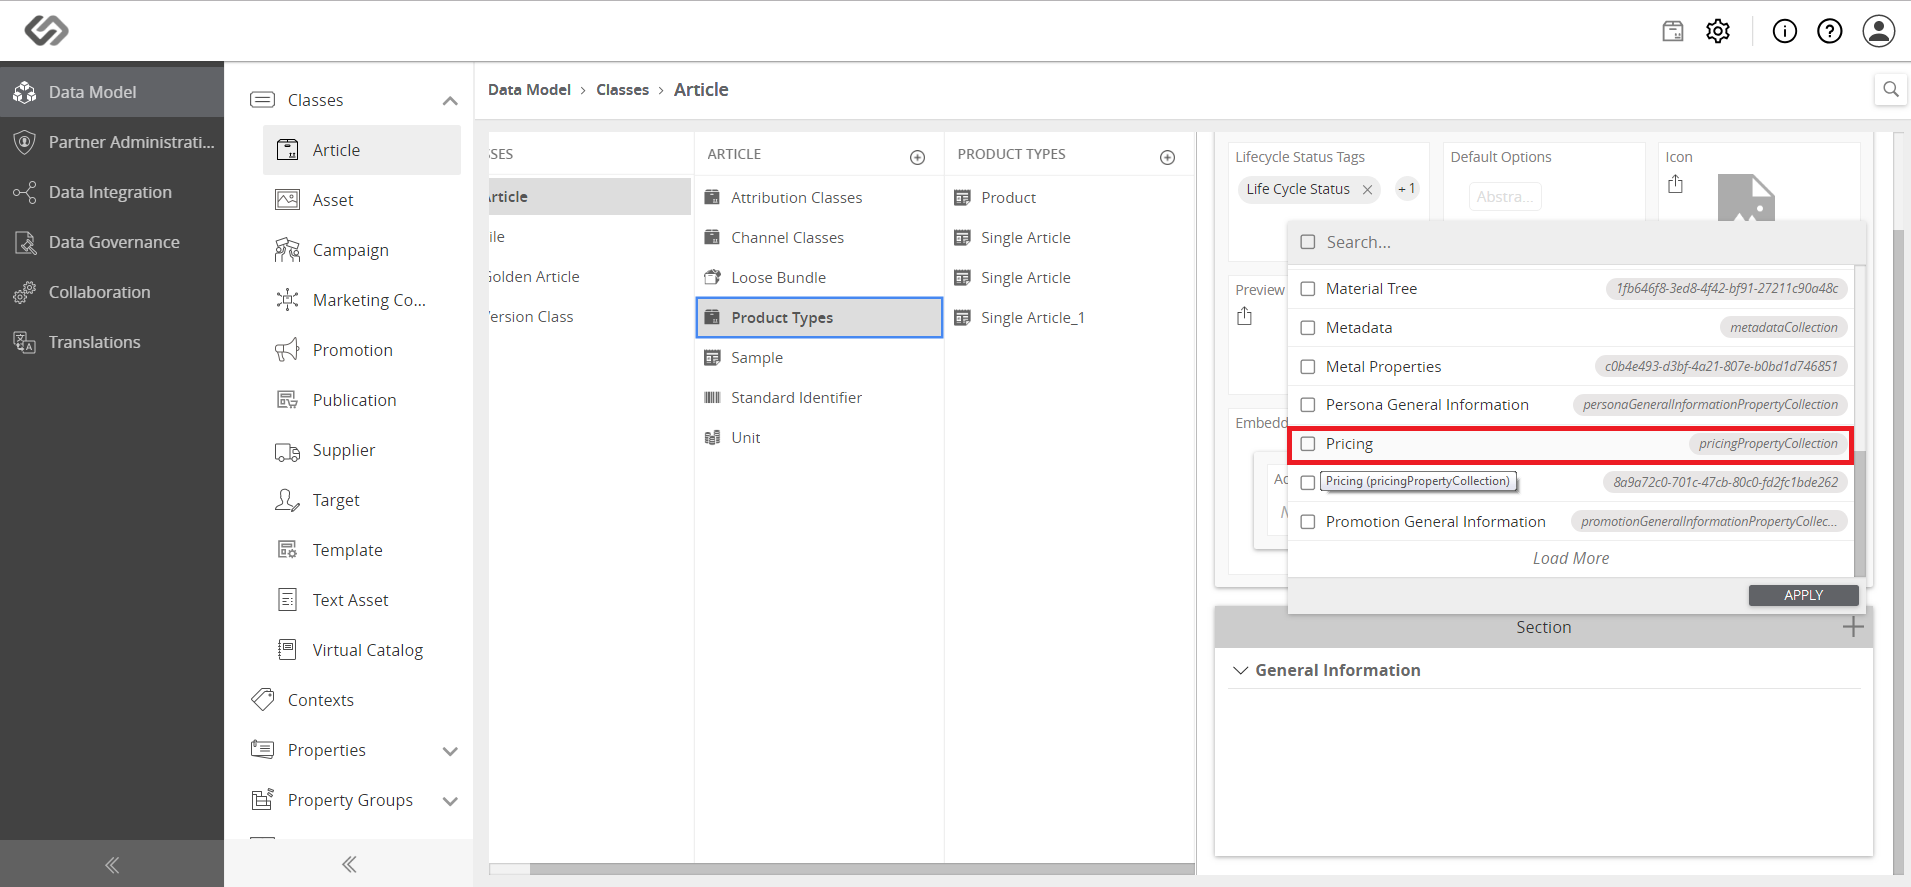
  • In the class configuration, select the class.
../../../../../_images/pxp_targetandchannel_intheclassconfiguration.PNG


  • Select the desired attribute then select the context from the list.
../../../../../_images/pxp_targetandchannel_selectdesiredattribute.PNG


../../../../../_images/pxp_targetandchannel_selectdesiredattribute2.PNG


../../../../../_images/pxp_targetandchannel_selectdesiredattribute3.PNG


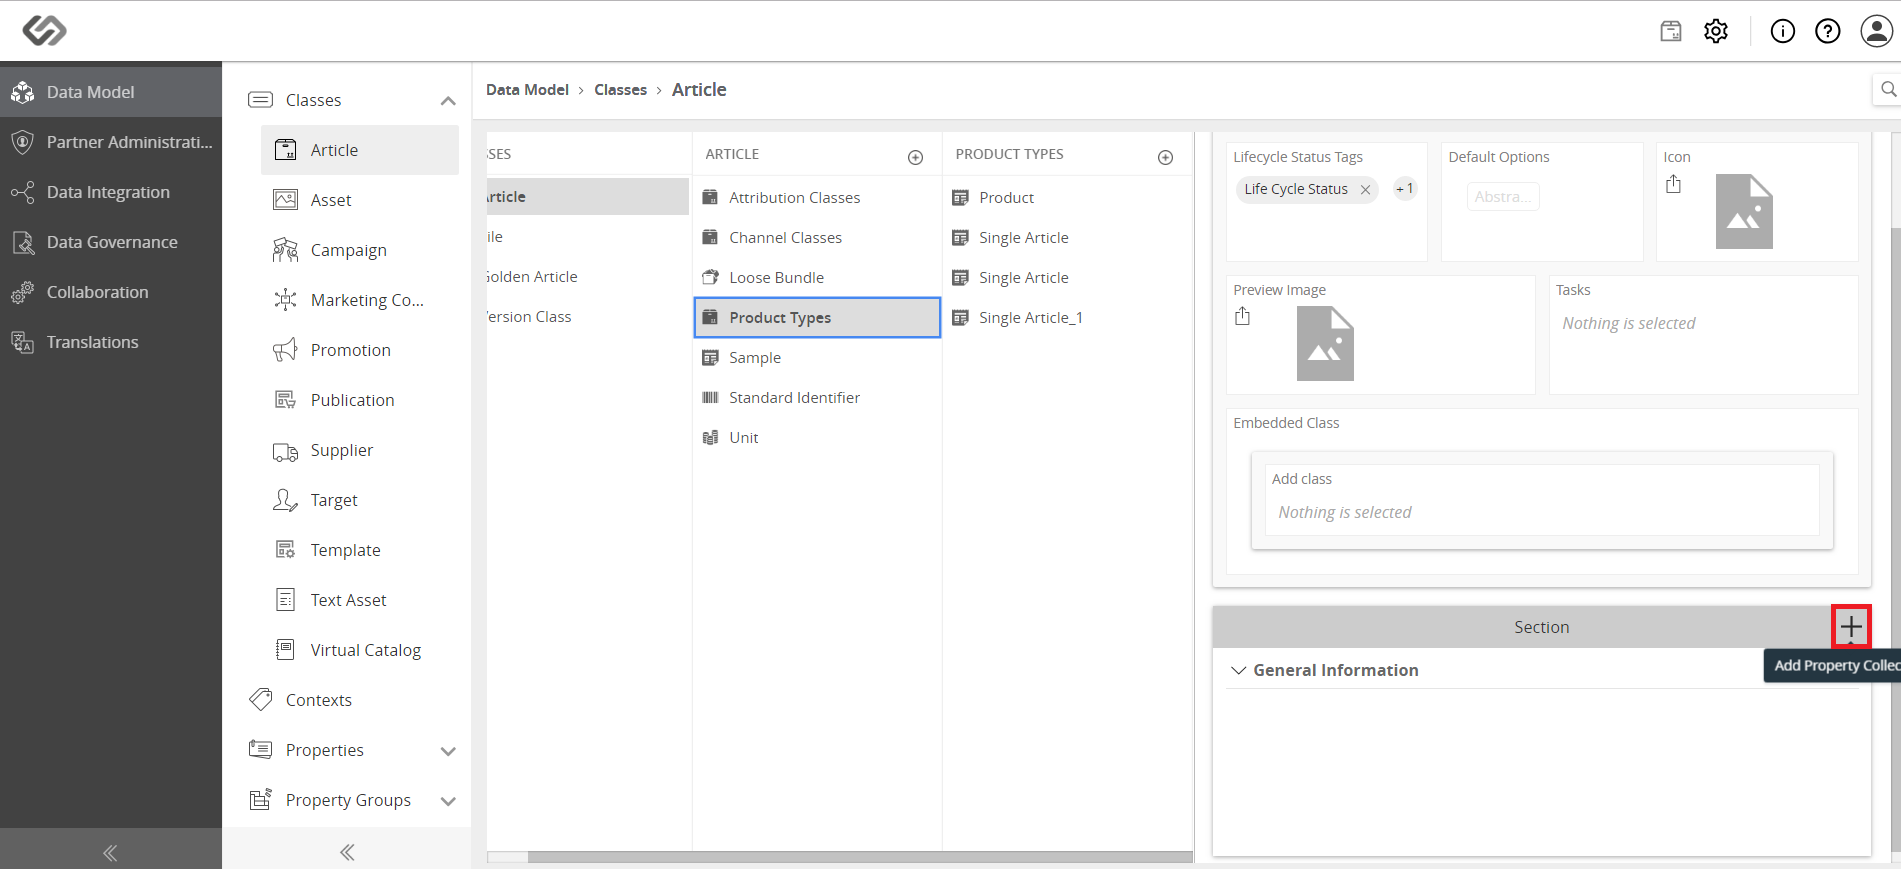
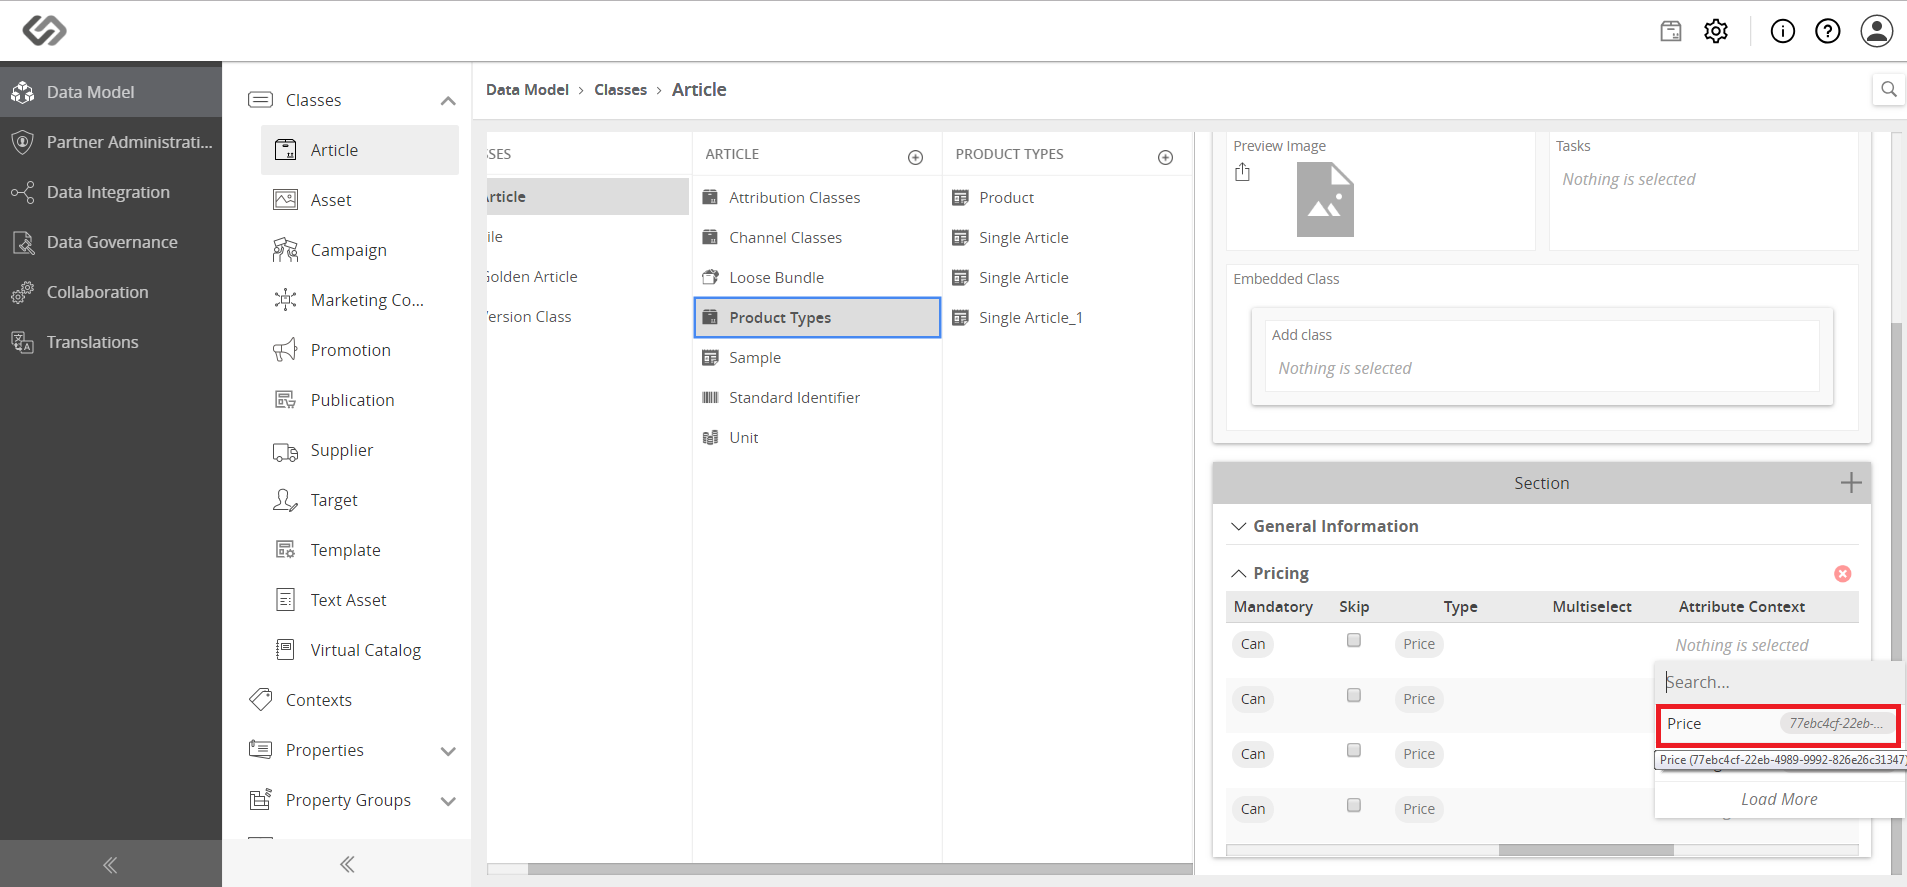
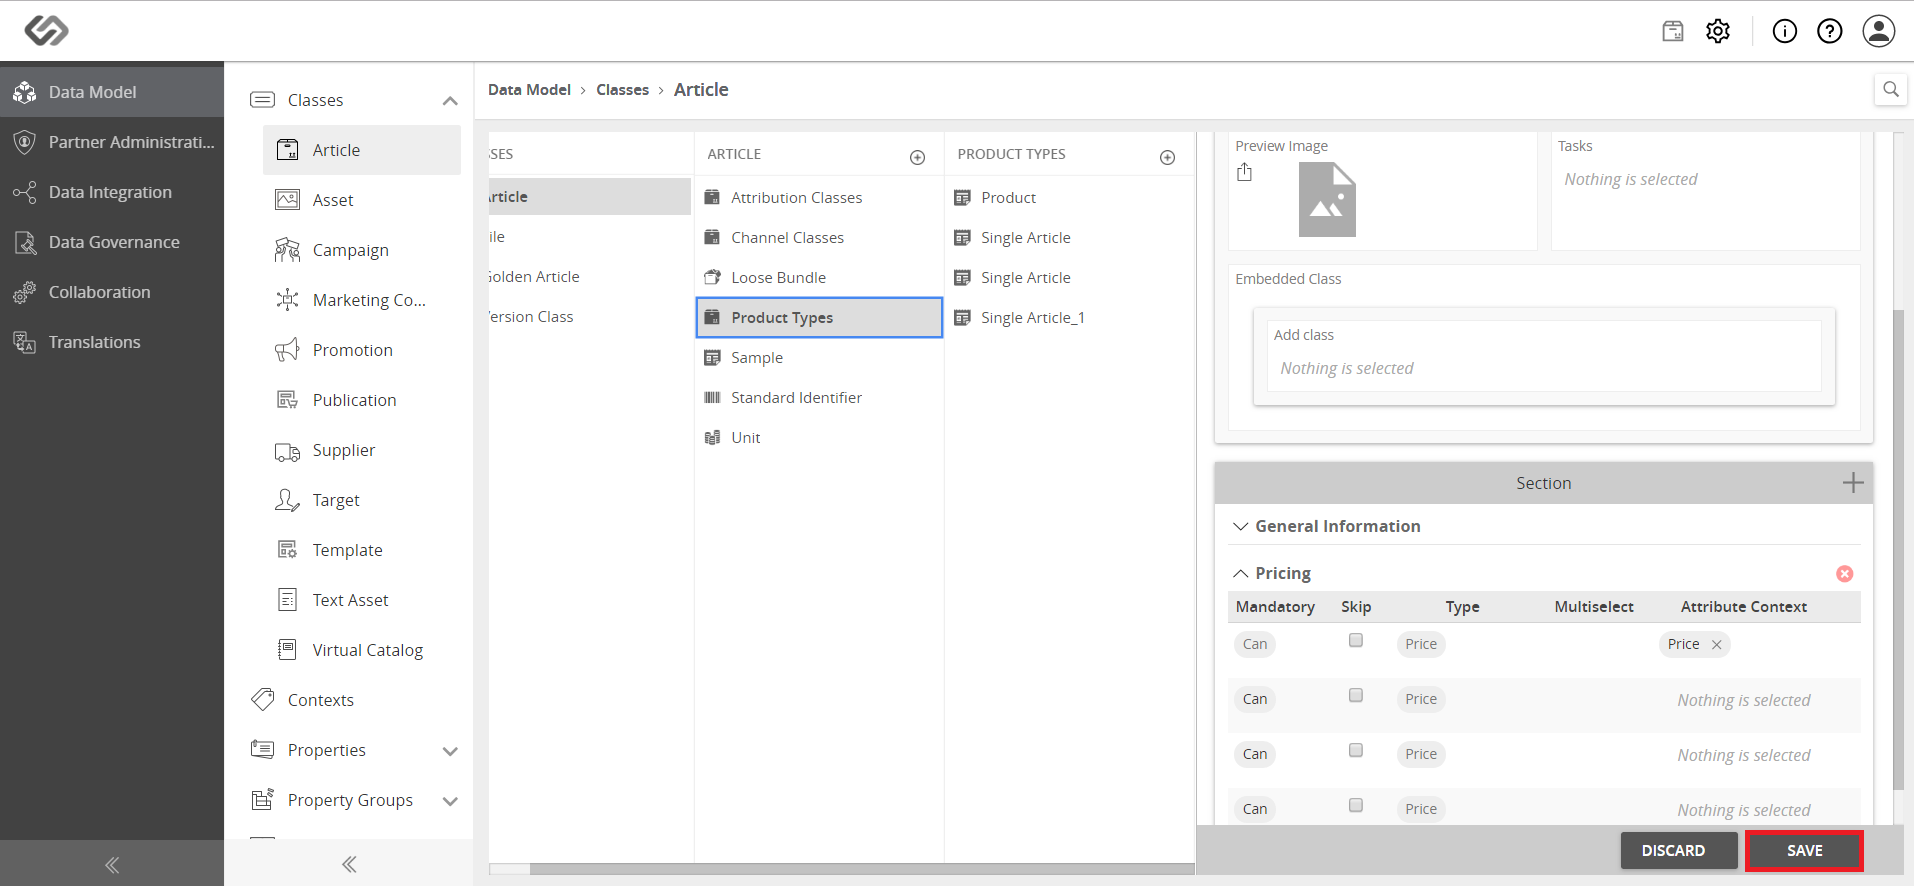
  • Click on the Save button and try the changes in runtime.
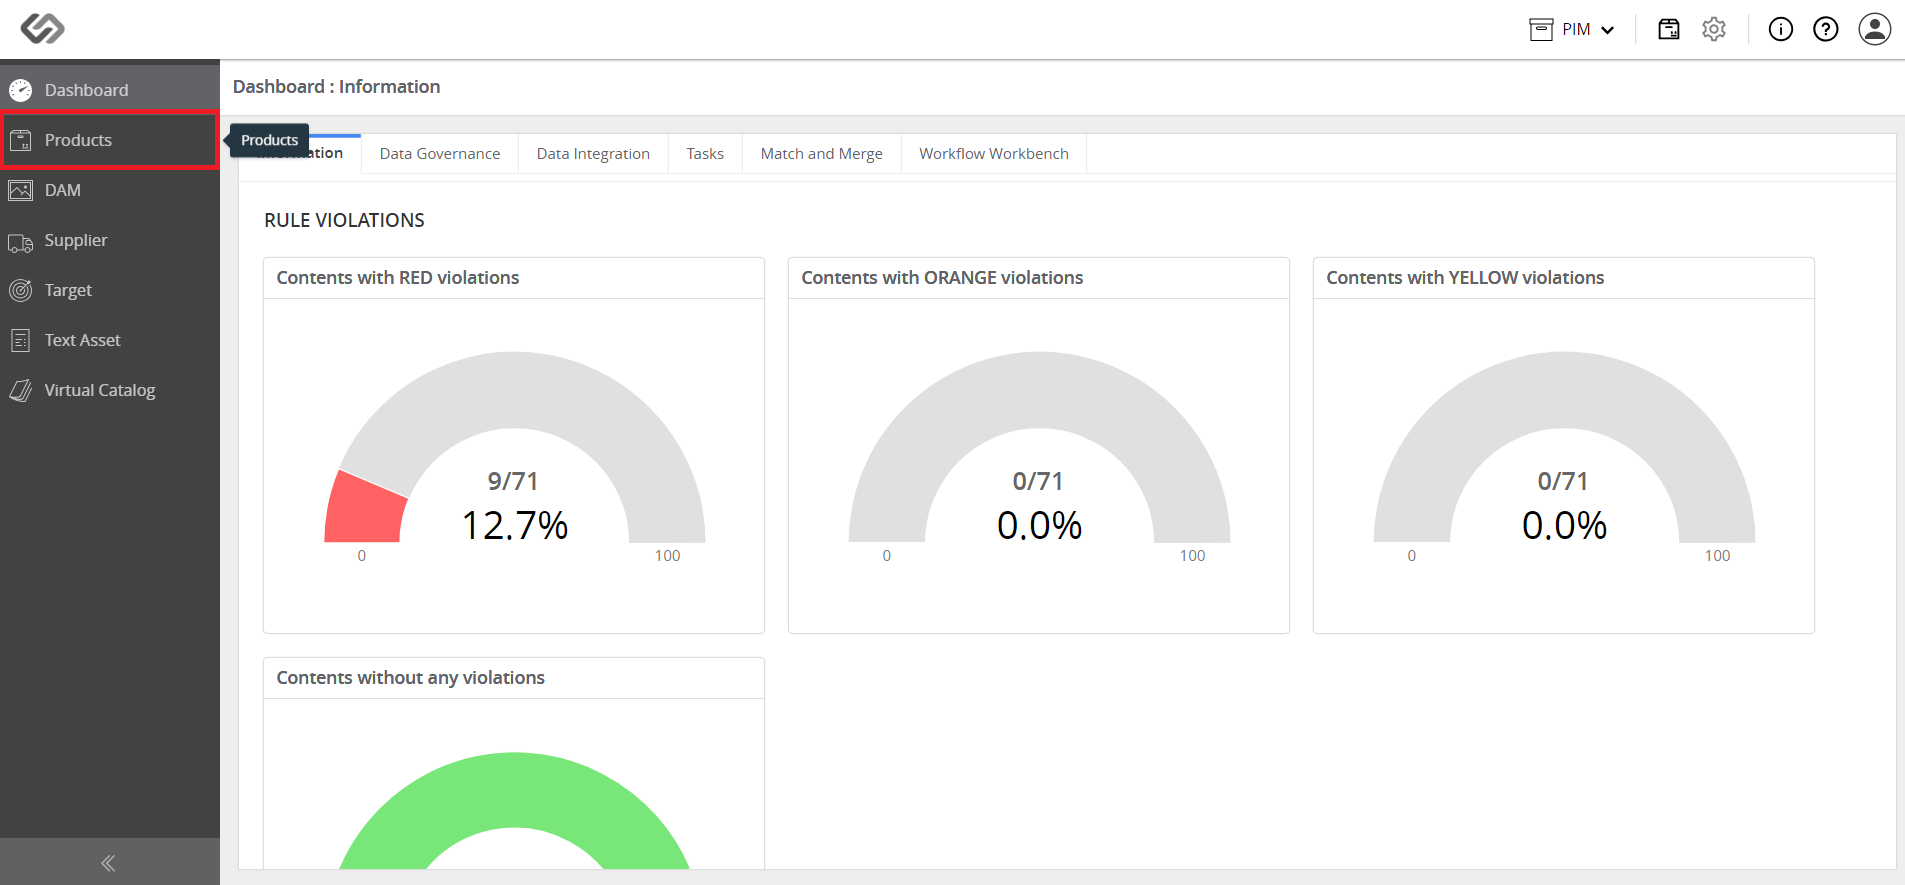
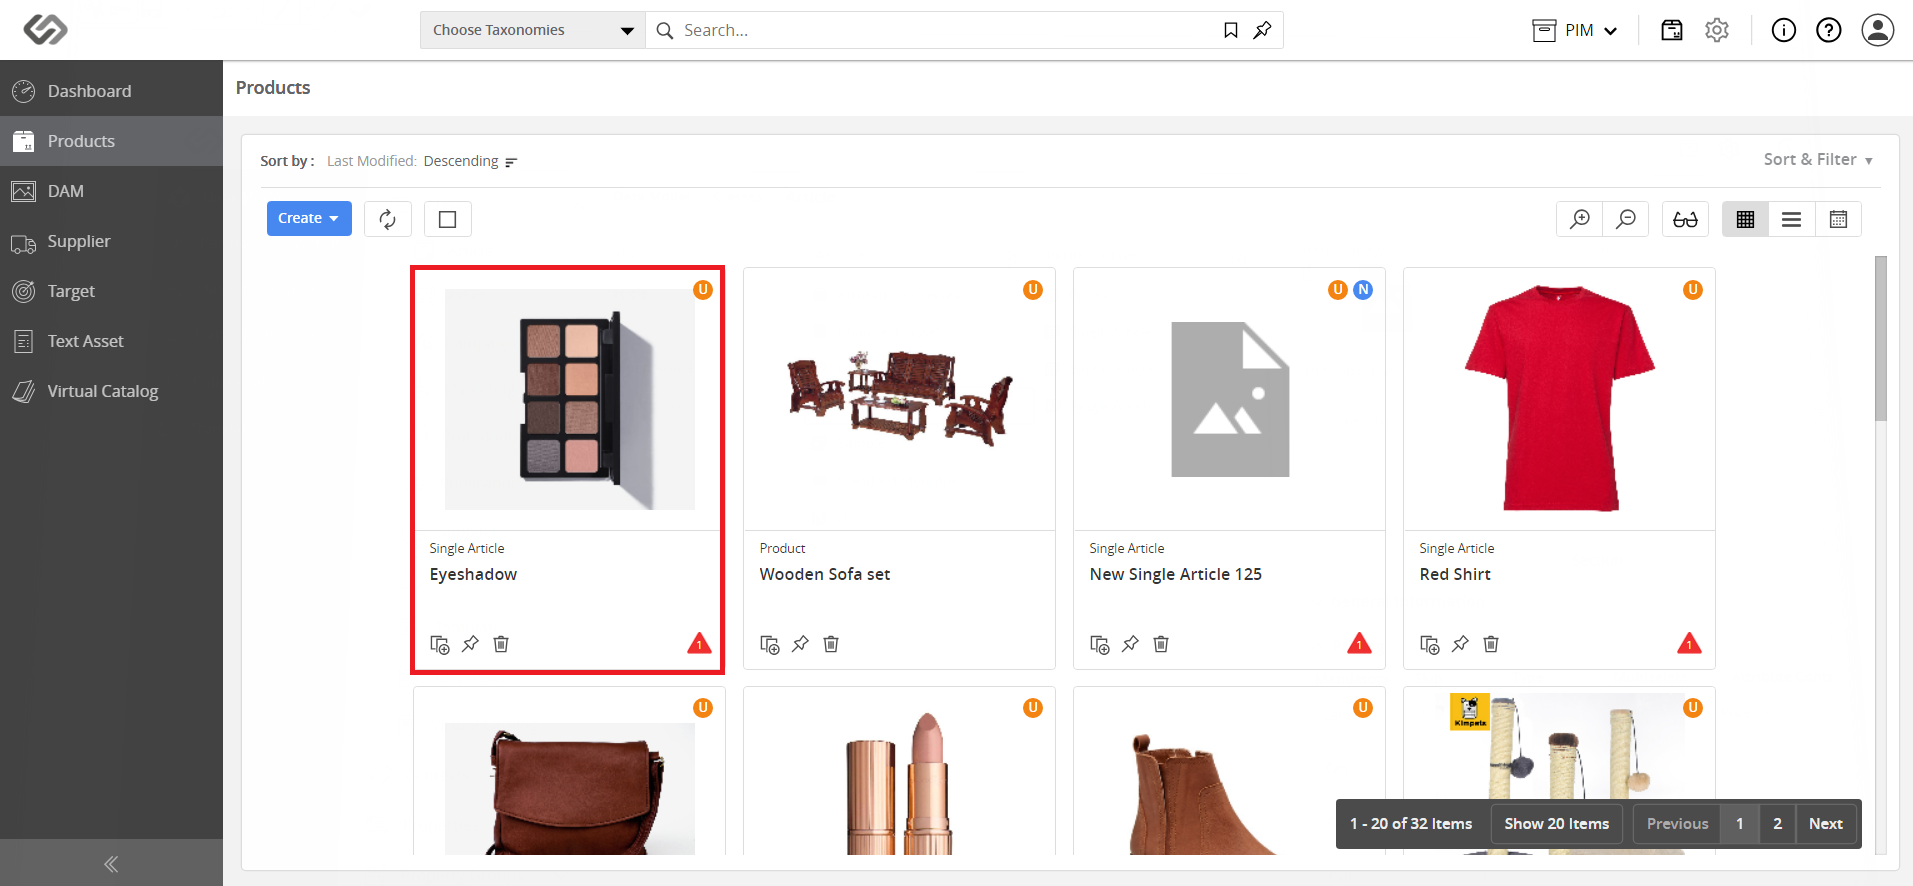
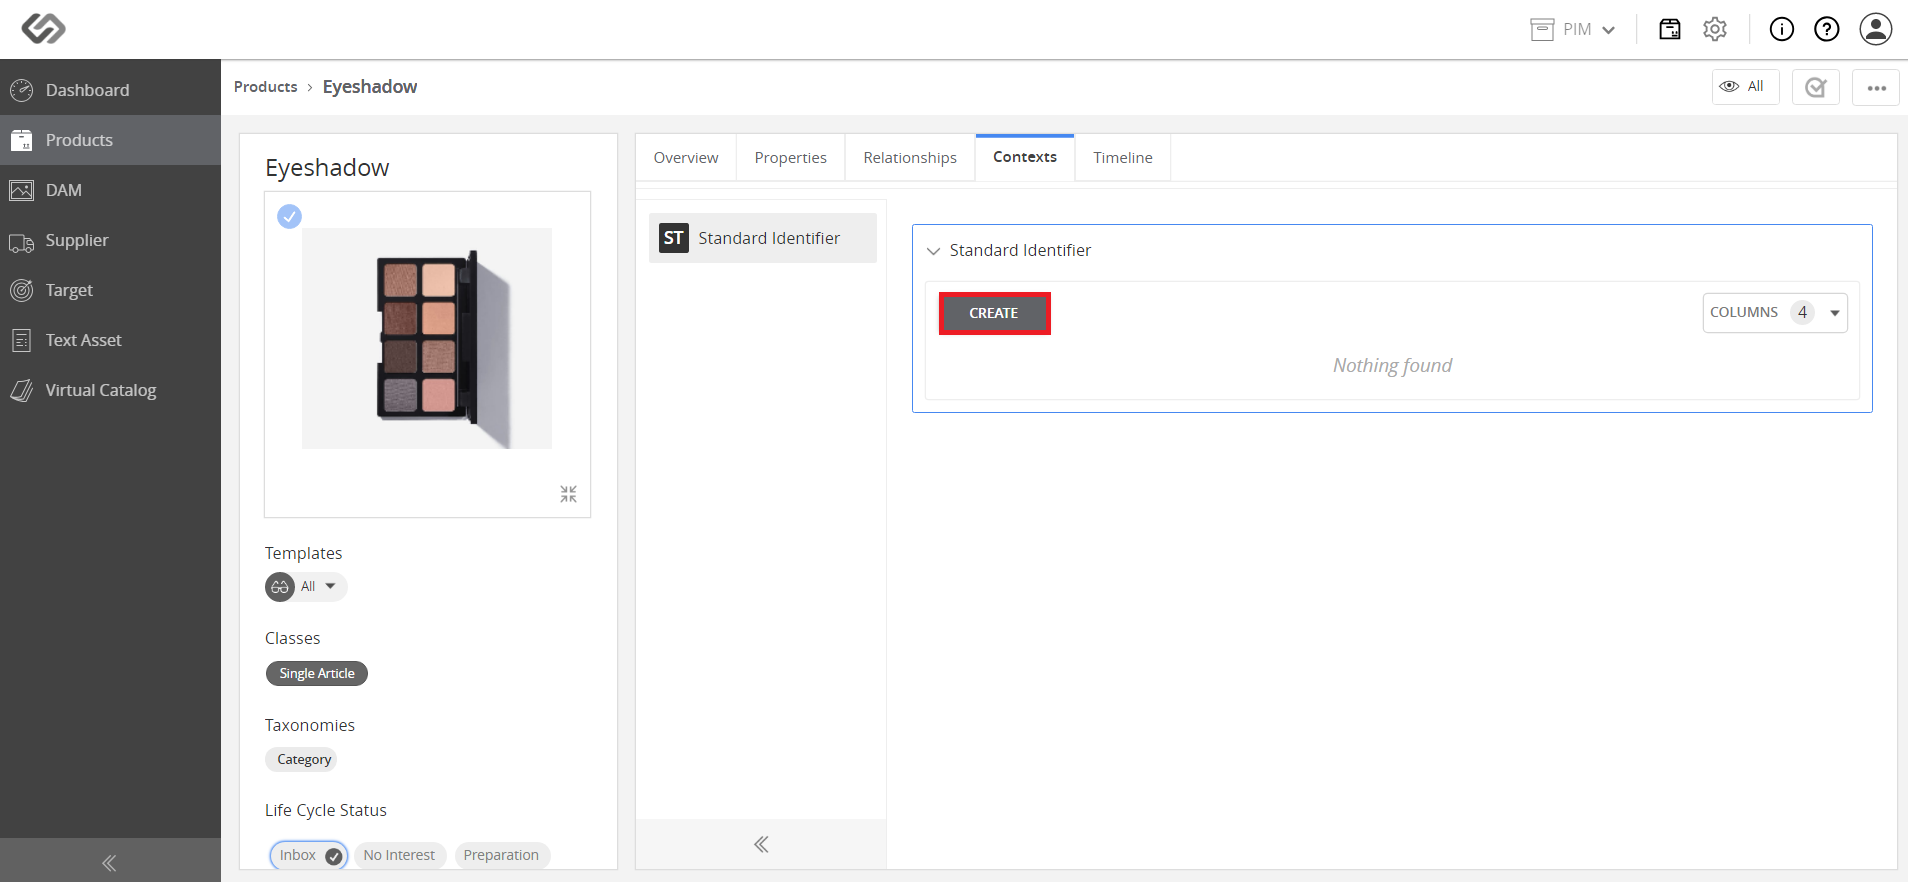
../../../../../_images/pxp_targetandchannel_clicksave.PNG


../../../../../_images/pxp_targetandchannel_clicksave2.PNG


../../../../../_images/pxp_targetandchannel_clicksave3.PNG


  • Select the product.
../../../../../_images/pxp_targetandchannel_selectproduct.PNG


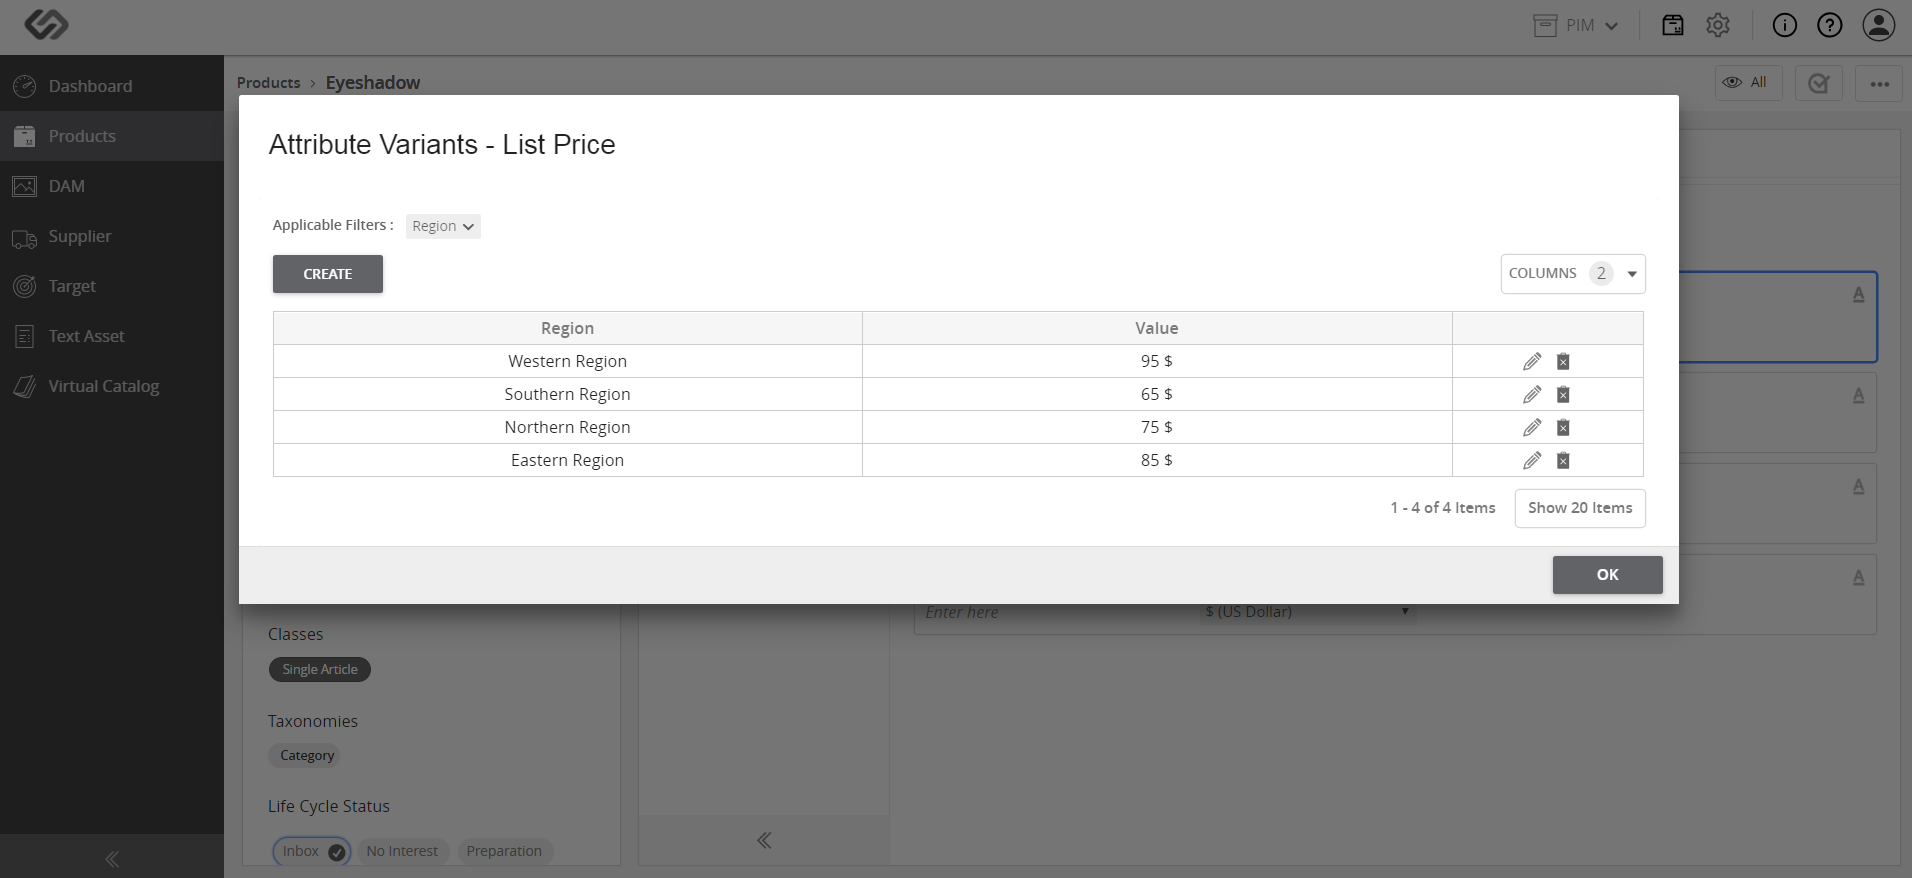
  • Create Attribute Variant for price.
../../../../../_images/pxp_targetandchannel_createattributevariant.PNG


../../../../../_images/pxp_targetandchannel_createattributevariant2.PNG


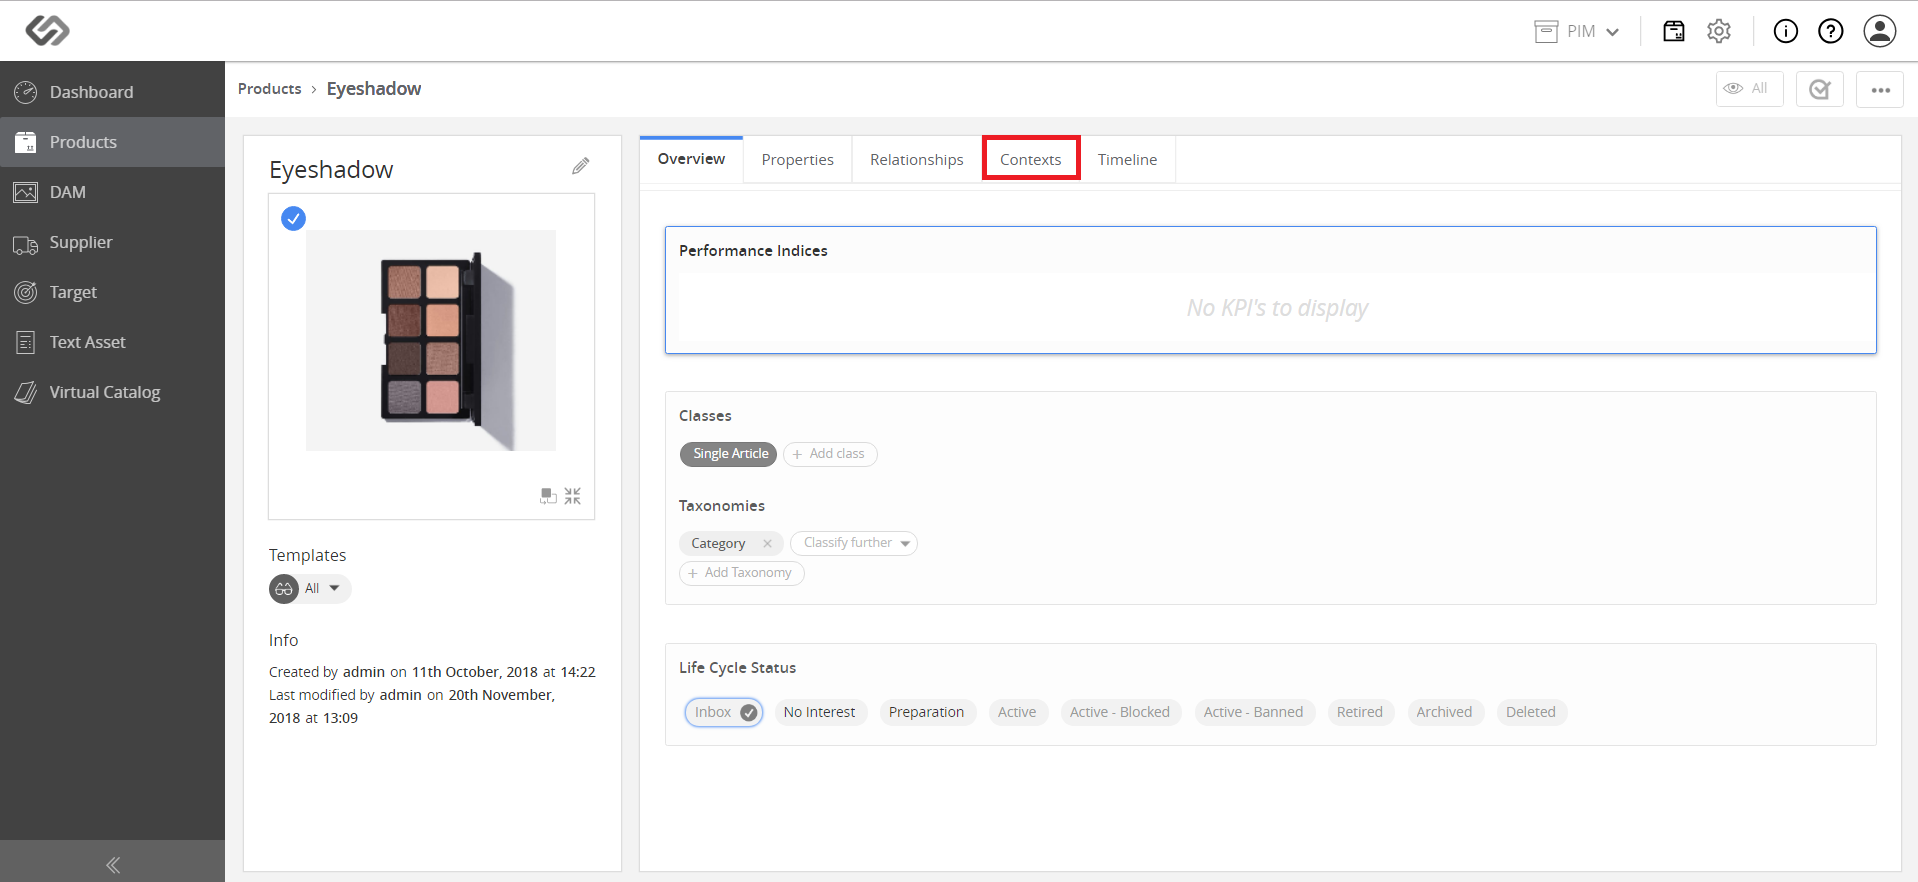
  • Select the tag group, enter the value for the attribute, and click on the Save button.
../../../../../_images/pxp_targetandchannel_selecttaggroup.PNG


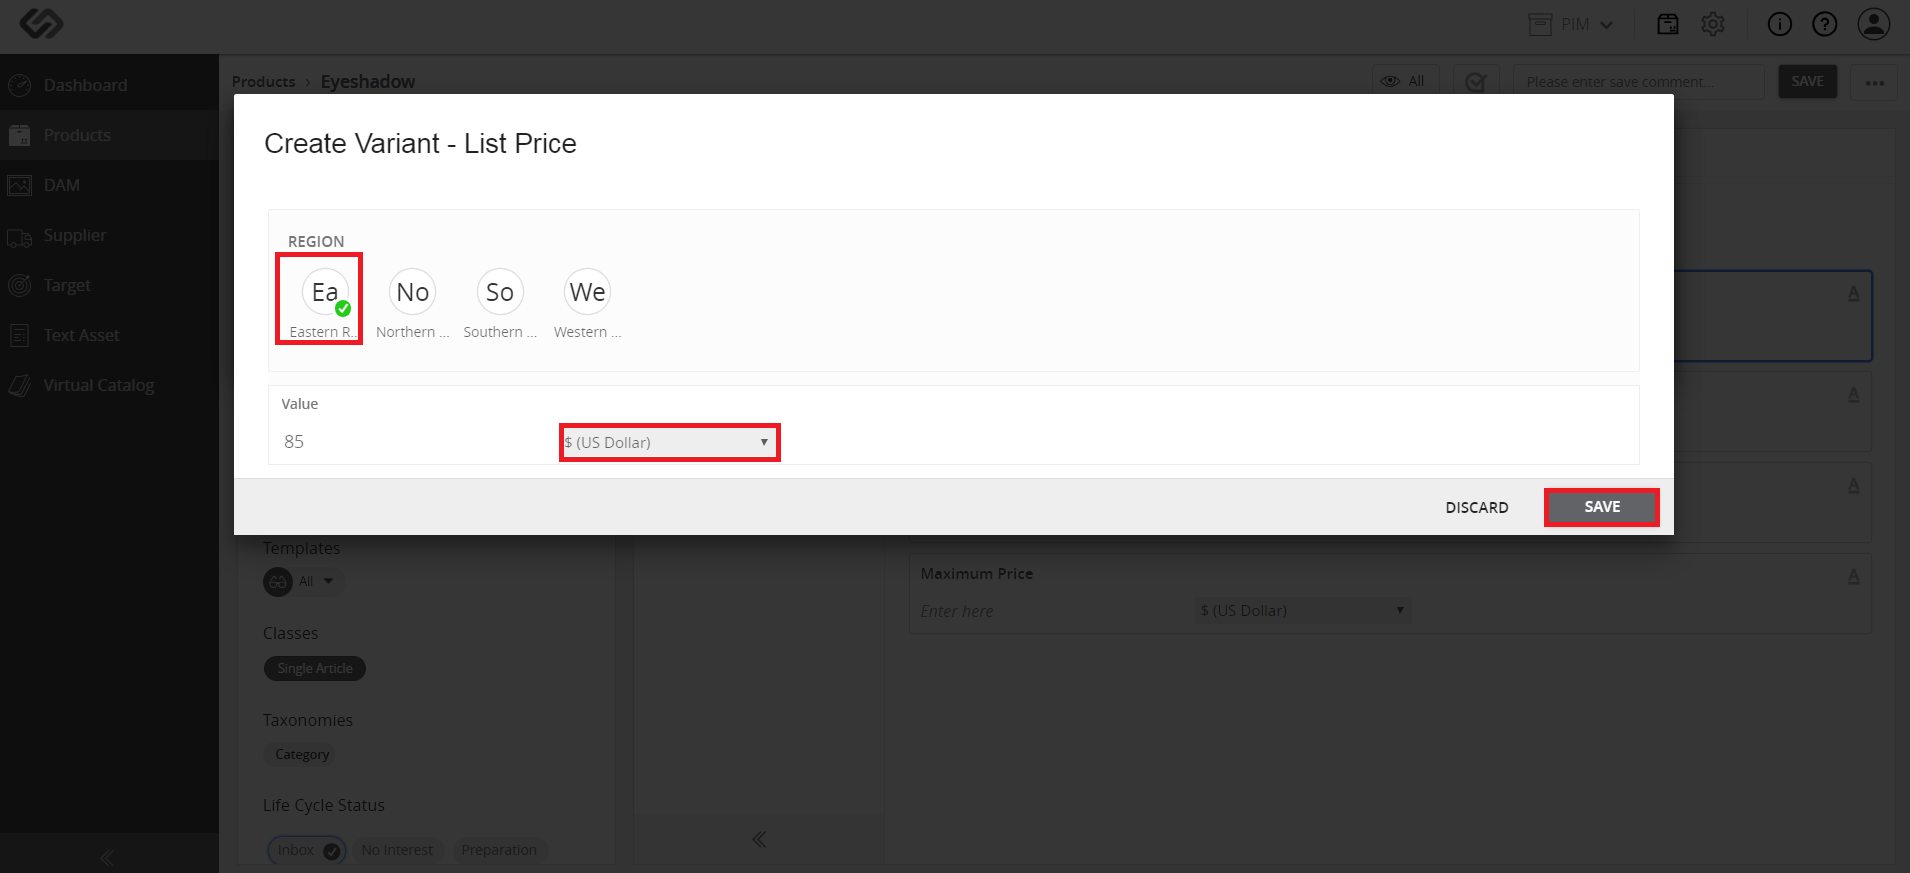
  • The screen should display something like the image below.
../../../../../_images/pxp_targetandchannel_screendisplay.PNG


Contentserv line