Manage View Templates

Manage View Templates lets you set up view templates that are customized to different users.

Key Term:
  • Taxonomy: a taxonomy is a scheme of classification used for an organization’s products.
Description:
  • Easily customize the templates and hide certain portions as necessary.
  • Create templates as per user’s requirements.
  • Show the custom template to the authorized users.
  • Hide certain modules within the product. Even portions of property collections can be hidden from certain users.
Related topics:
Application:
  • Limit the access of a user to certain information.

  • Hide sensitive information.

  • Example:

    Let’s say the marketing team does not want to show the promotions to a supplier. So what they can do is to create a customized template that does not show promotions and assign it to a role for the supplier to use.

How-to: Manage View Templates

Easily manage who gets to see what, and here’s how to do it.


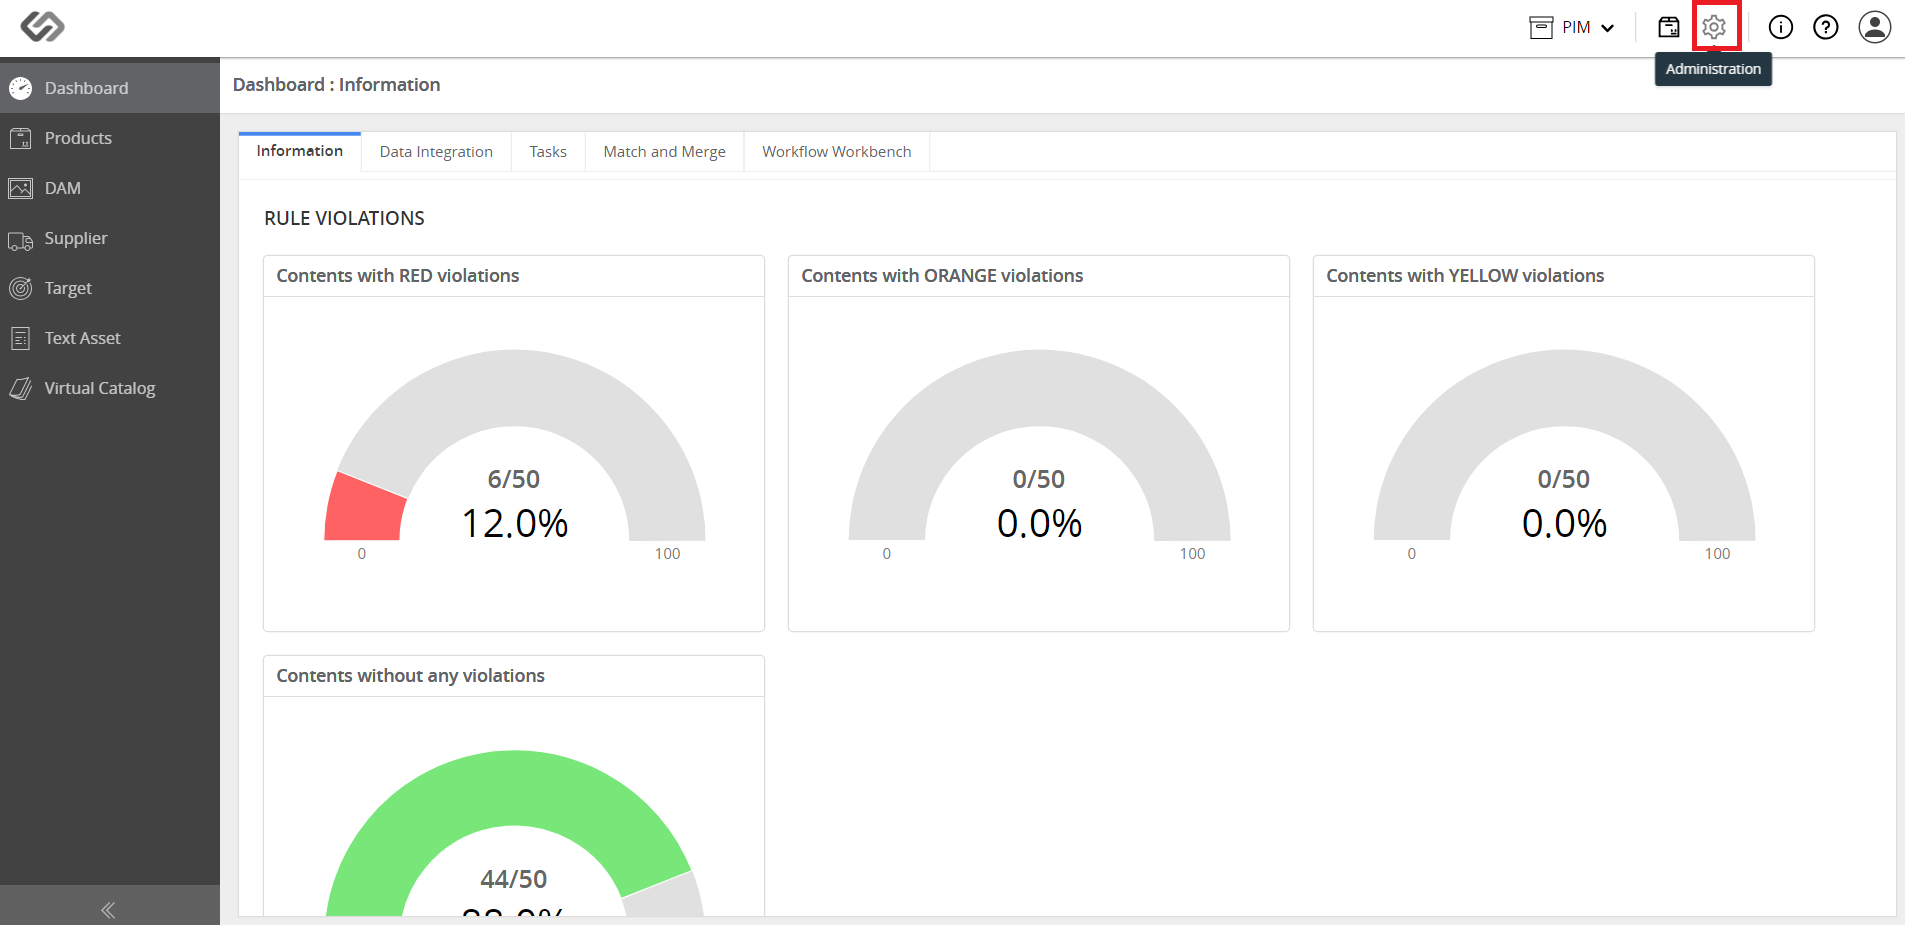
  • Log in and go to Administration.
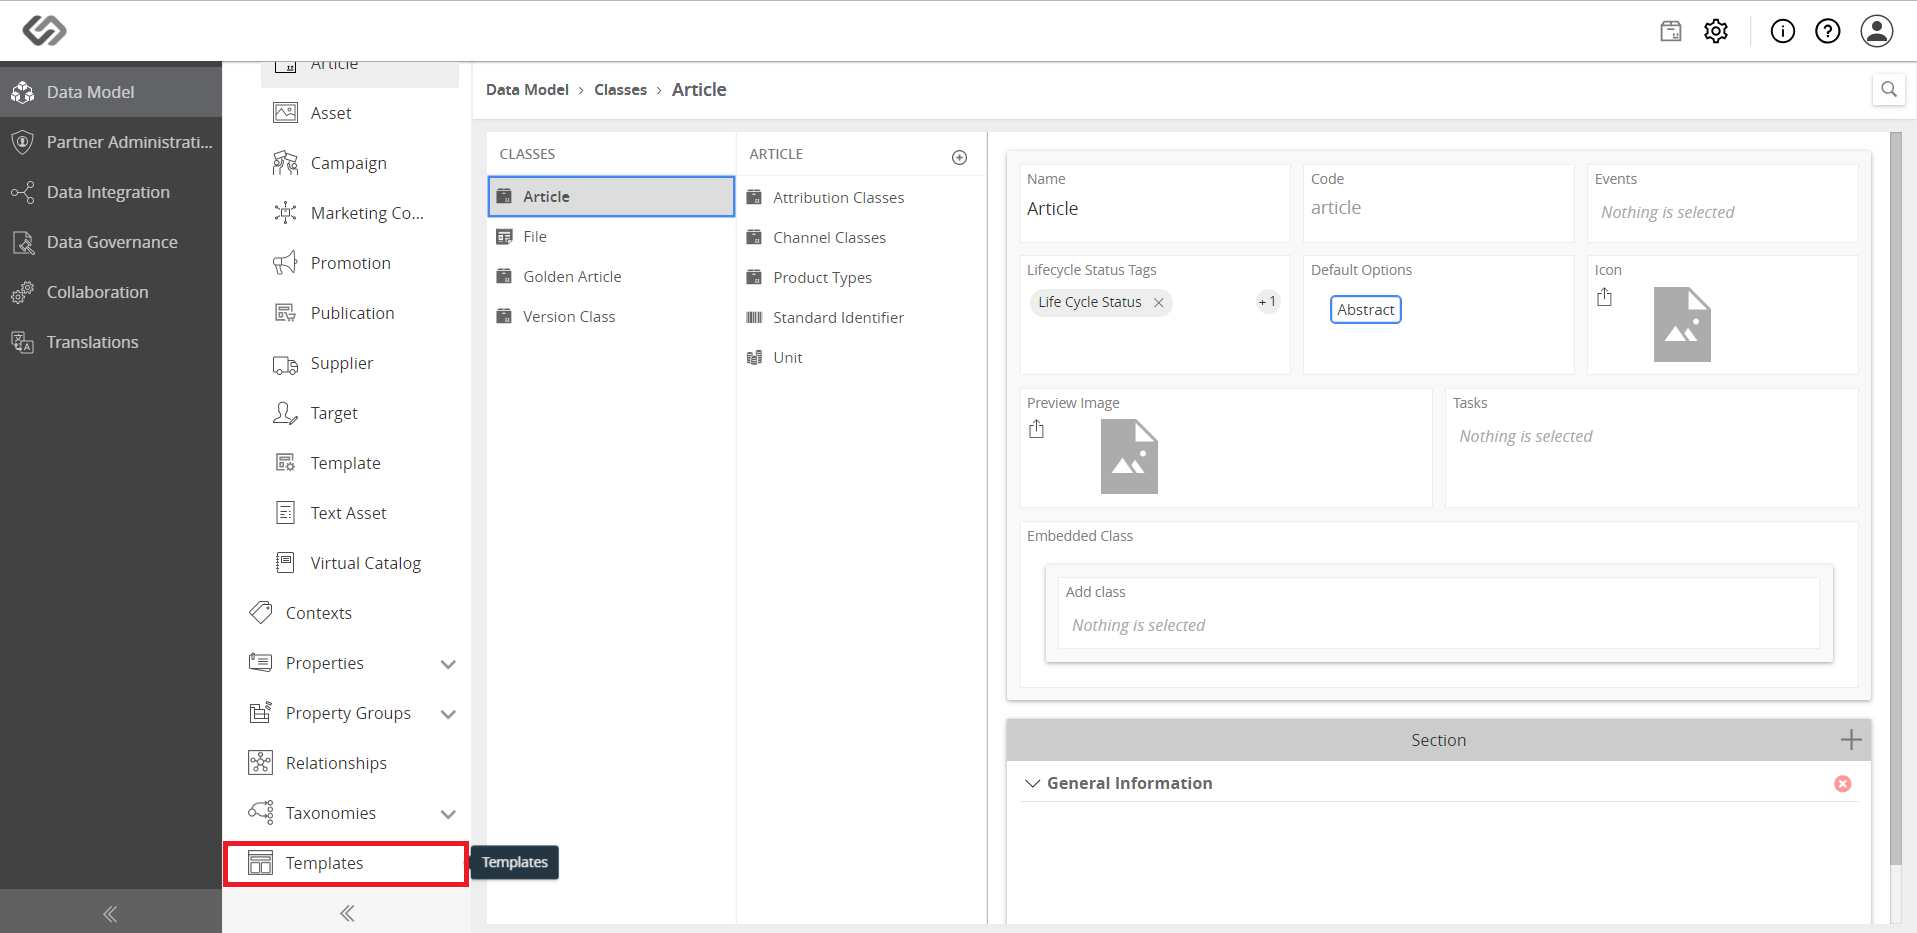
../../../../../_images/pxp_manageviewtemplates_clickadministration.PNG


  • Click on Templates.
../../../../../_images/pxp_manageviewtemplates_clicktemplatesb.PNG


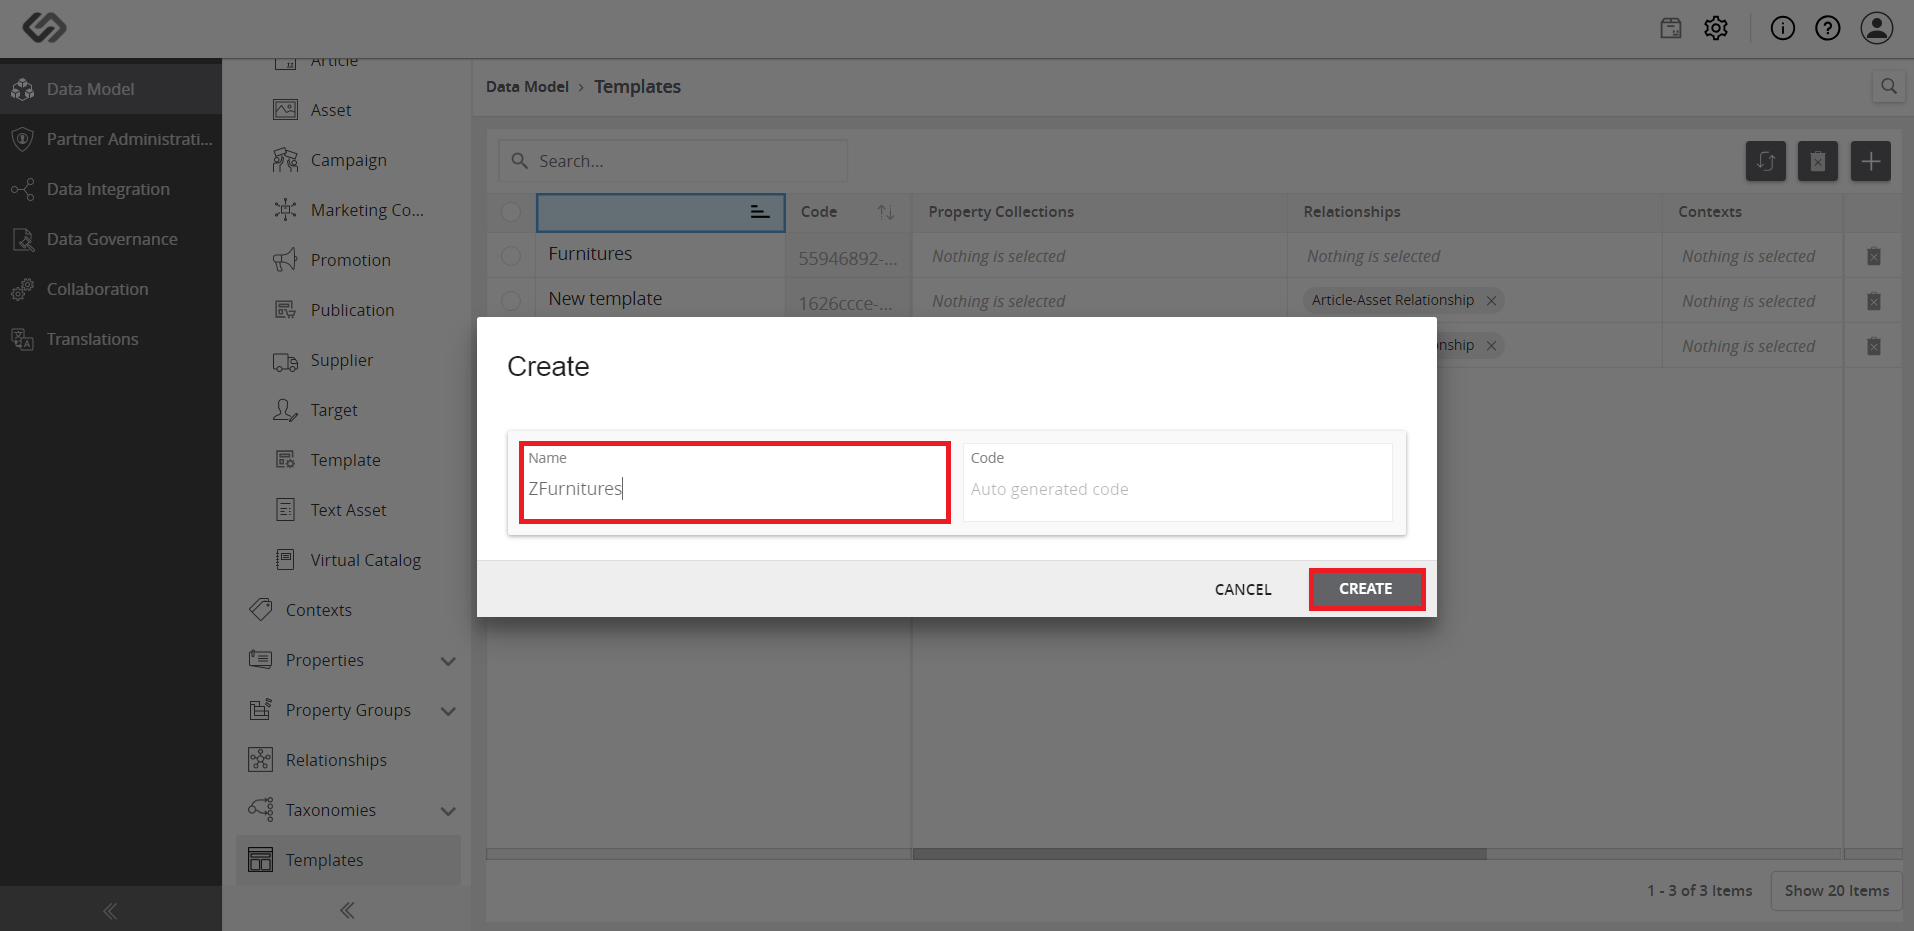
  • Click the ‘+’ icon to create a new template. The left pane shows the default templates.
../../../../../_images/pxp_manageviewtemplates_clickplus.PNG


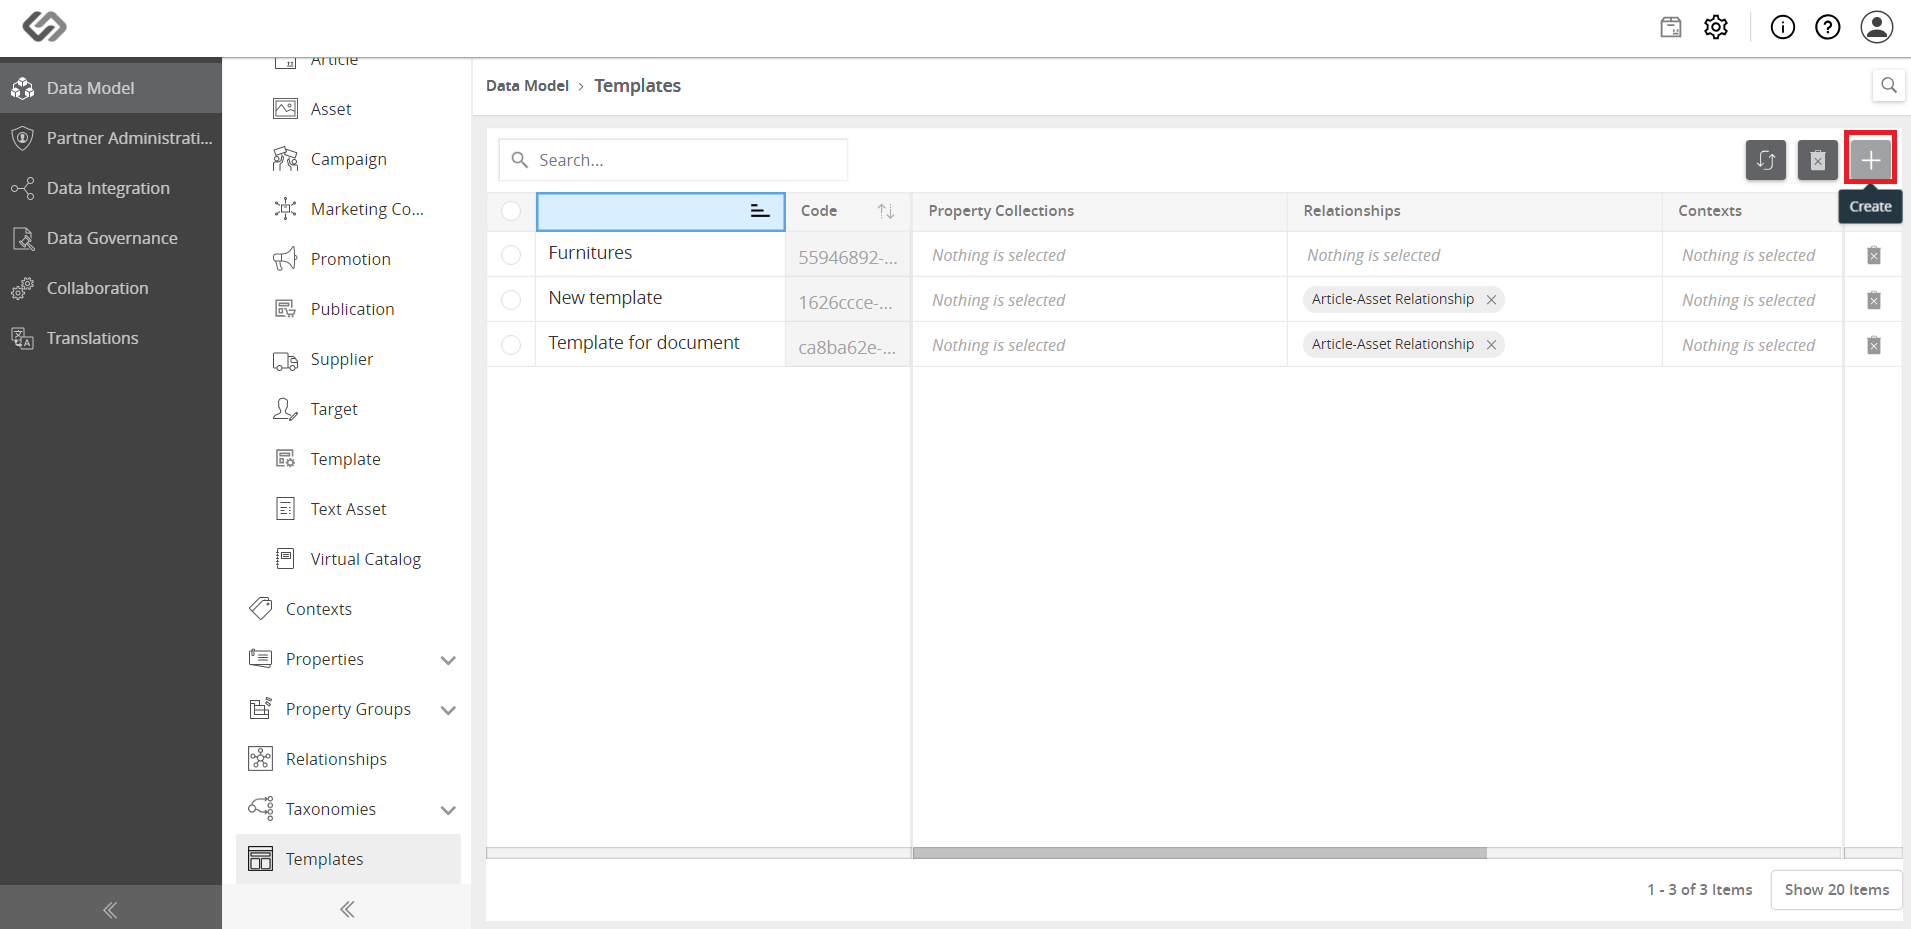
  • Enter the name for the template and click the Create button.
../../../../../_images/pxp_manageviewtemplates_entername.PNG


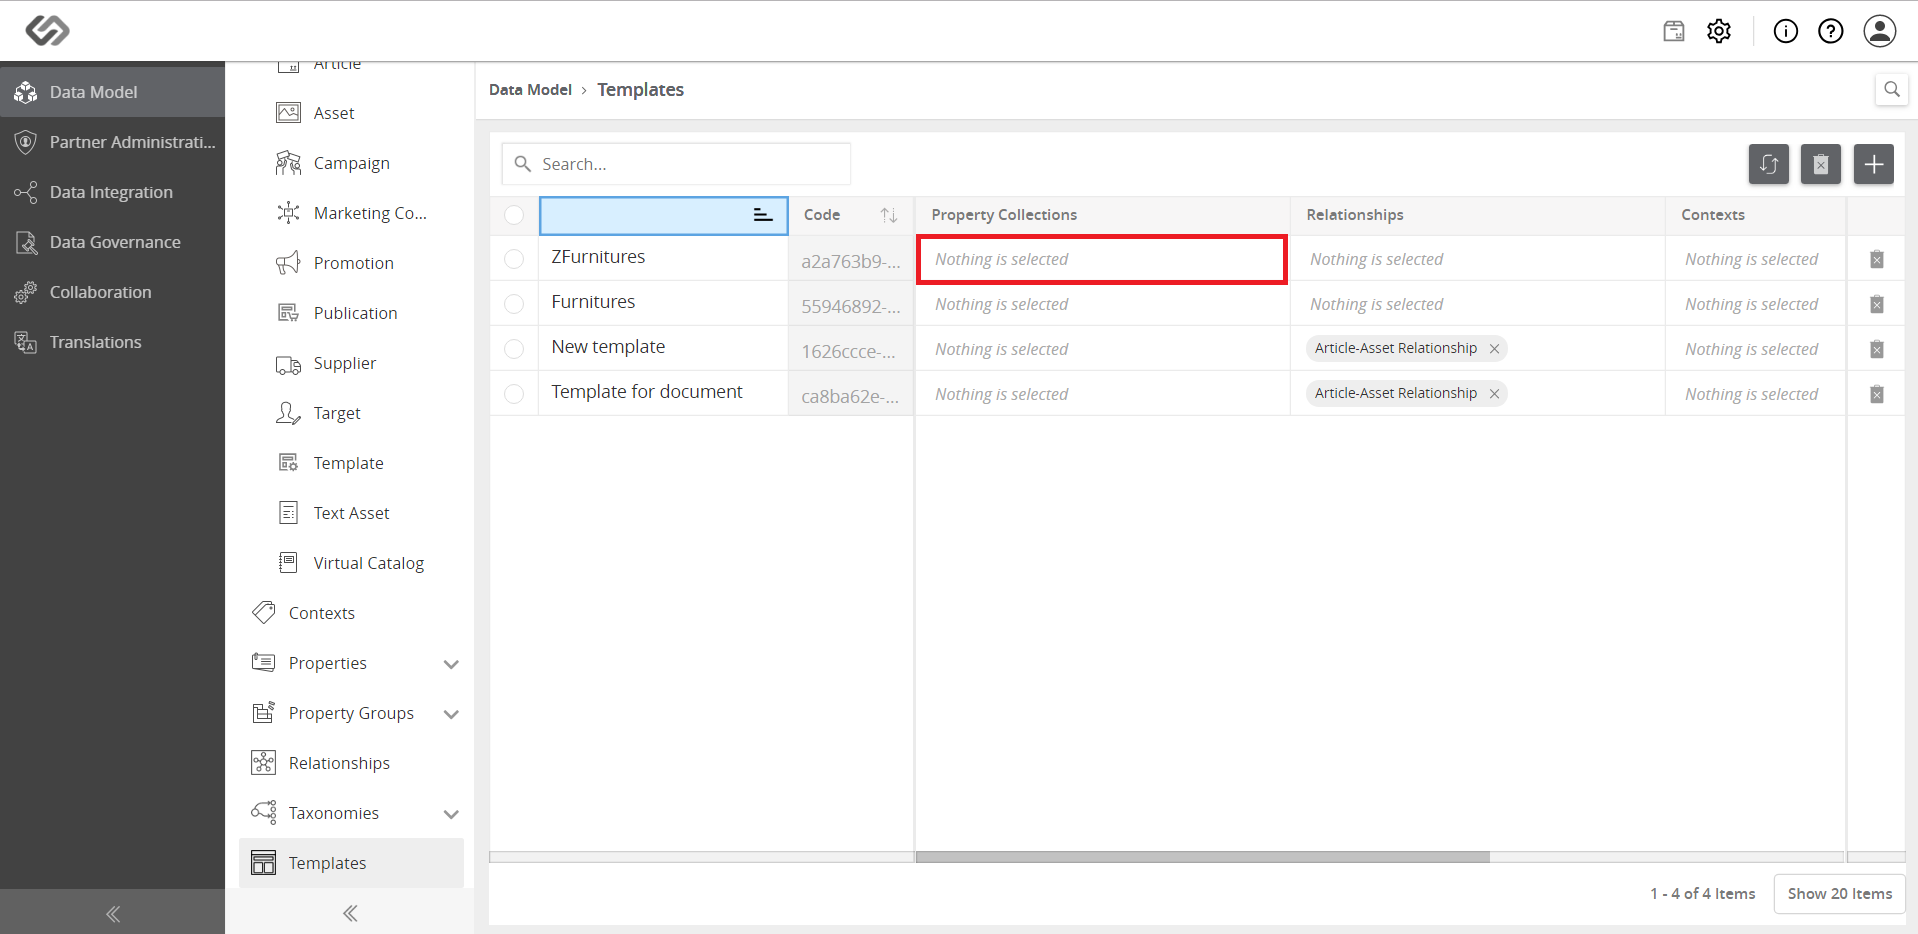
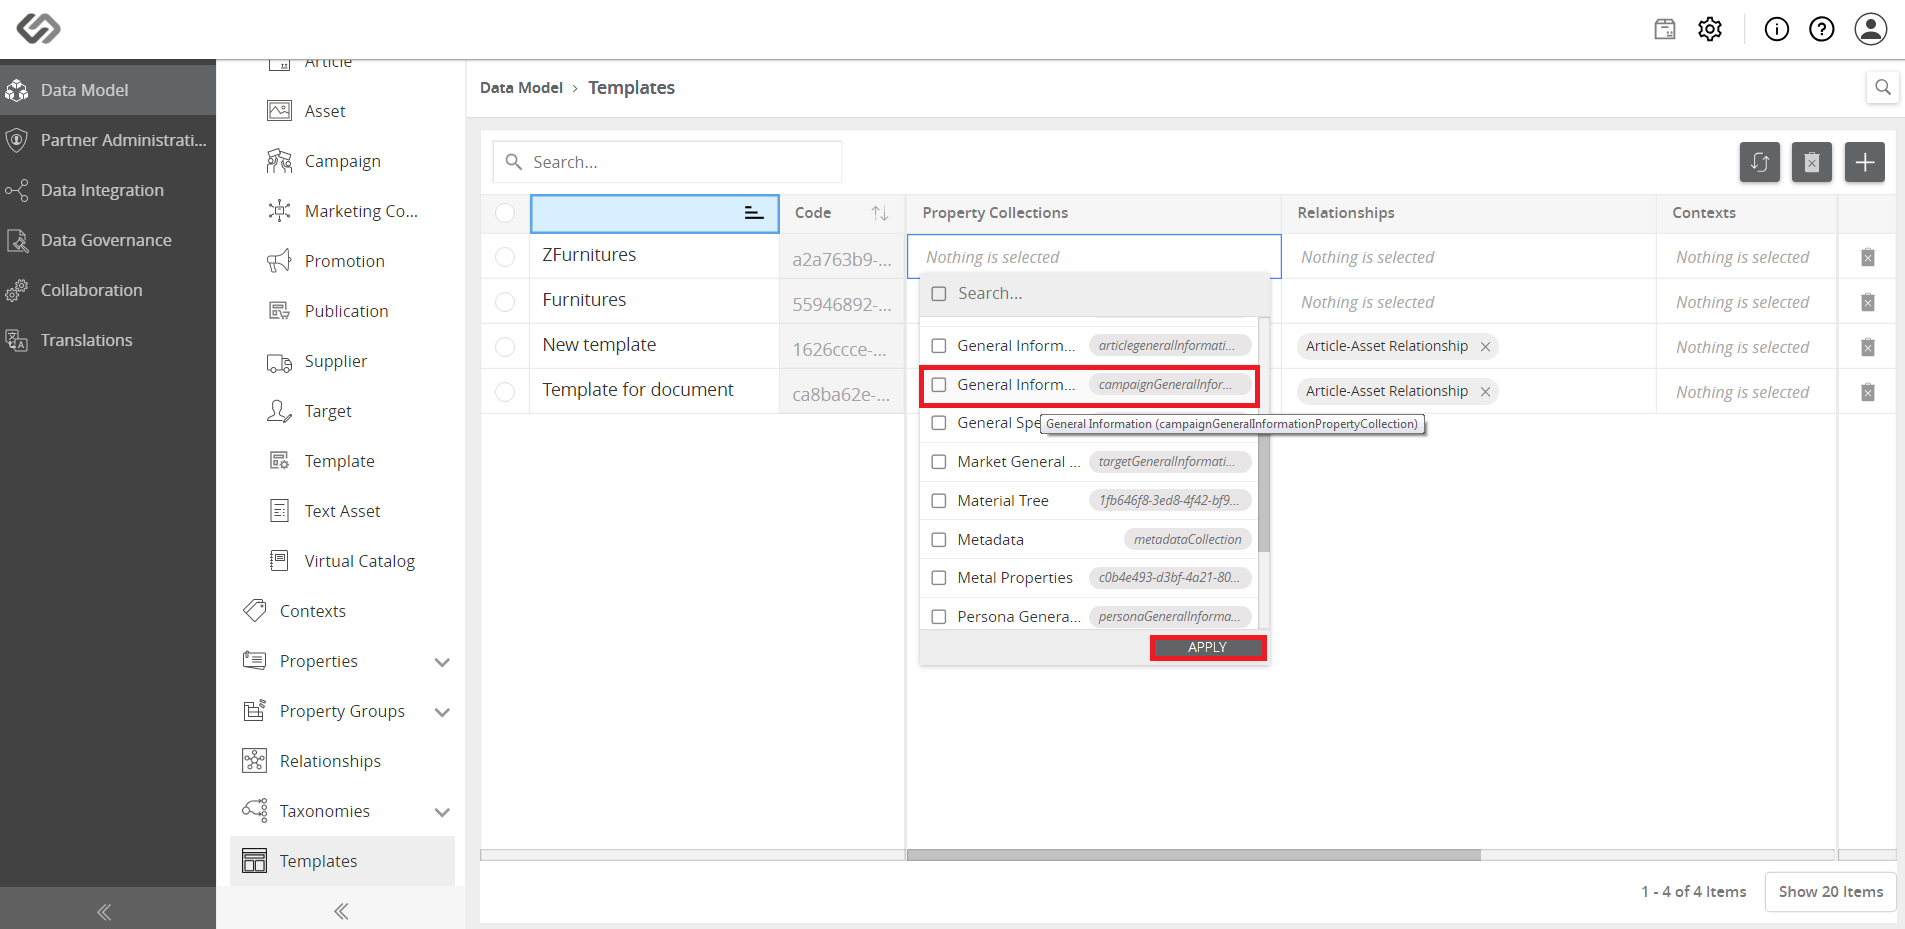
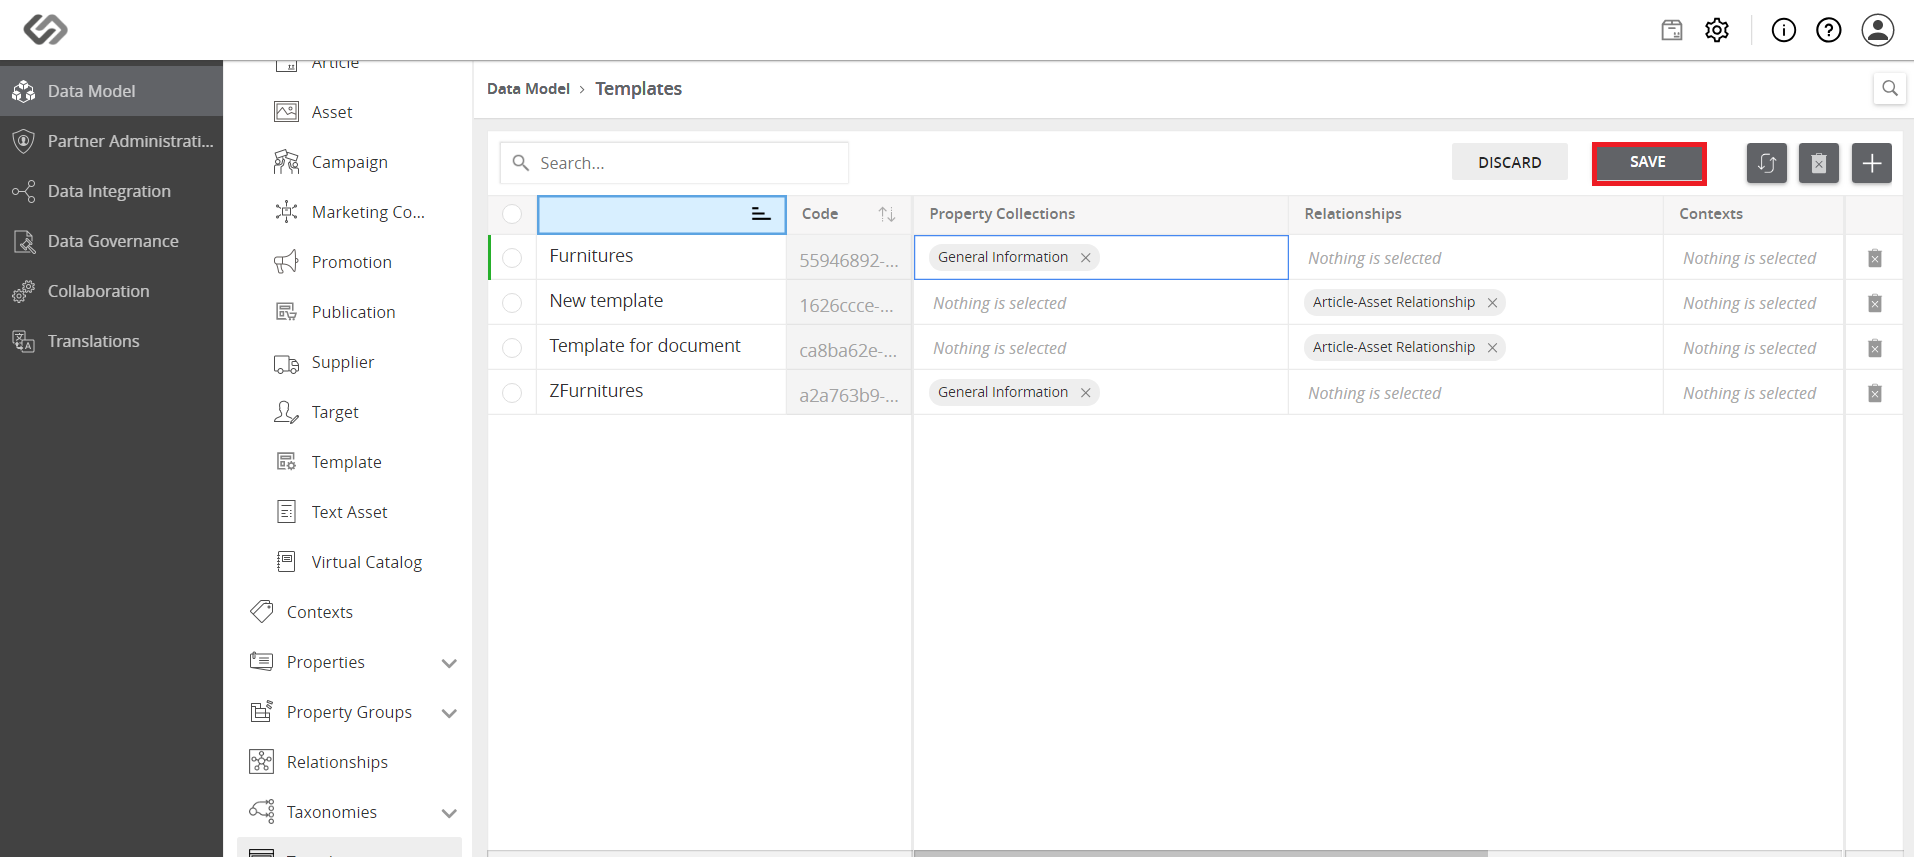
  • Click to select the desired property collection and click the Save button.
../../../../../_images/pxp_manageviewtemplates_clickaddproperty.PNG


../../../../../_images/pxp_manageviewtemplates_clickaddproperty2.PNG


../../../../../_images/pxp_manageviewtemplates_clickaddproperty3.PNG


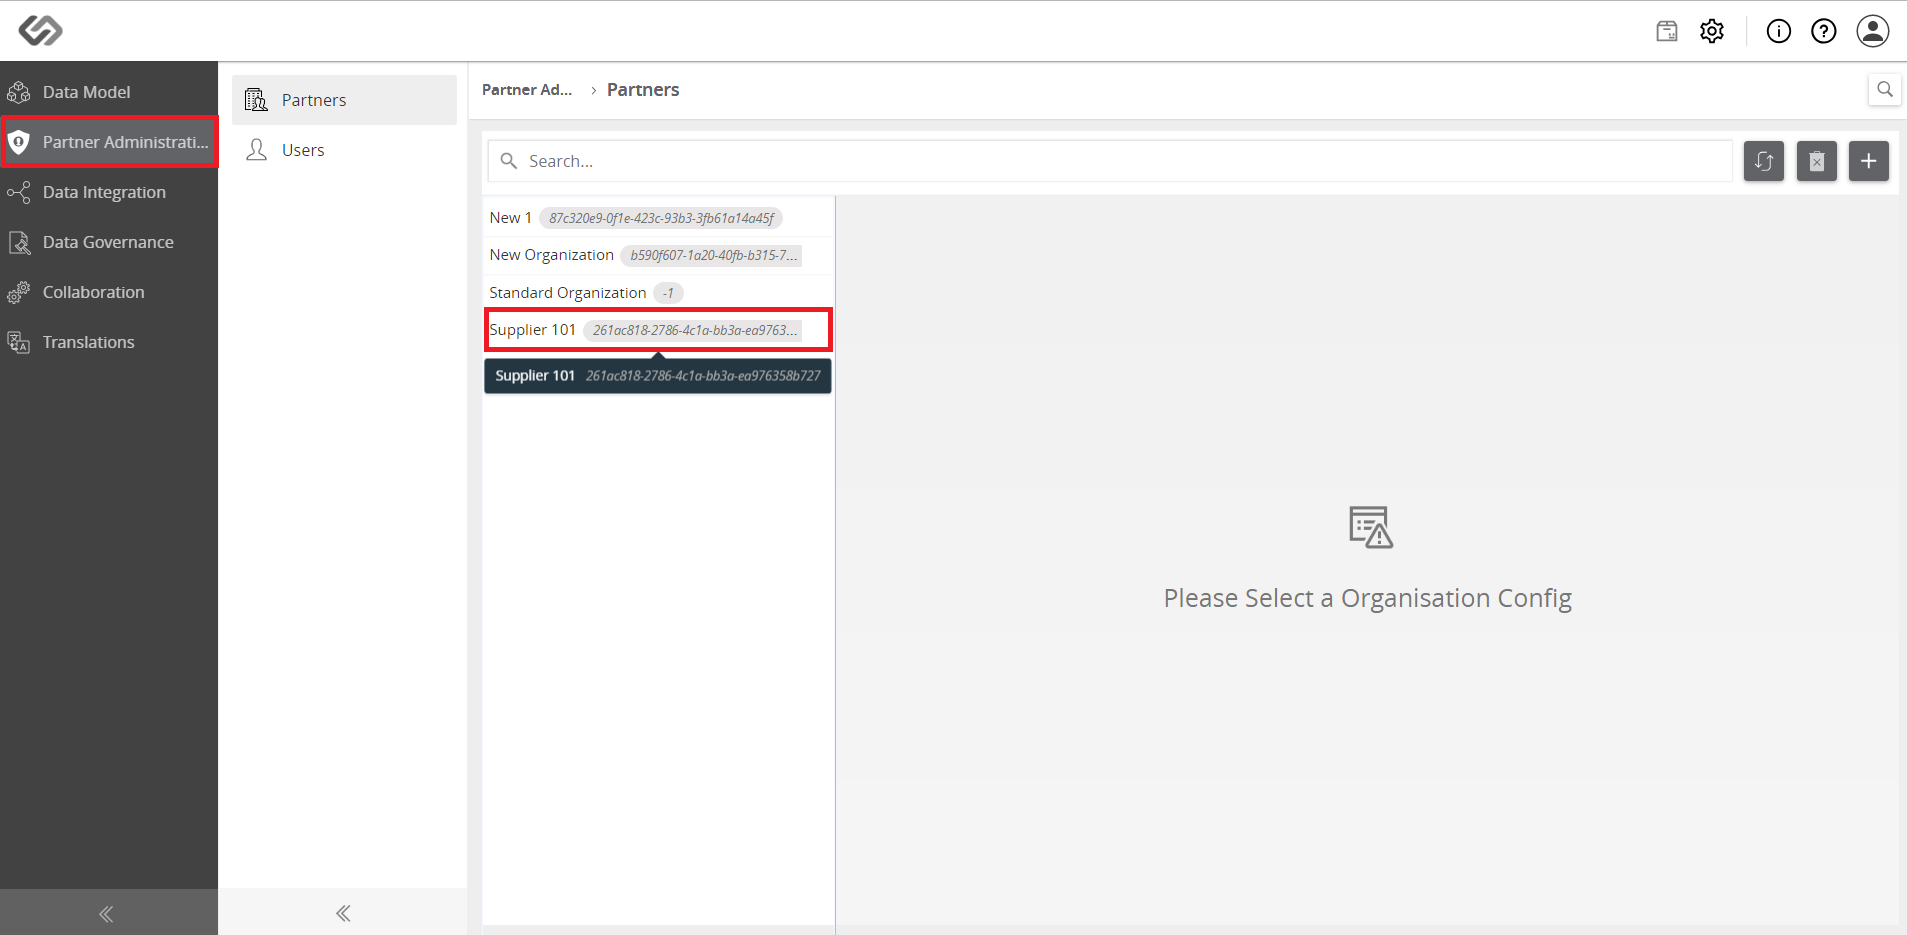
  • Go to Partner Administration, and select a partner from the list. In this demo, we selected ‘Suppliers 101’.
../../../../../_images/pxp_manageviewtemplates_gotopartneradministration.PNG


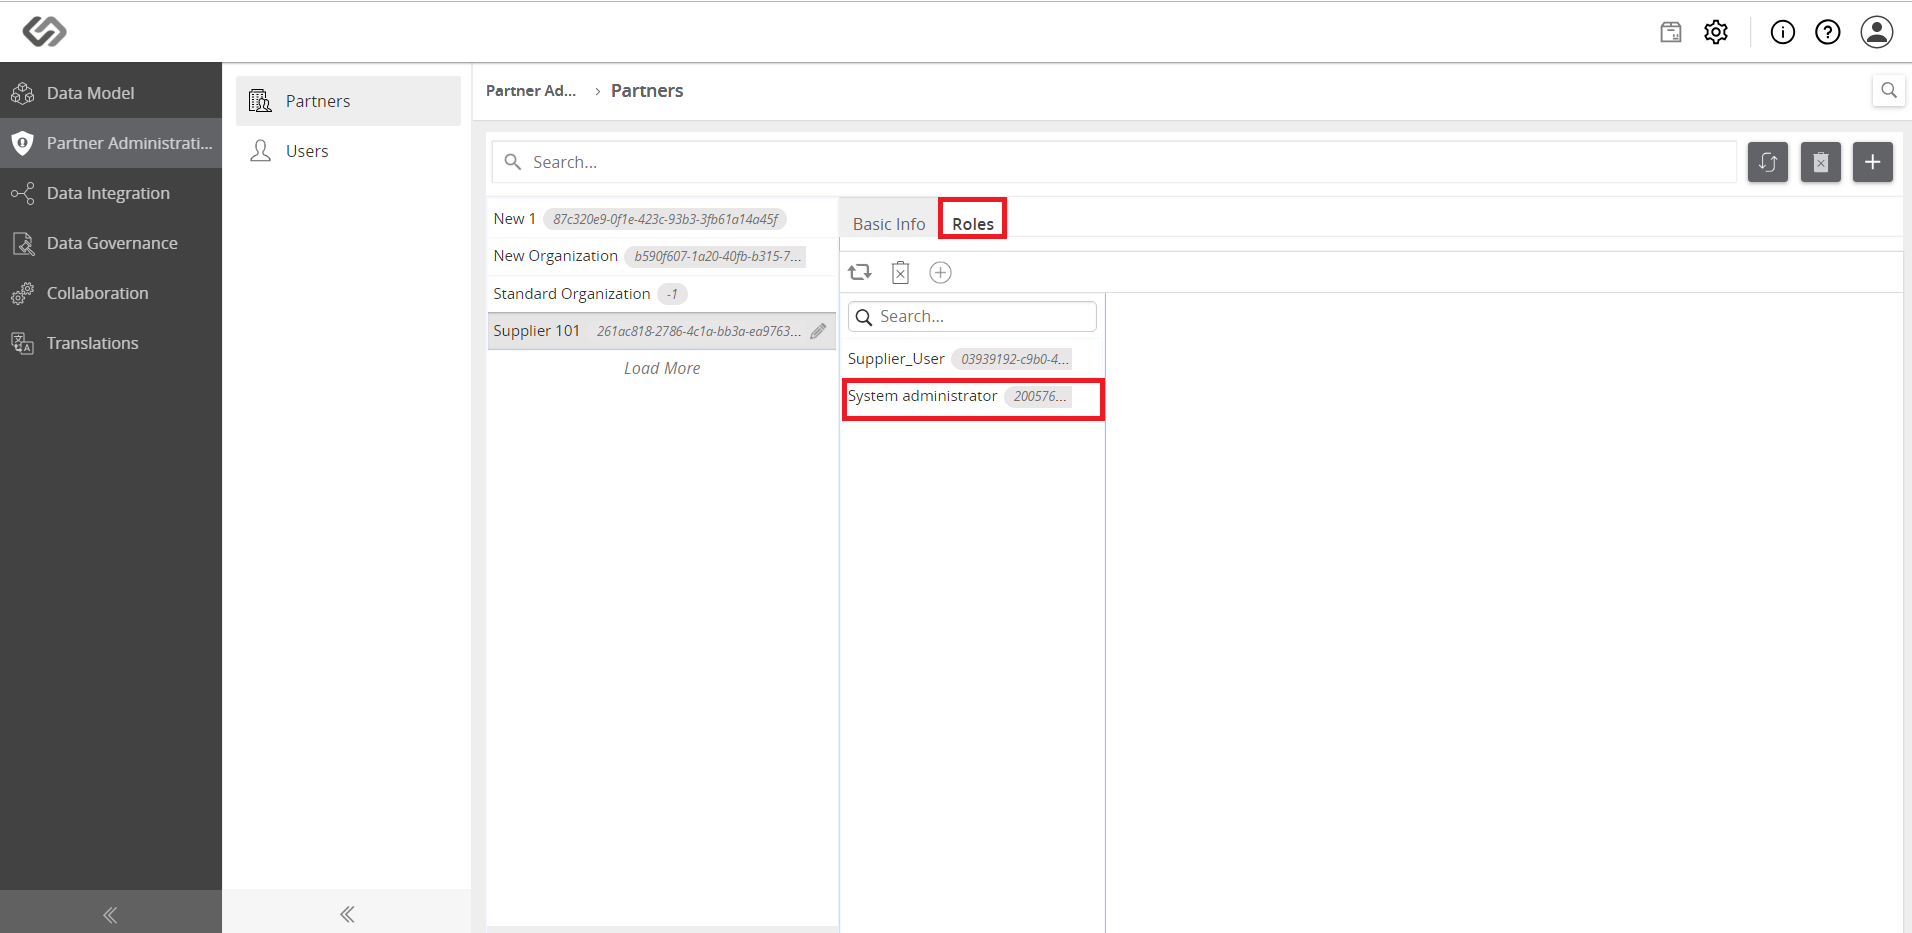
  • Click the Roles tab and select a role from the list to which the template is to be assigned.
../../../../../_images/pxp_manageviewtemplates_clickrolestab.PNG


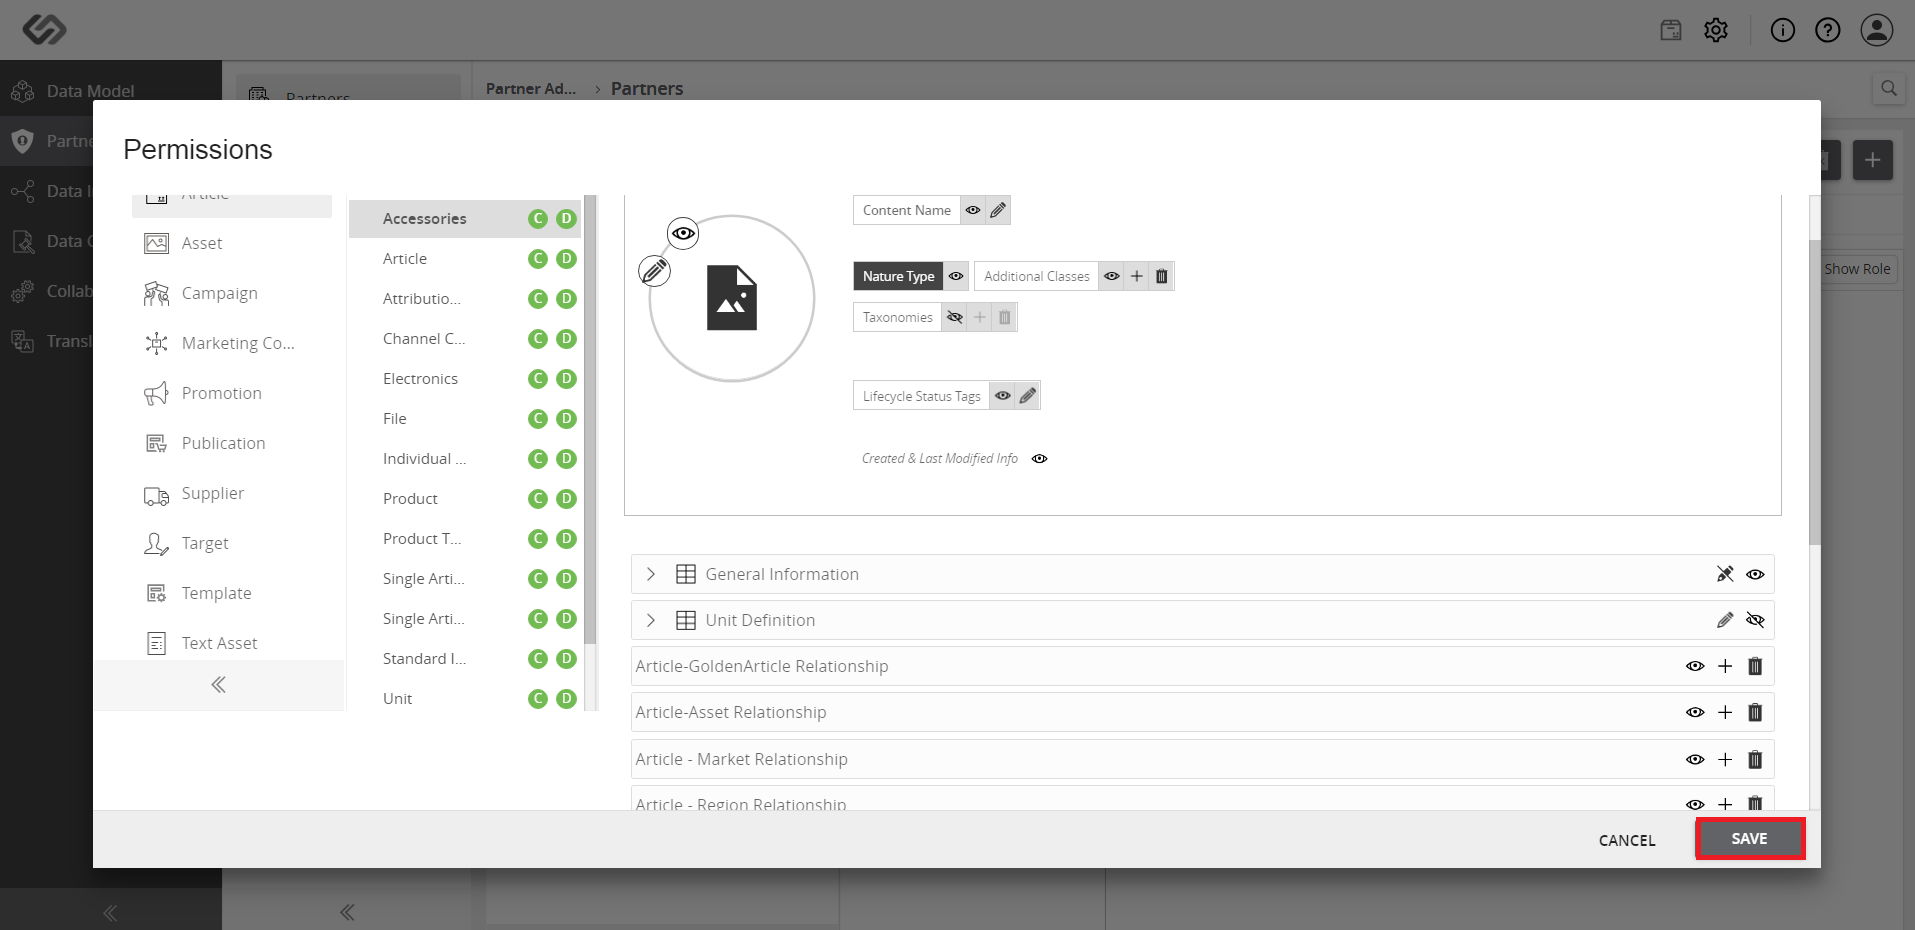
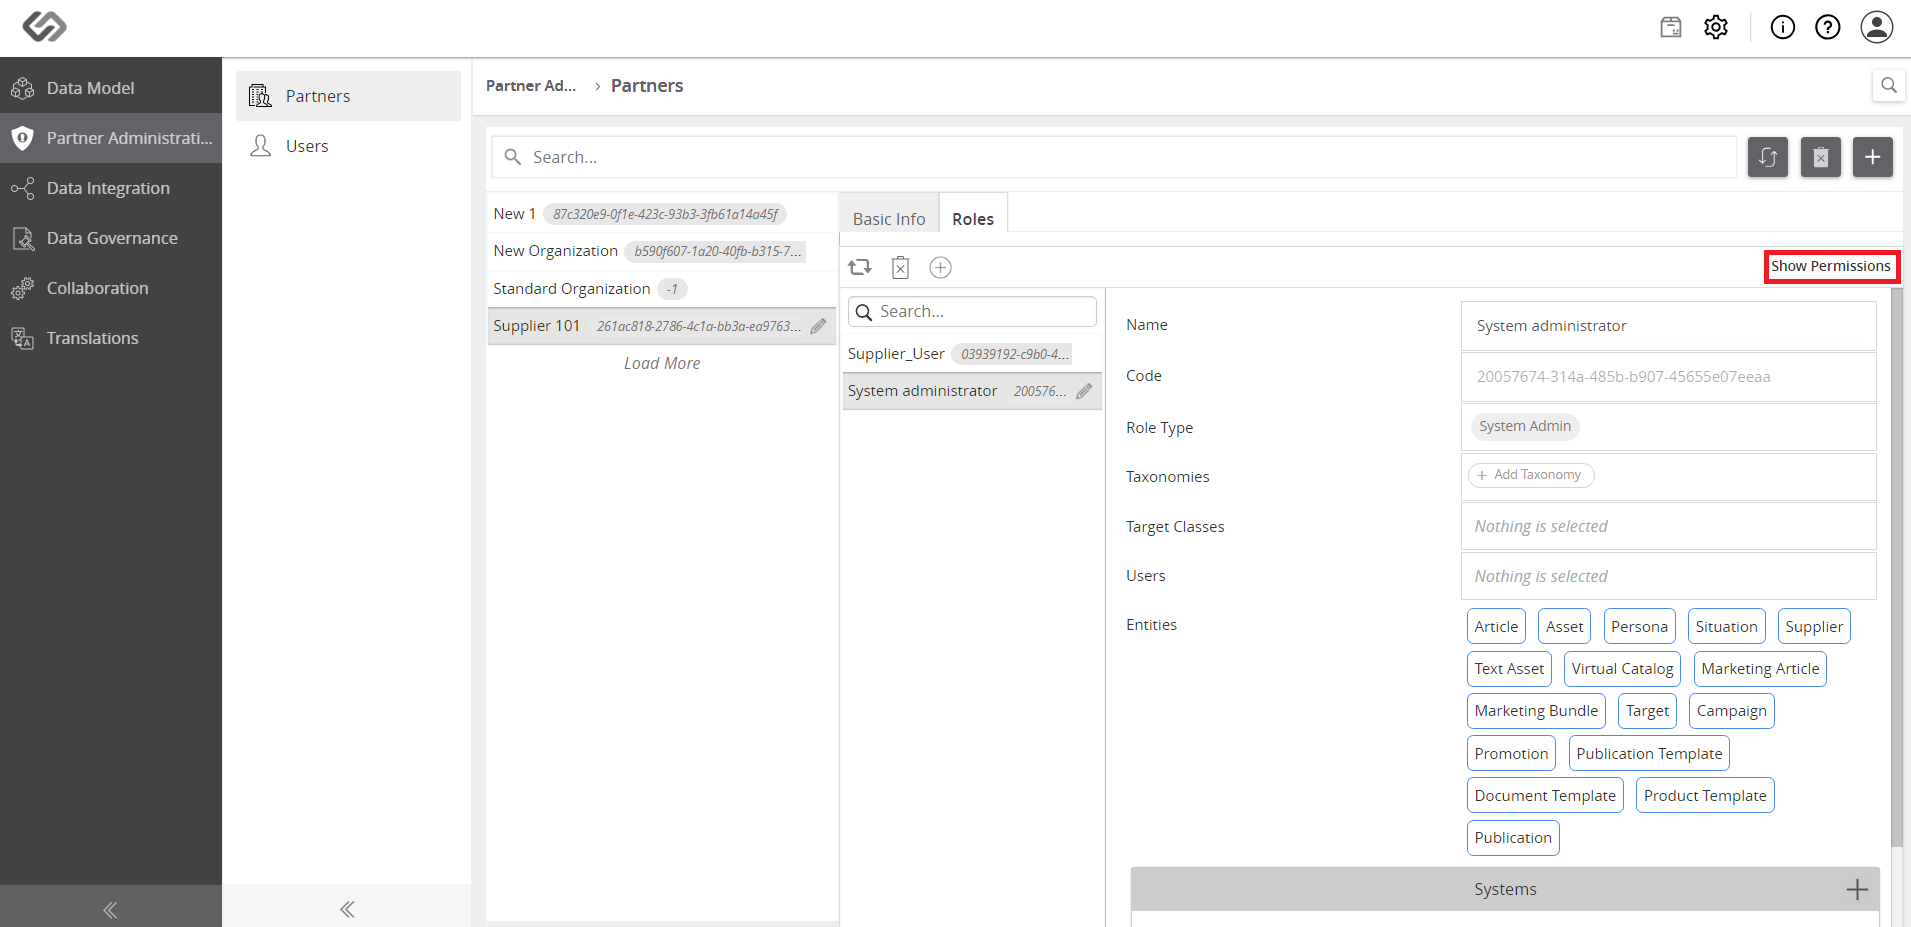
  • Click the Show Permissions button.
../../../../../_images/pxp_manageviewtemplates_clickshowpermissions.PNG


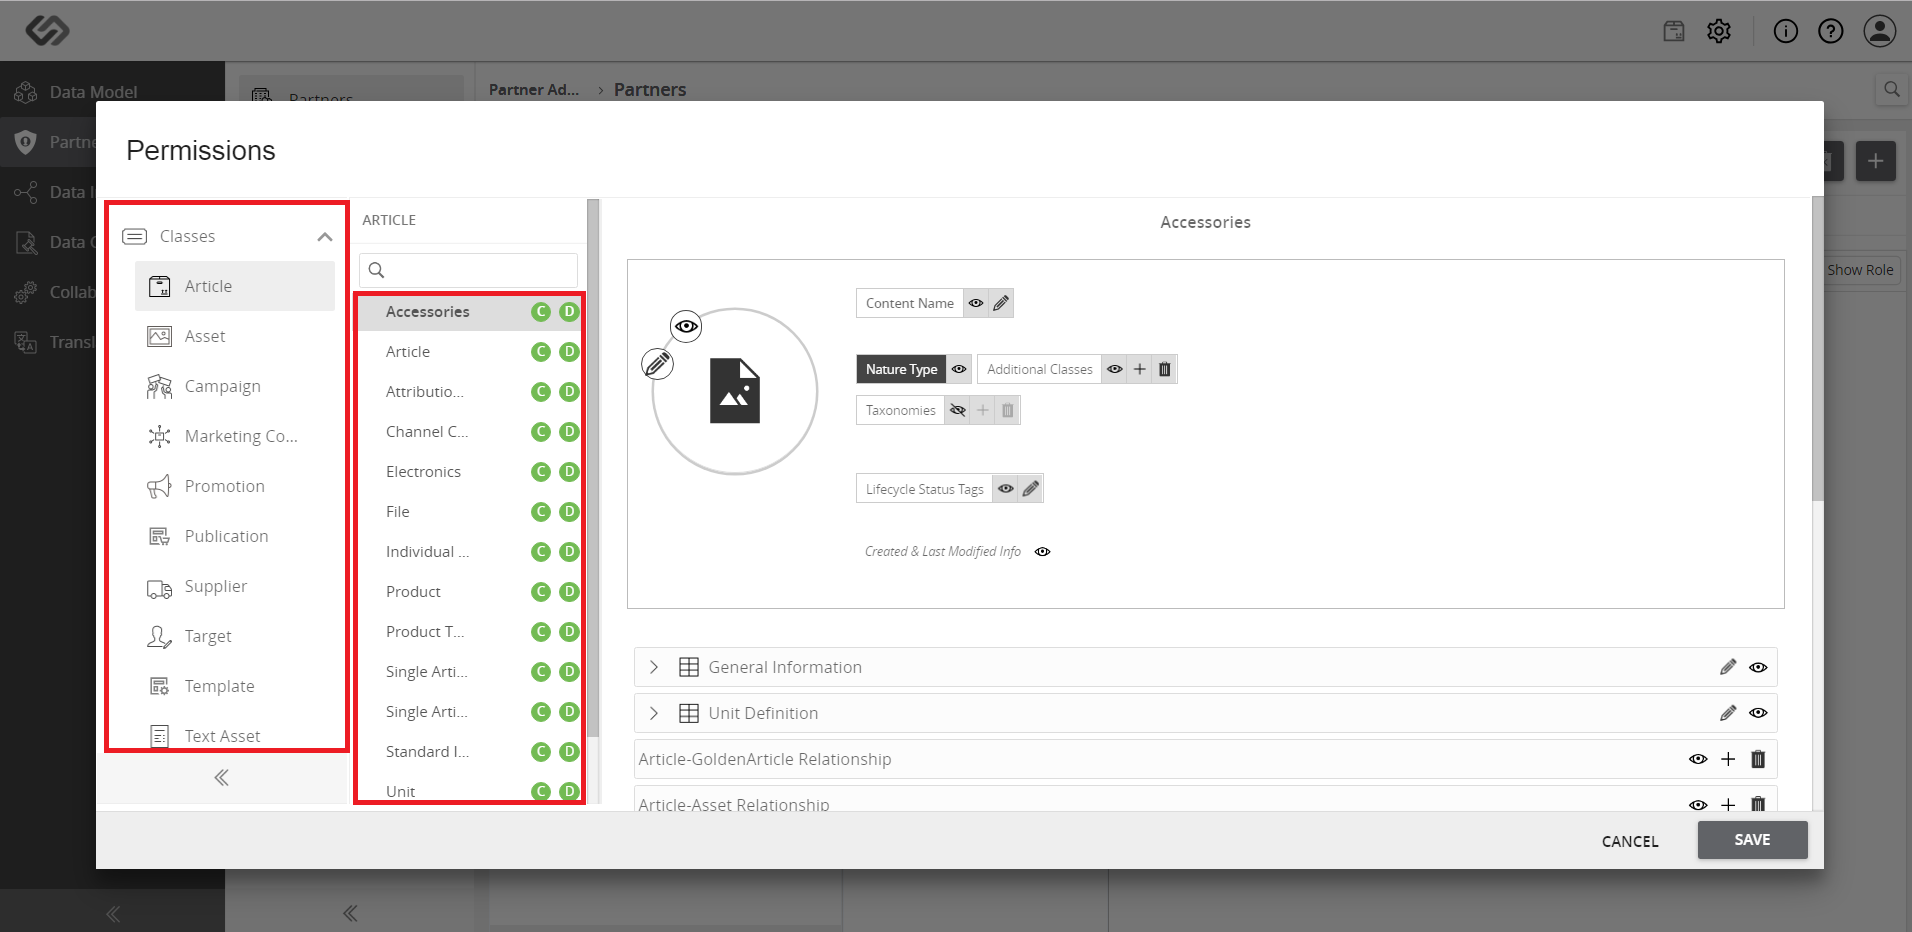
  • Click the Visible icon to make the tab visible or hidden. In the image below, the default image is kept visible and the taxonomy is kept hidden.
../../../../../_images/pxp_manageviewtemplates_clickeyeicon.PNG


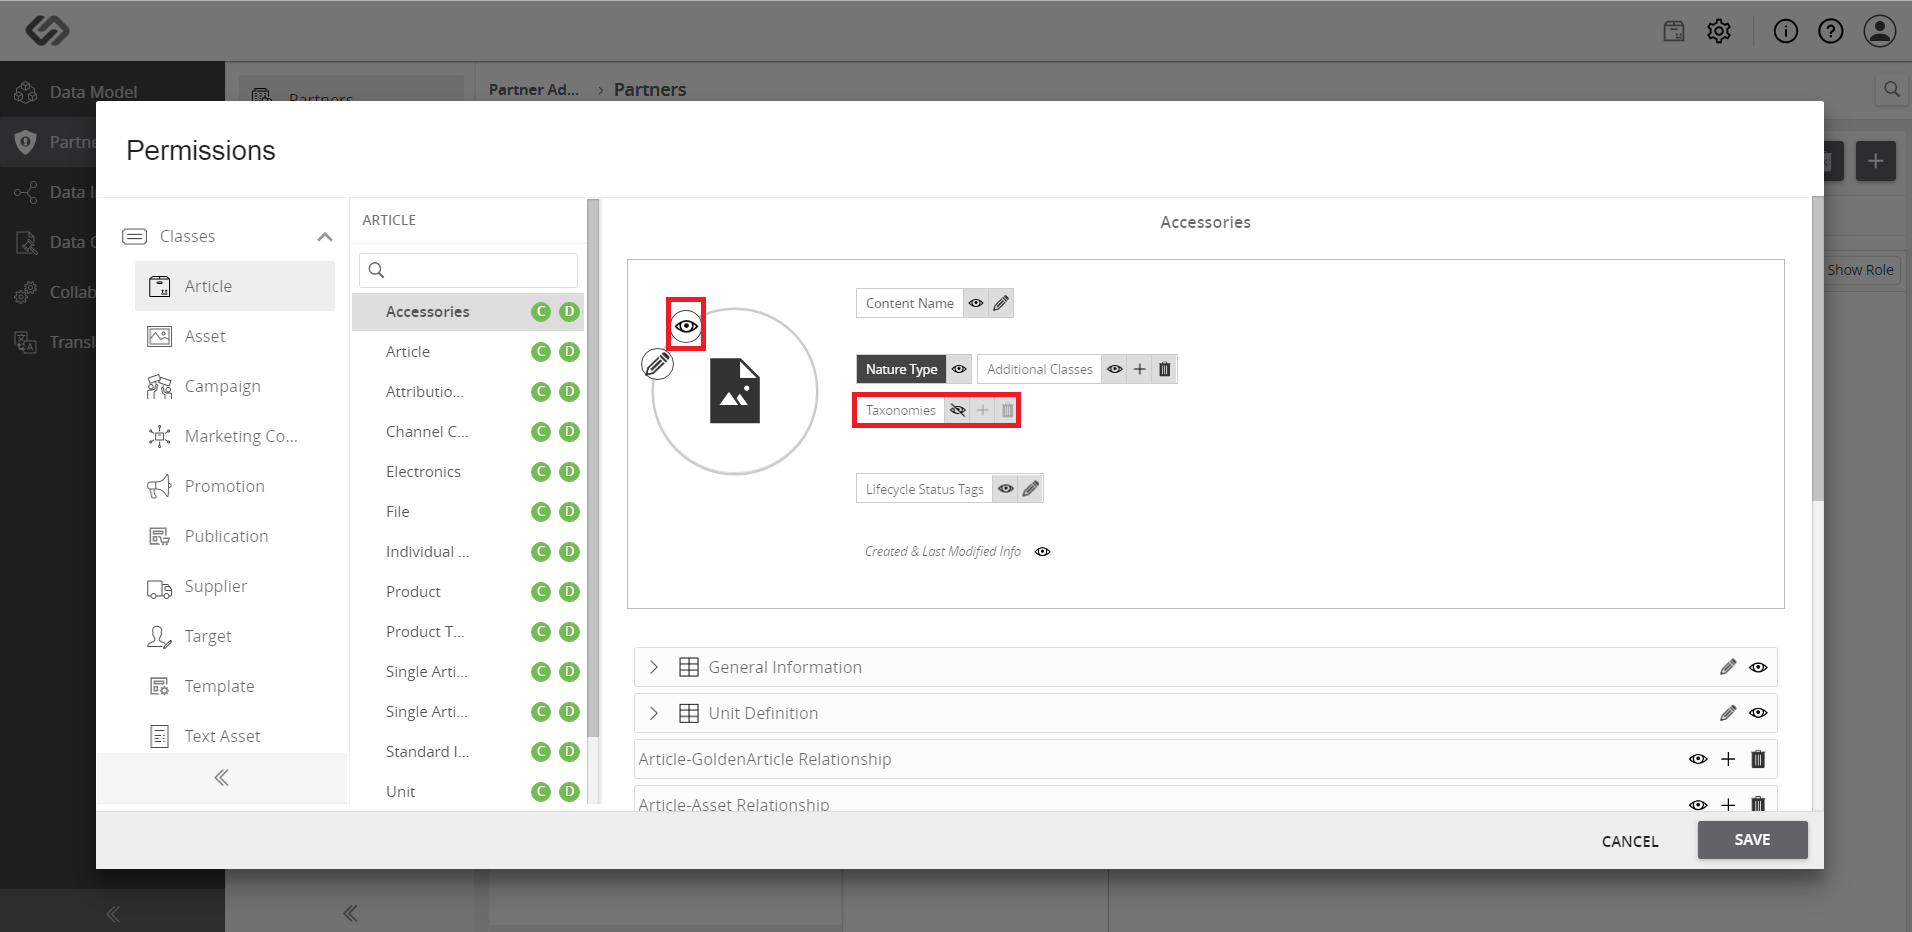
  • Select the appropriate class from the list of classes.
../../../../../_images/pxp_manageviewtemplates_selectappropriateclass.PNG


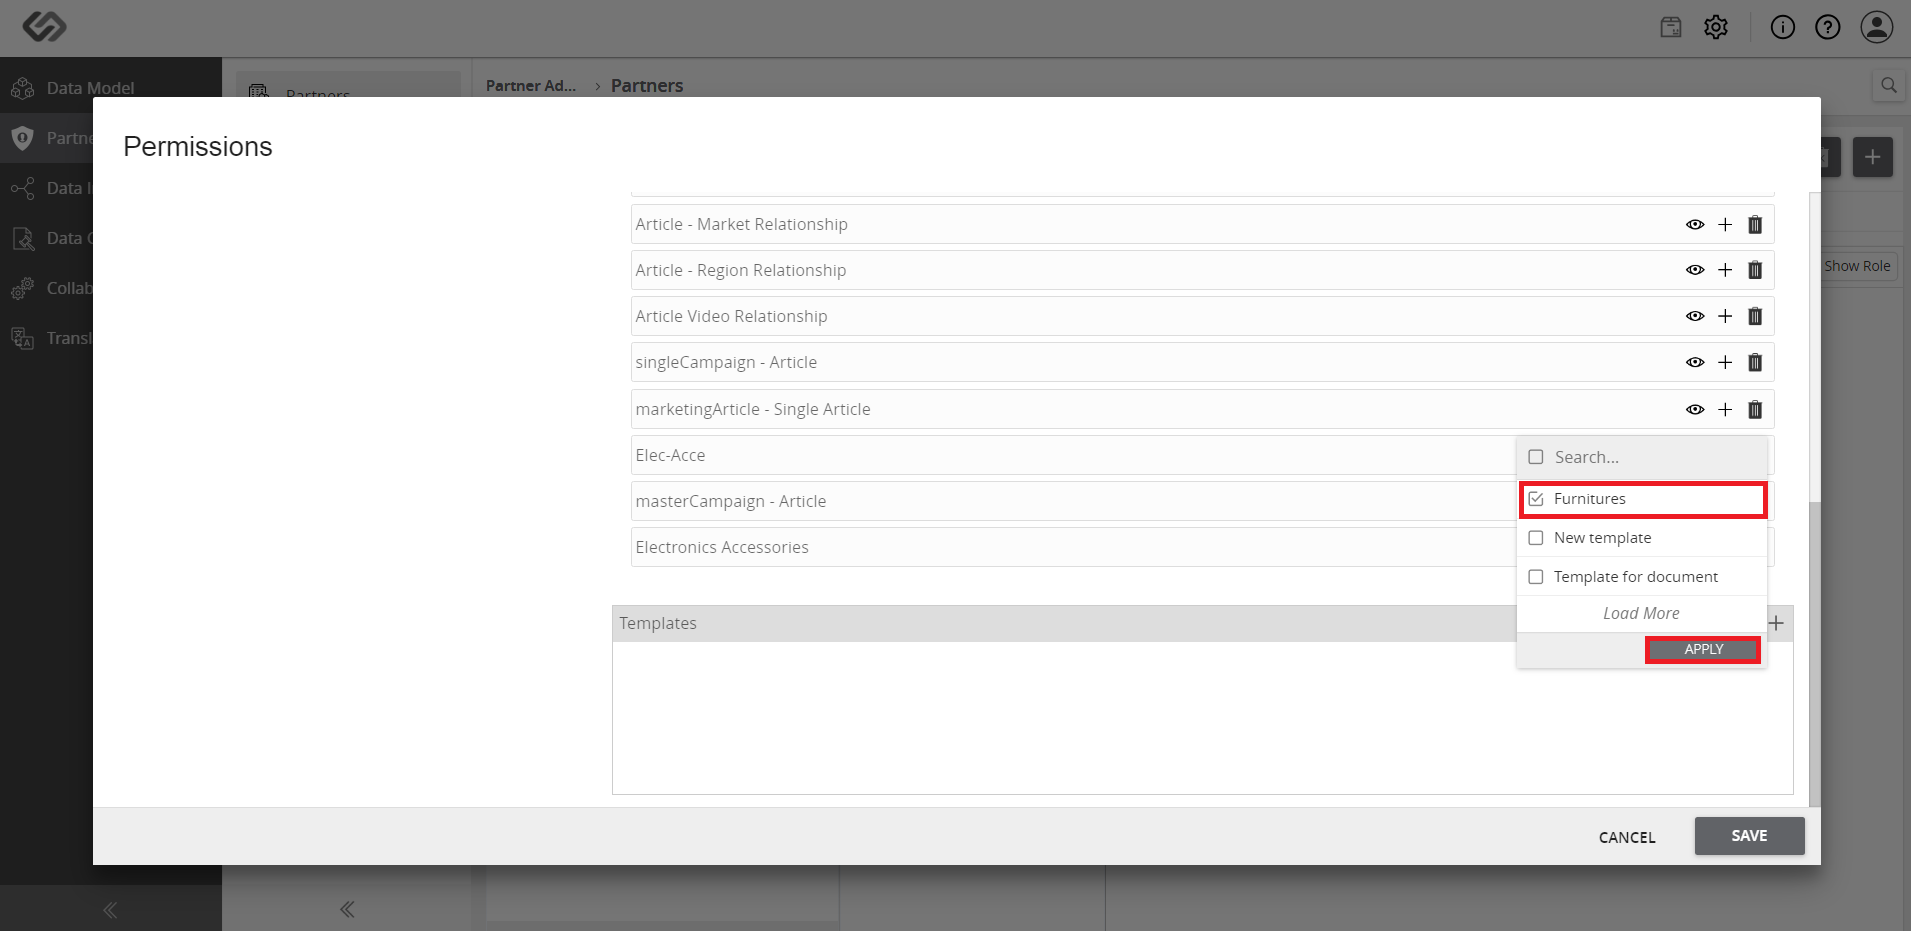
  • Then, scroll down and click the ‘+’ icon to add a template.
../../../../../_images/pxp_manageviewtemplates_selectappropriateclass2.PNG


  • Select the created template and click on the Apply button.
../../../../../_images/pxp_manageviewtemplates_selectcreatedtemplateapply.PNG


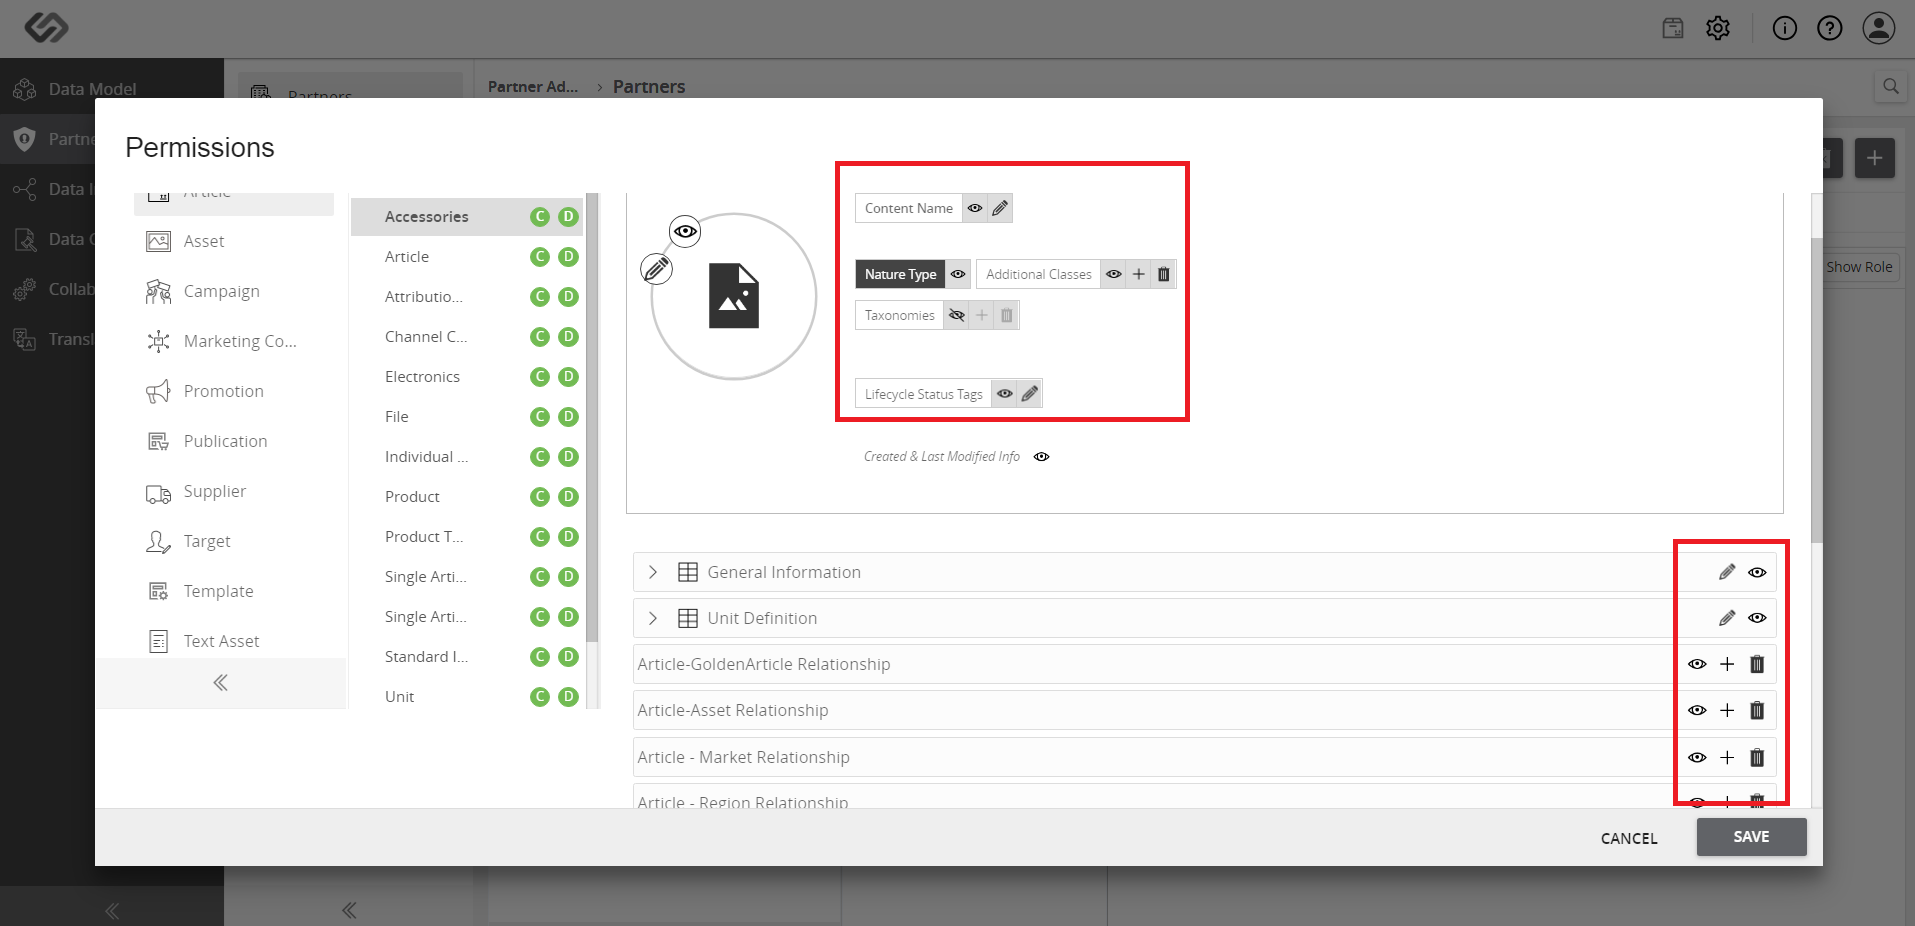
  • To toggle the visibility of the property, click the Visible icon. To edit the rights for the property, click the Editable icon.
../../../../../_images/pxp_manageviewtemplates_totoggle.PNG


  • Select the properties to be non-editable (for example, General Information) and hidden (for example, Unit Definition).
../../../../../_images/cs_manageviewtemplates_totoselectpropertiesexample1.PNG


../../../../../_images/cs_manageviewtemplates_totoselectpropertiesexample2.PNG


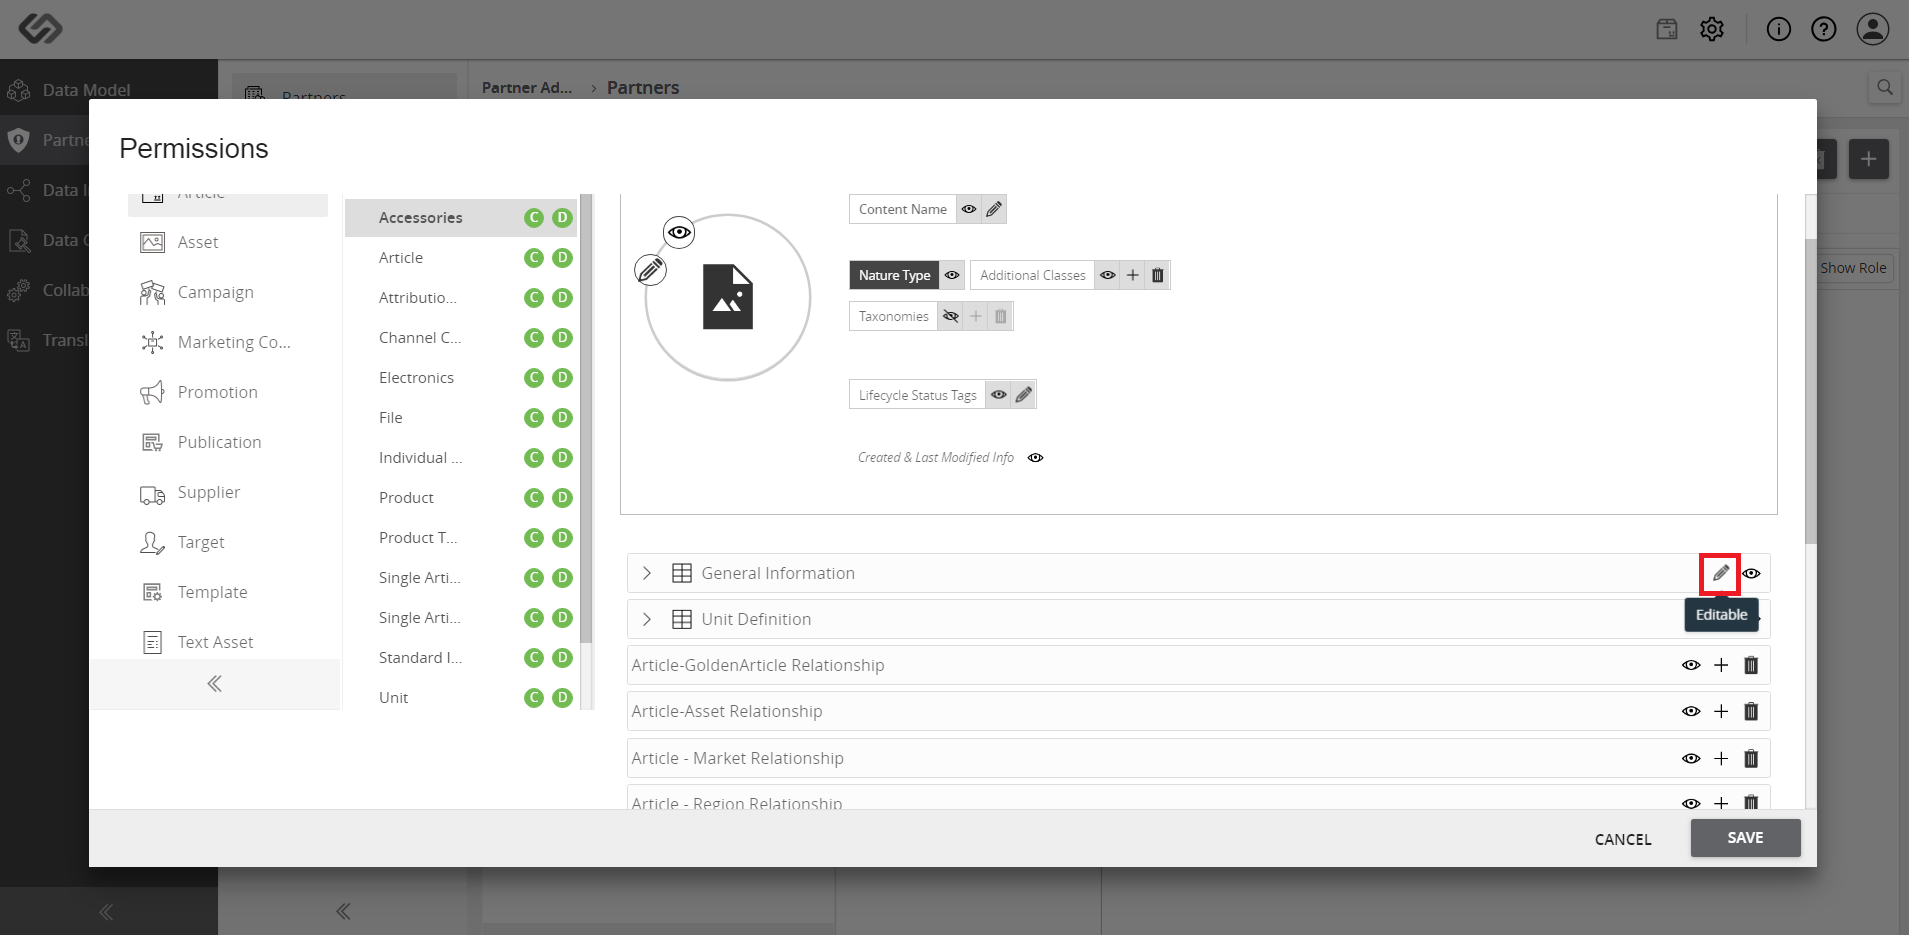
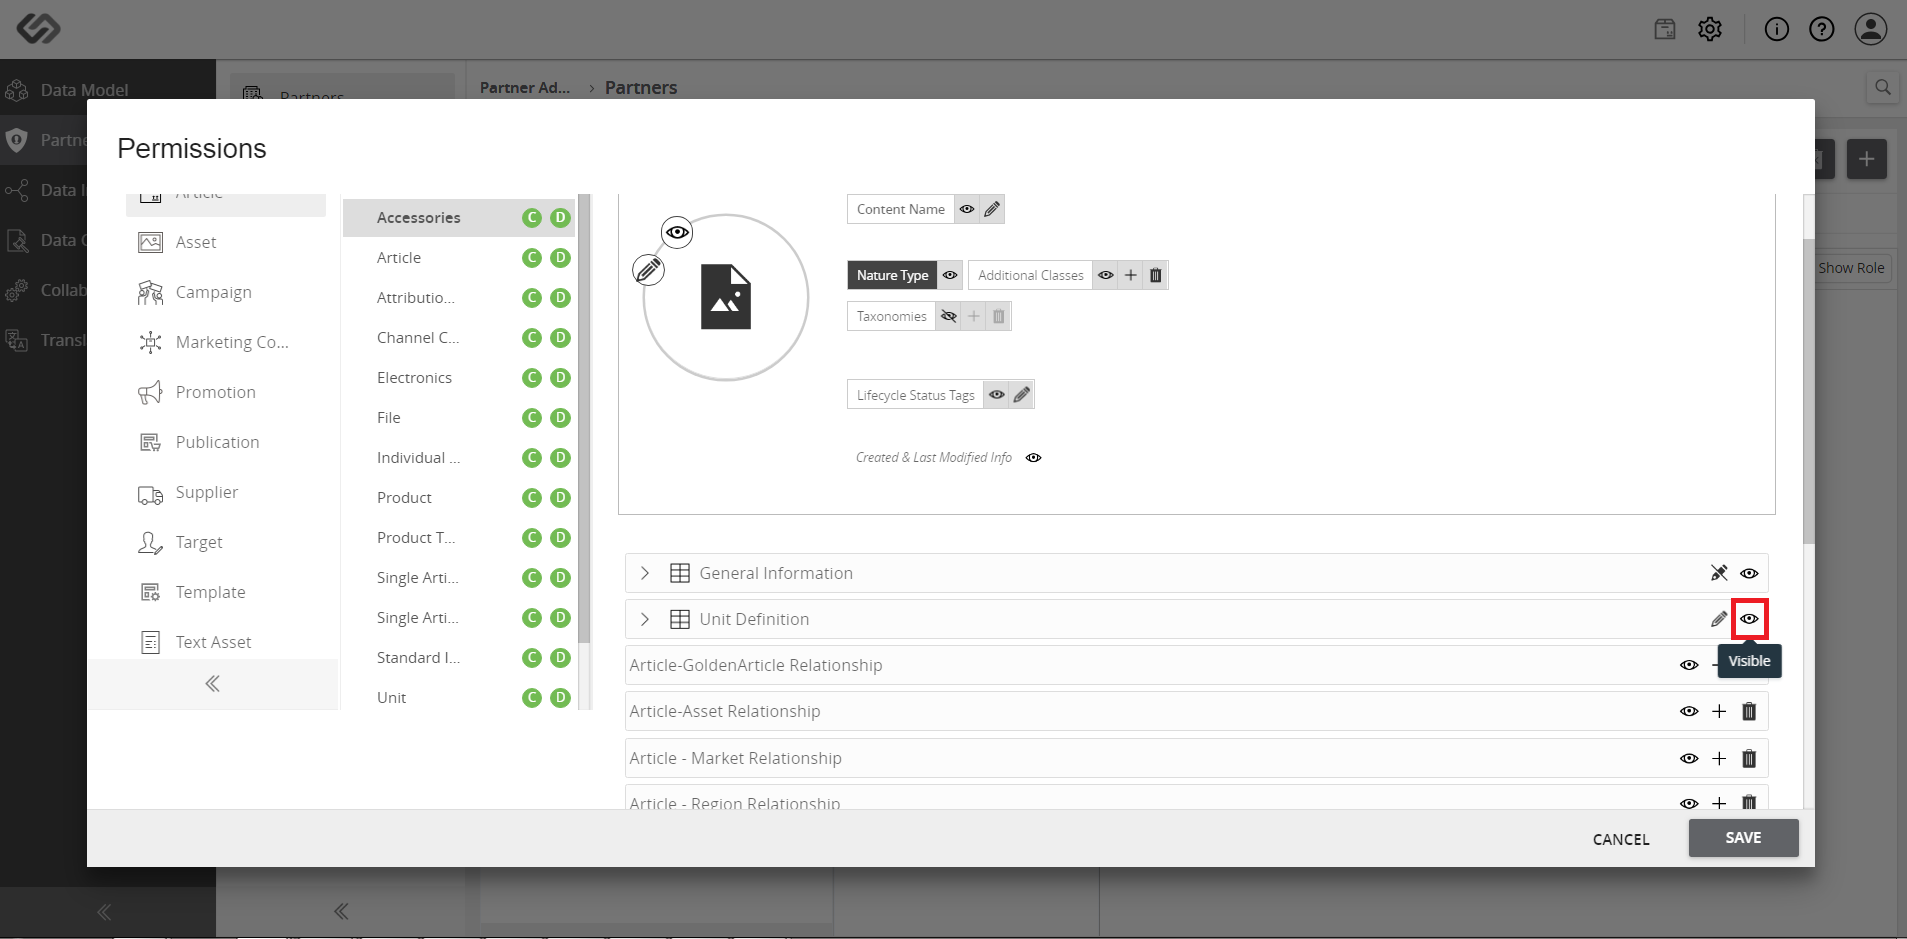
  • Click the Save button to save the changes.
../../../../../_images/pxp_manageviewtemplates_clicksave.PNG


Contentserv line