Set Up a Taxonomy
Taxonomy is a product classification used to organize the content.
How-to: Set Up a Taxonomy
To do this, follow these steps:
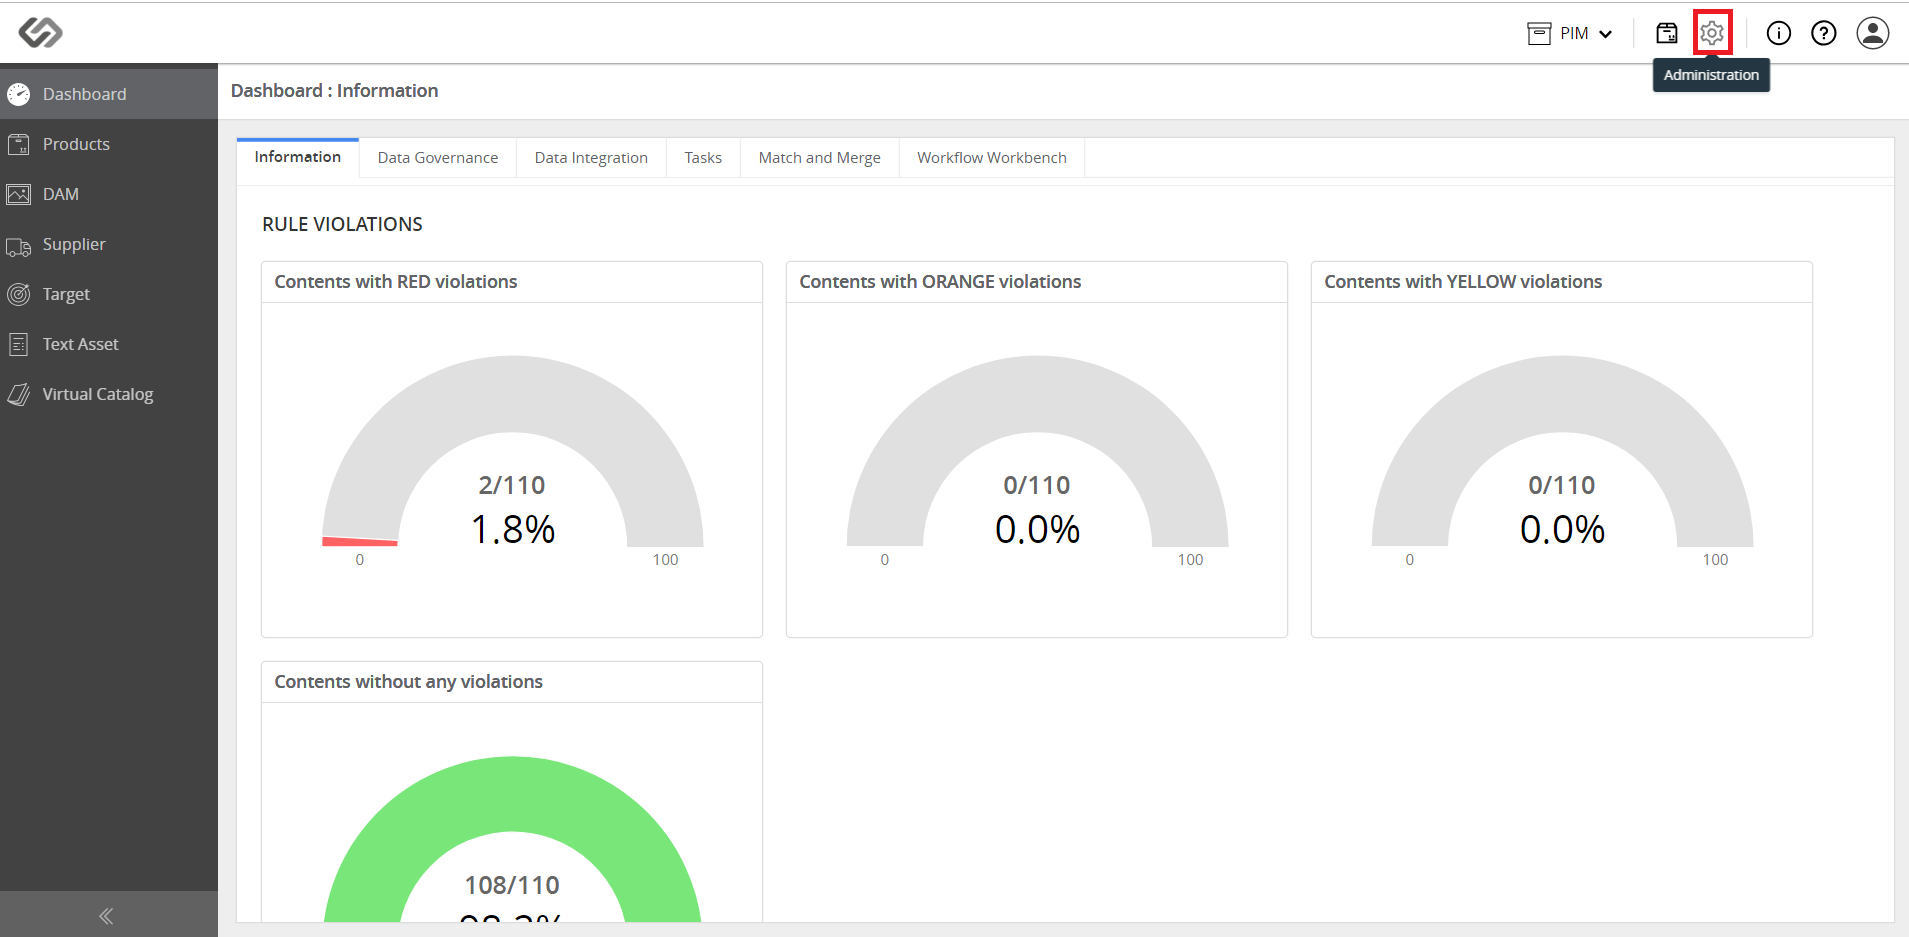
- Log in and click on the Administration icon.
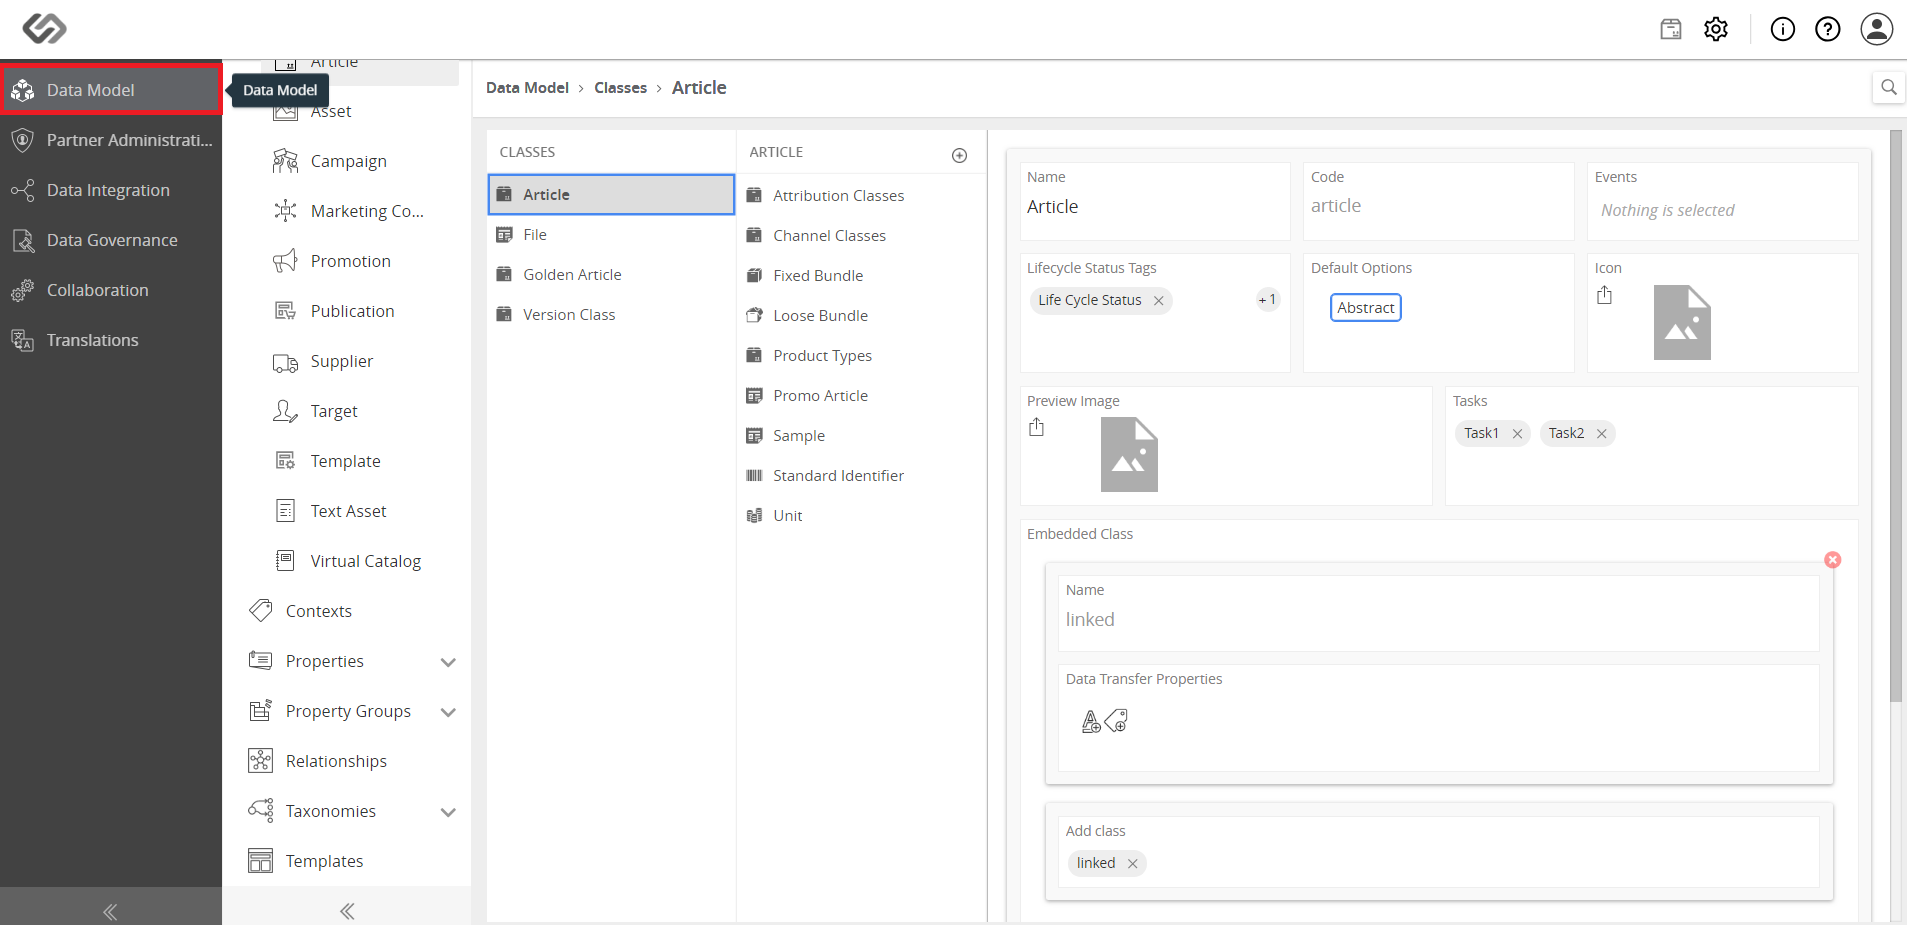
- Click on the Data Model tab.
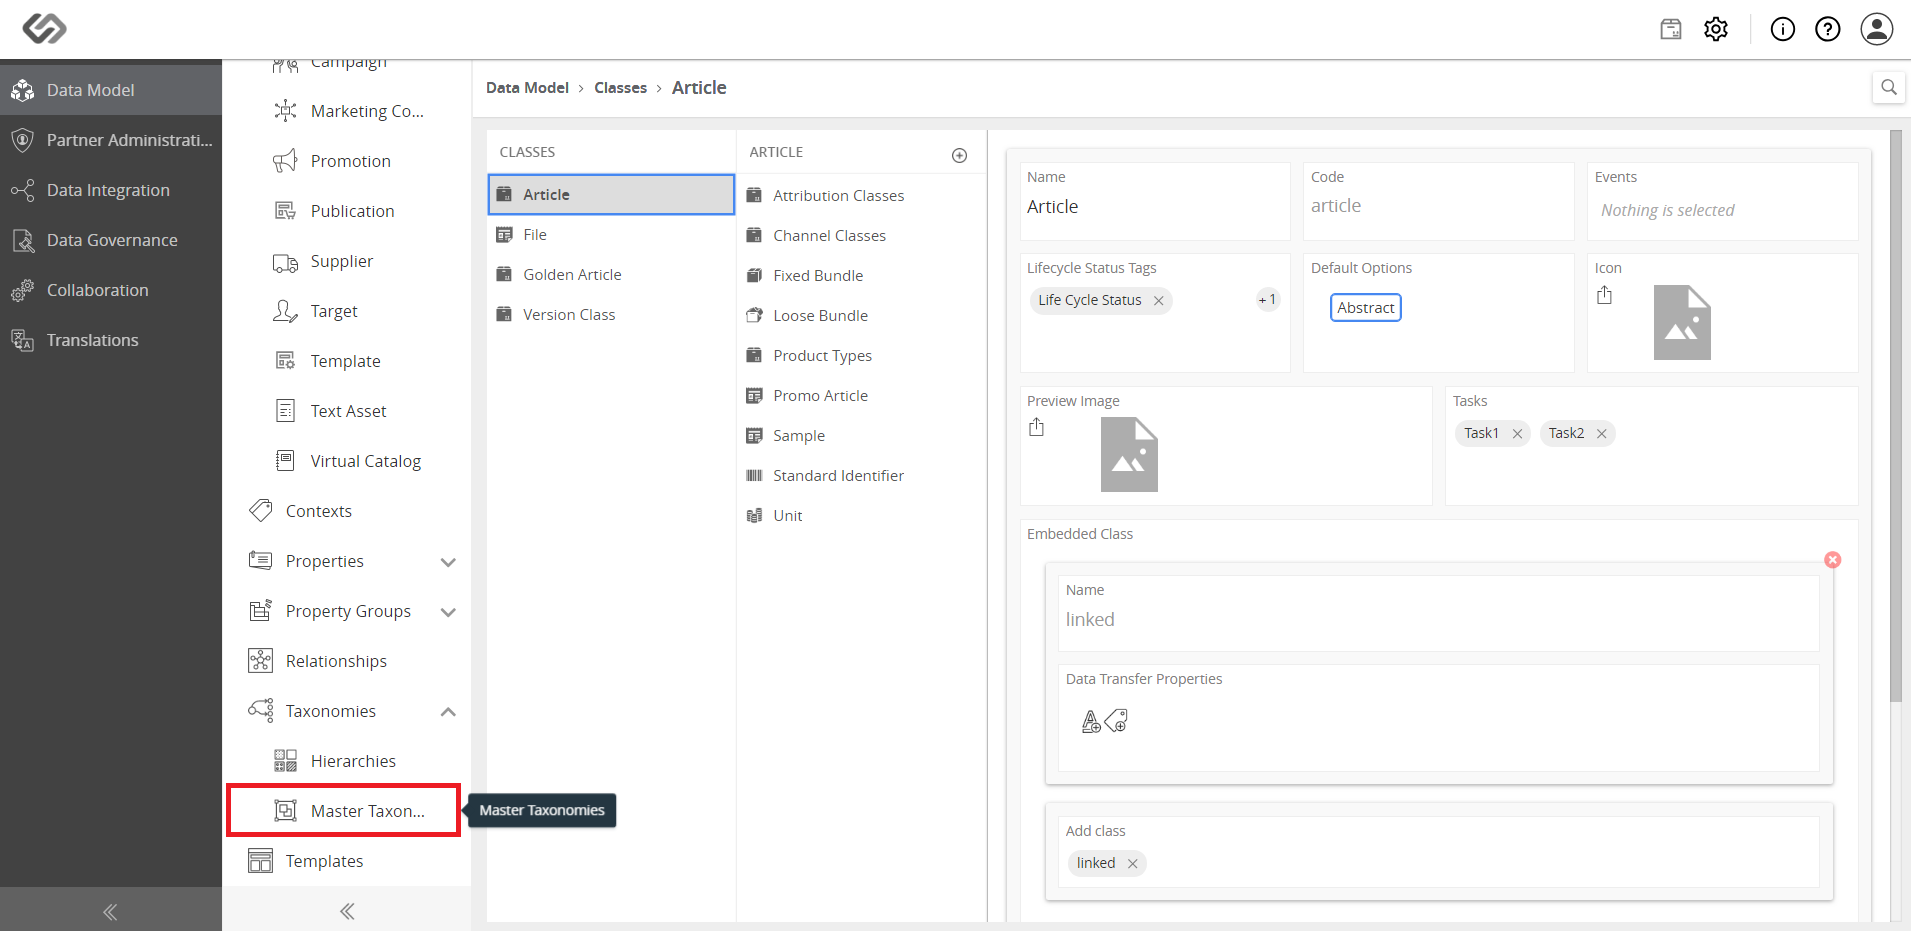
- Click on Taxonomies.

- Then, click on Master Taxonomies.
- Click on the ‘+’ icon to expand the taxonomy, vertically or horizontally.
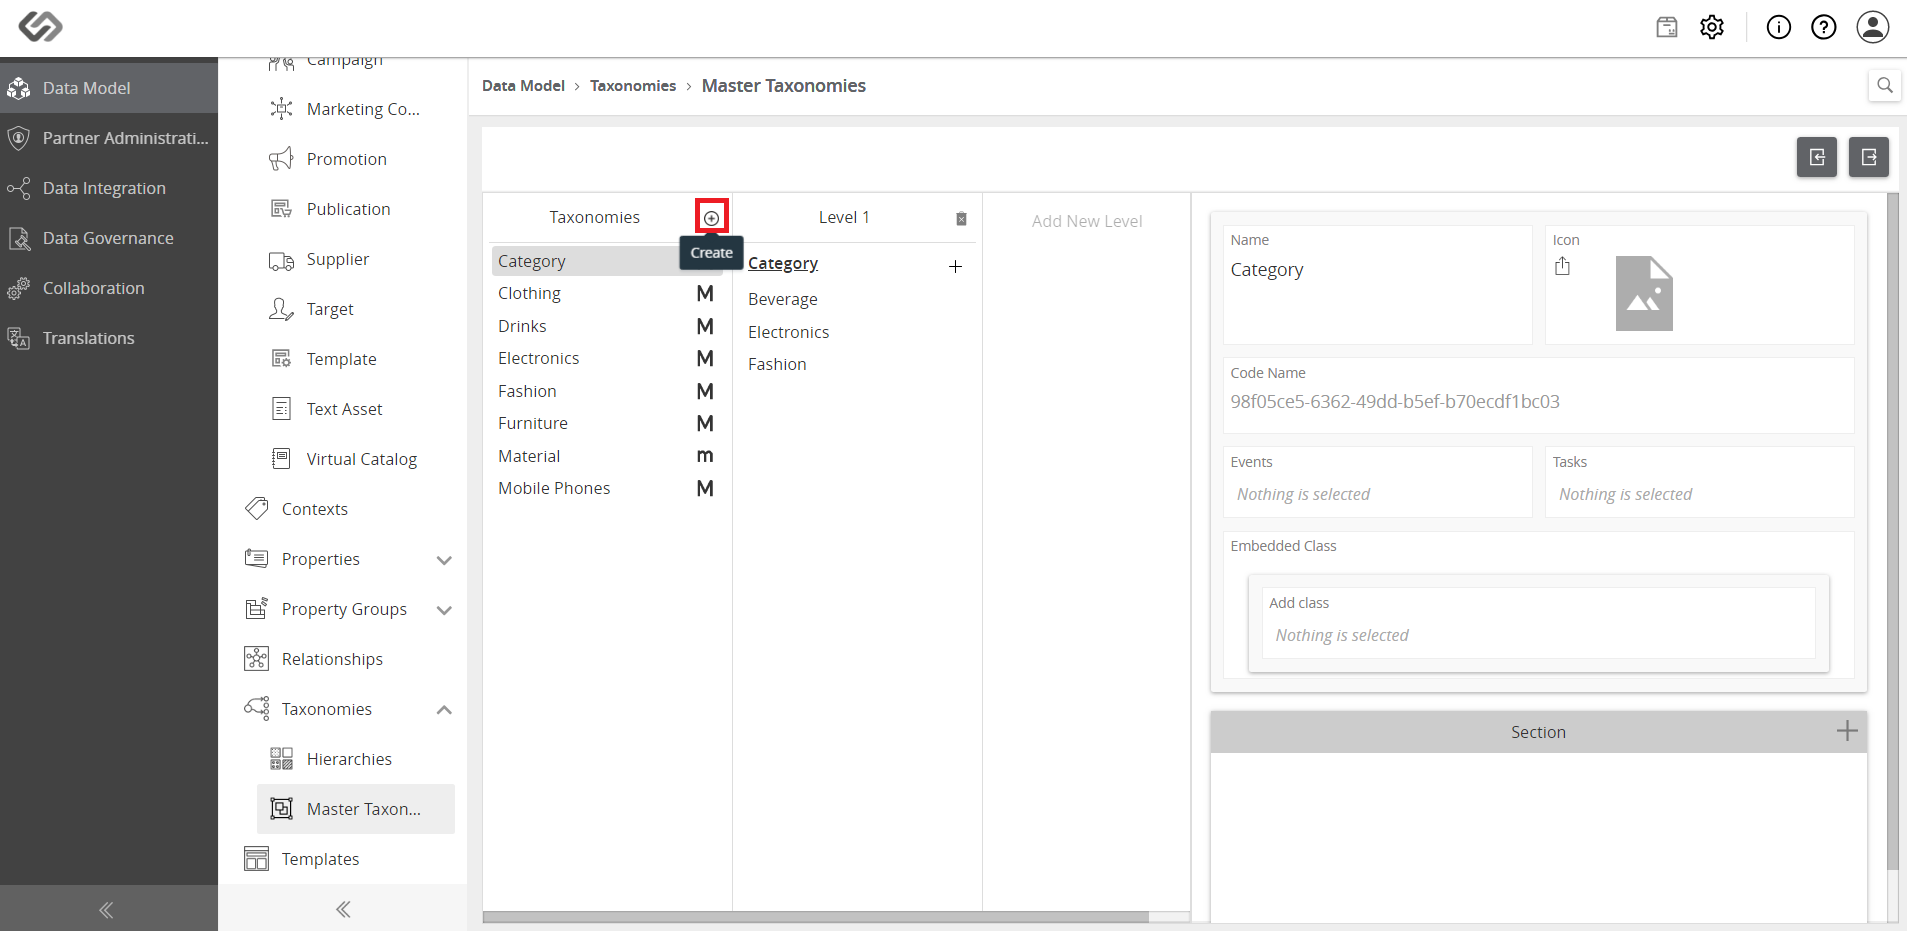
- Taxonomy window appears. Enter details for the new taxonomy and click on the Create button.

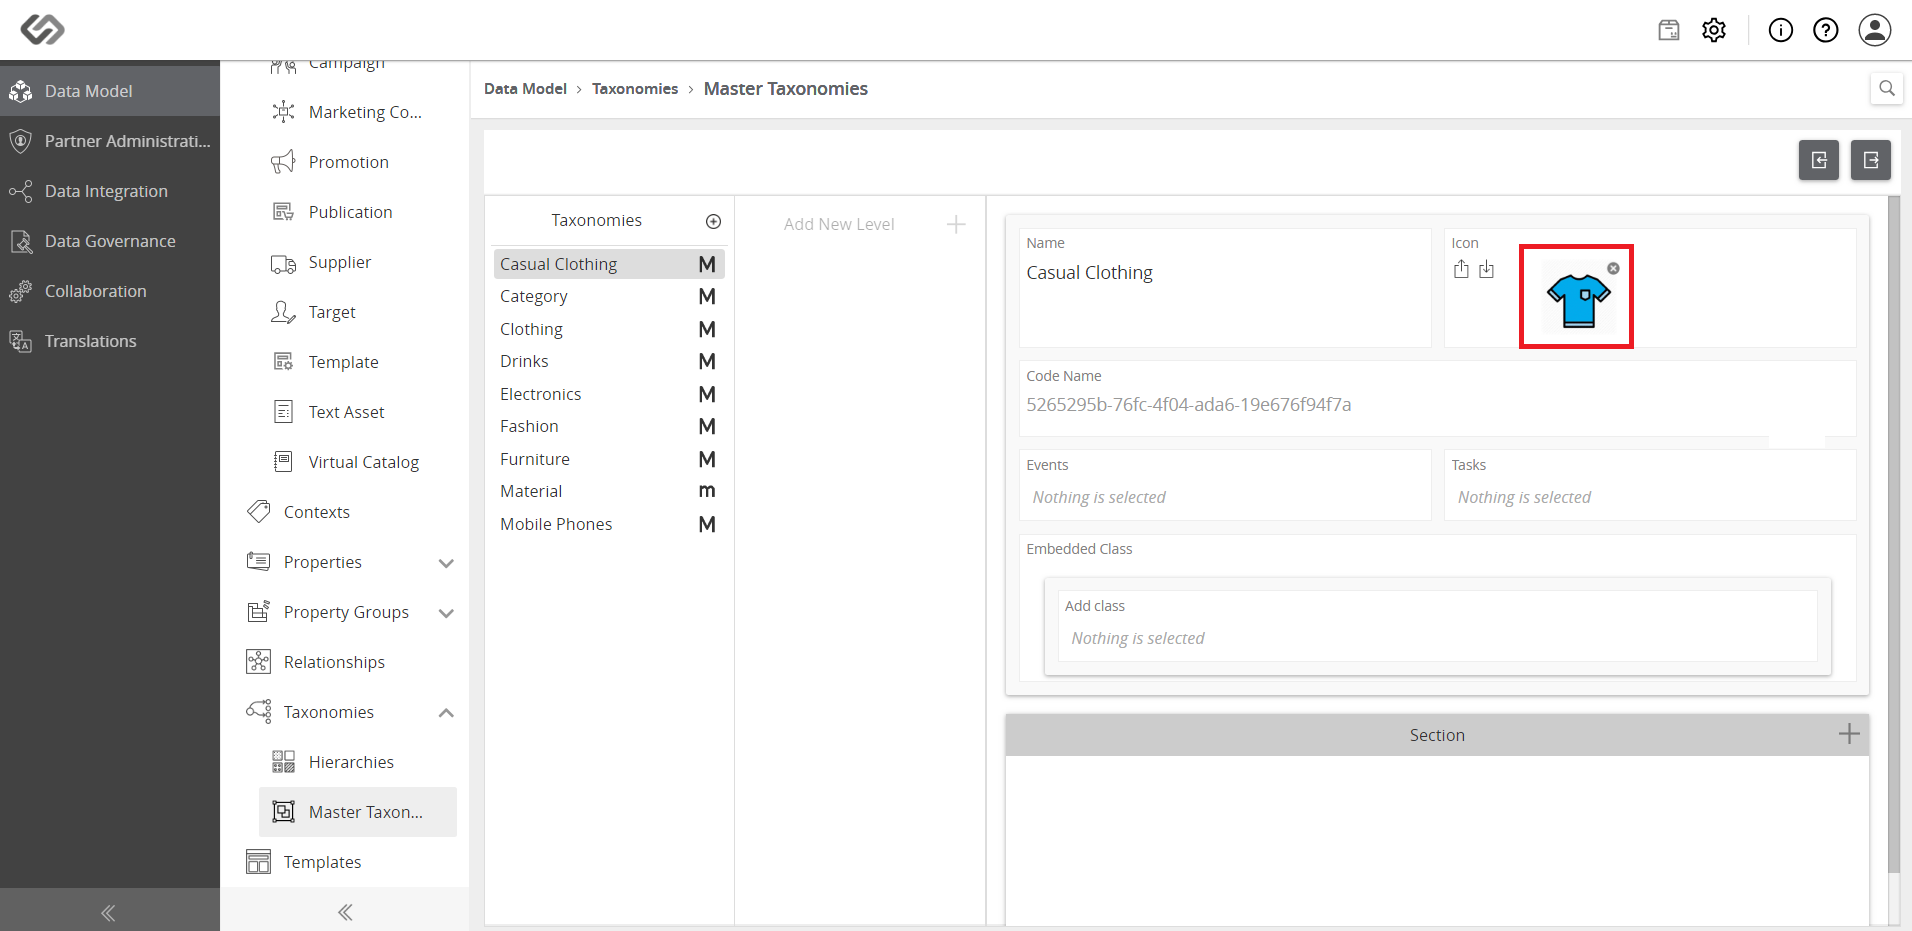
Icons can also be added to the Taxonomy.
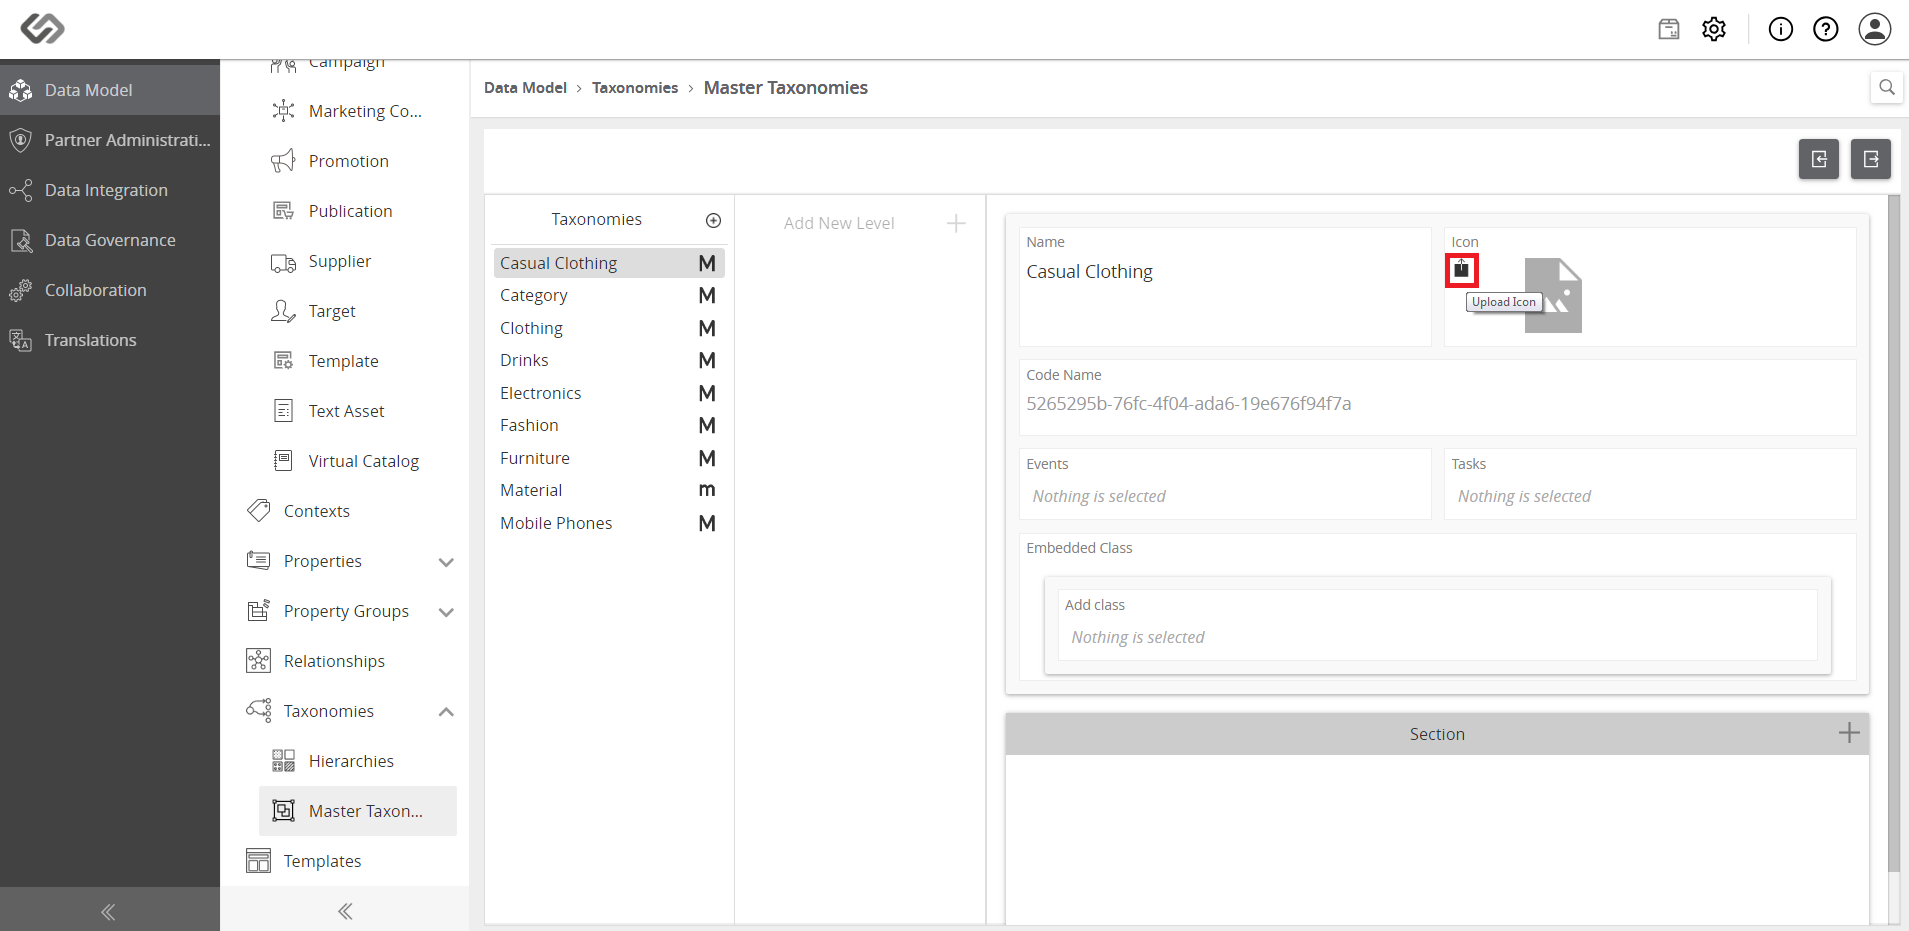
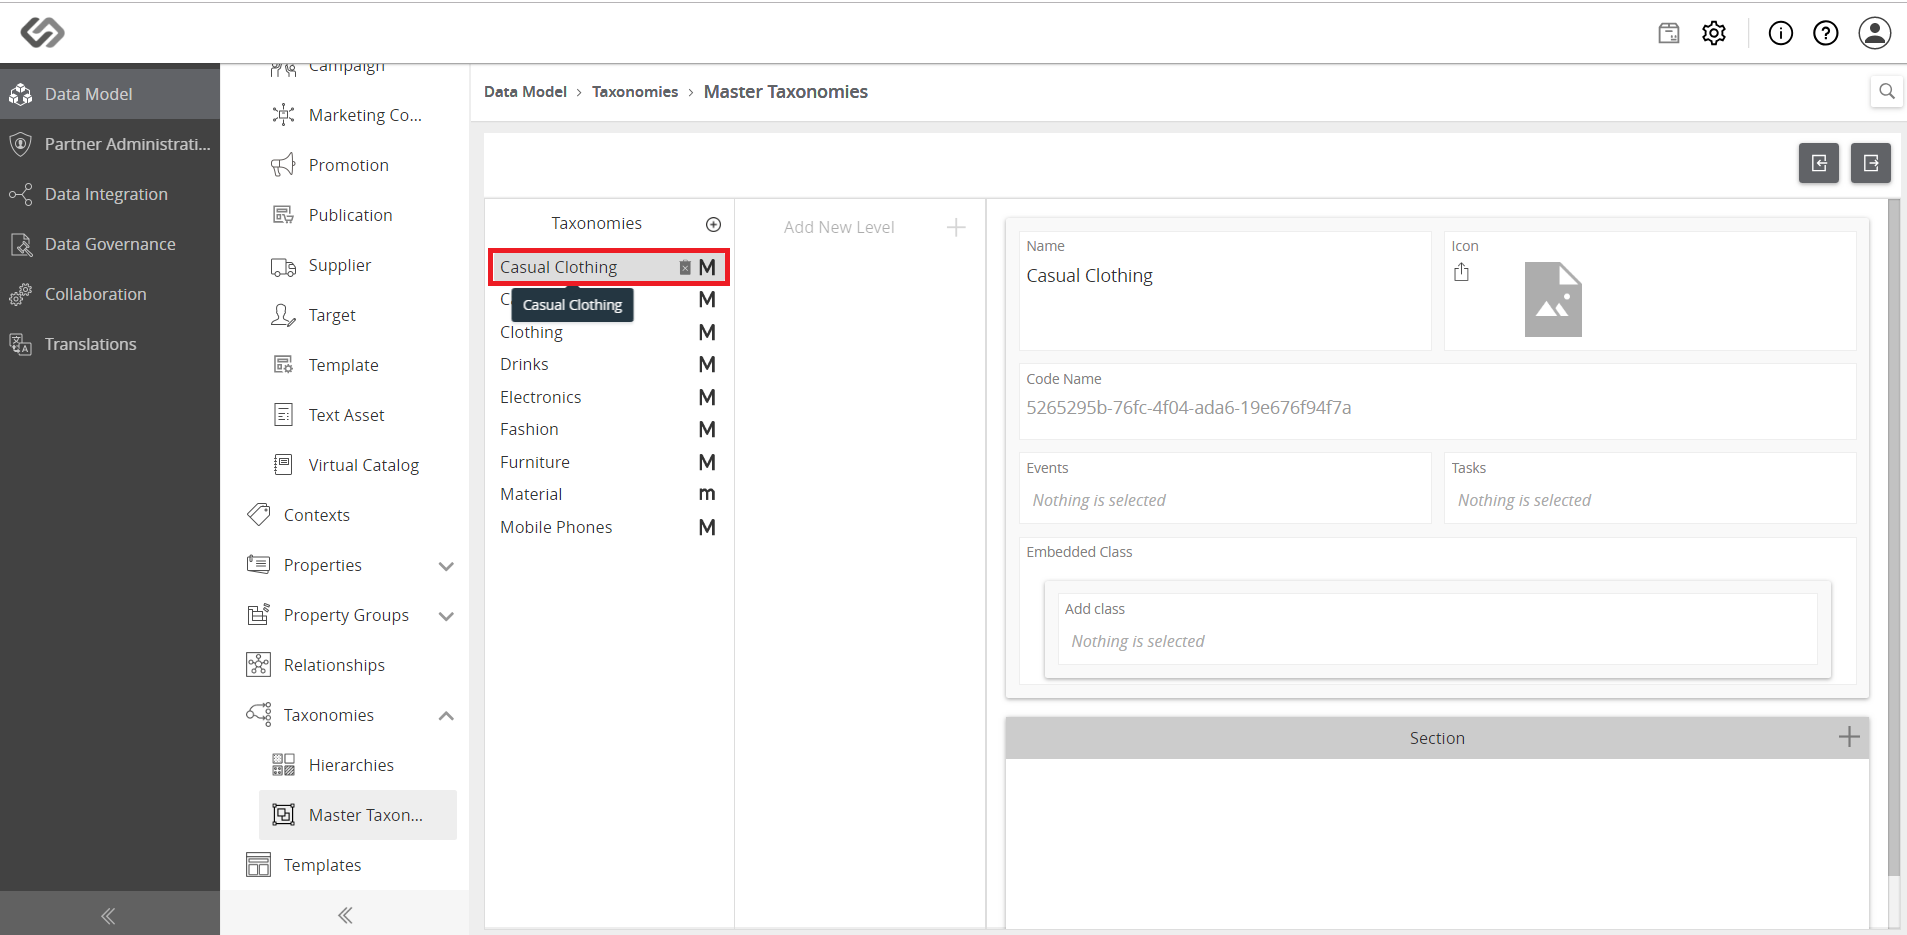
- Click a section under taxonomies (in this demo, we select Casual Clothing).
- Click on Upload icon and select an image from your computer.
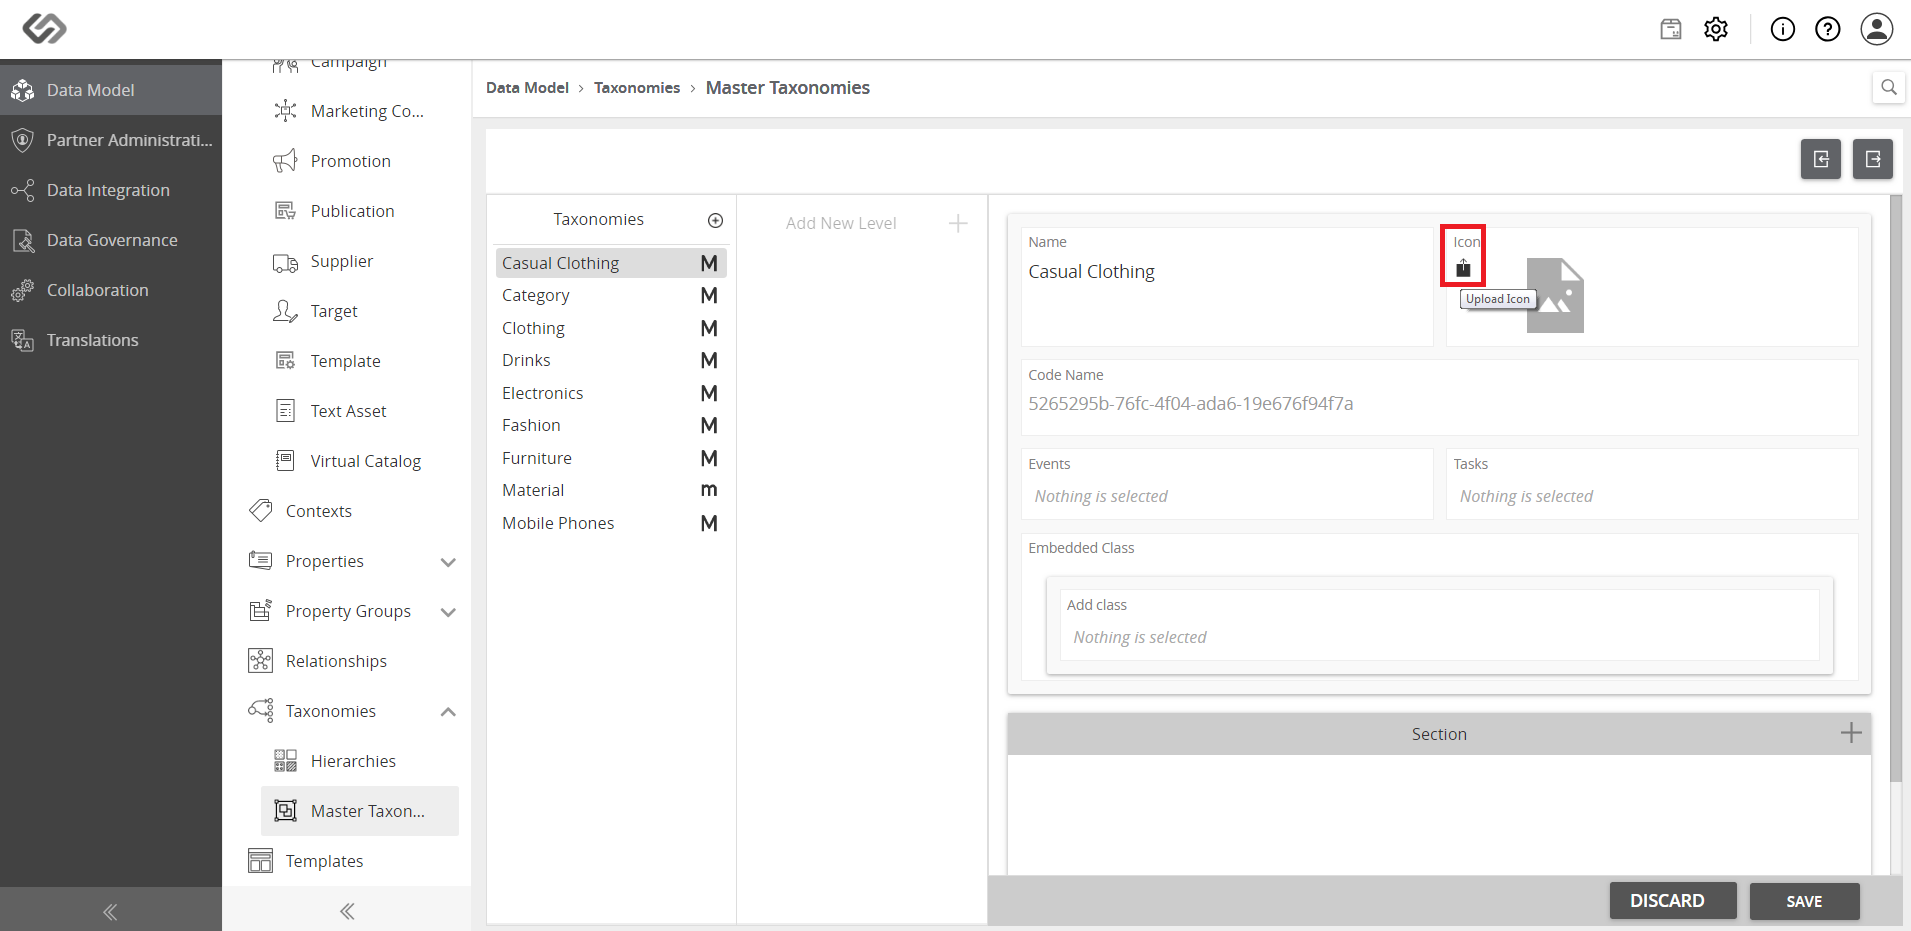
- View the selected icon.