Document Template
Document template contains guides, styles, page attribute placeholders, “static” elements, and so on. A designer starts the preparation of document template using Adobe © InDesign ©. It is a physical .indd Adobe © InDesign © file. It does not contain actual information, only the layout and data dimension. It serves as a starting point of a document. A designer can define the Workable Area in a document template, where a planner can plan and place the products. A designer can use the rest of the area of a document template, which is not defined as the Workable Area, to place the header, footer, logo, or background image.
Once you create the document template in Adobe © InDesign ©, you can play with it using the Whiteboard of Contentserv system. You can plan how products should be placed in a document template using Whiteboard. You can define Slots in a document template to place the products in the using Whiteboard. These document templates are used in creating publication templates.
| Purpose: |
|
| Target Audience: |
|
| Key Terms |
|
Icons of CS Desktop Publisher Window
| Sr. No. | Icon | Icon Name | Details |
|---|---|---|---|

|
Document Template | It will show the list of document templates created in an Adobe © InDesign © application. | |

|
Product Template | It will show the list of product templates created in an Adobe © InDesign © application. | |

|
Publication | It will show the list of publication templates in an Adobe © InDesign © application. | |

|
Product | It will show the list of publication templates in an Adobe © InDesign © application. | |

|
Attribute | It will list all the marketing articles that are created in the Contentserv system. | |

|
Images | It will show all the images that are created in Contentserv system. | |

|
Show Sync Status | This option enables you to keep the sync of a document template. It is useful when preparing the document template in Adobe © InDesign © and when modifying a document template in Whiteboard as well. | |

|
Logout | It will log you out from CS Desktop Publisher. It will terminate the current session for CS Desktop publisher. | |

|
Create Template | It is used to create a new document template. | |

|
Save/ Upload | It is a Save/Upload option. It will save the details of a document template and it will upload the created document template in the Contentserv system. | |

|
Define Workable area | It helps to define the Workable Area in a document template. | |

|
Refresh | It is a refresh feature that is useful when a planner and a designer are working simultaneously on a document. Whenever a planner makes any changes in a document template via Whiteboard and saves the details in Whiteboard, this refresh icon will blink in Adobe © InDesign ©. Thus, a designer will know that a planner has modified a document template via Whiteboard. When a designer clicks on this icon, all the changes that the planner has made in a document template via Whiteboard, will be reflected in Adobe © InDesign © document. | |

|
Accept Changes | This is an accept changes feature. A designer will select the changes made by a planner and click on this icon to accept the changes. | |

|
Delete | This is a delete feature. A designer will select the changes made by a planner and click on this icon to reject or delete the changes. | |

|
Select All | This is a select all feature. A designer will select all the changes made by a planner by clicking on this icon. The designer can either accept or delete all the changes made by a planner in one go with the help of this feature. |
How-to: Create Document Template
To create Document Template, follow these steps:
Install DTP
- Install CS Desktop Publisher client in your system to use and update Contentserv objects in Adobe © InDesign © documents.
Connect to DTP
- After installing the CS Desktop Publisher client in your system, open Adobe © InDesign © and connect to DTP client.
Create New Document Template
- CS Desktop Publisher pop-up window contains the details of Contentserv system (ex: articles, products, images, etc).
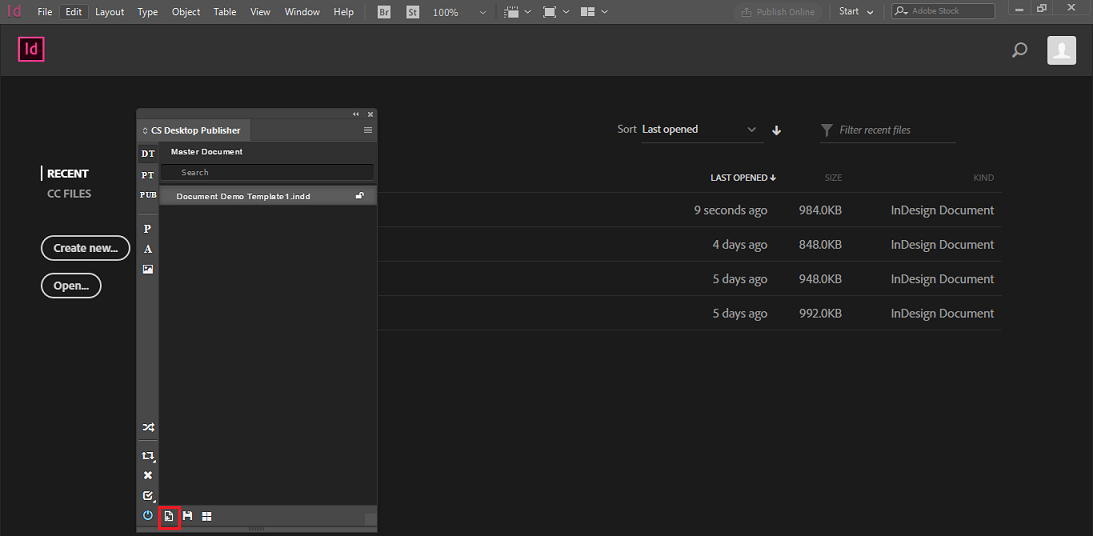
- Click on the Create Template icon from CS Desktop Publisher pop-up window to create a document template.

Define the Workable Area
- Find a blank page where you can put all the styles, designs and anything that you want to add in a document template.
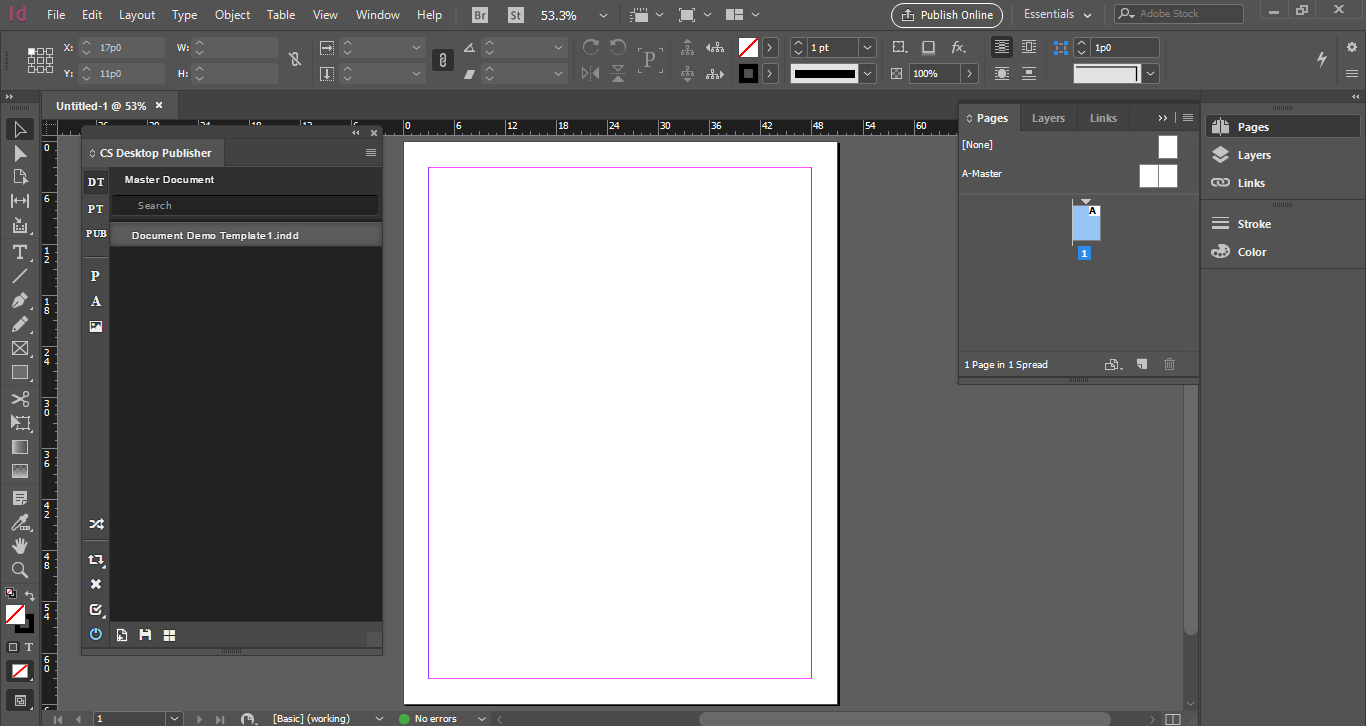
- Select the frame from the left side panel of the screen to define a Workable Area.
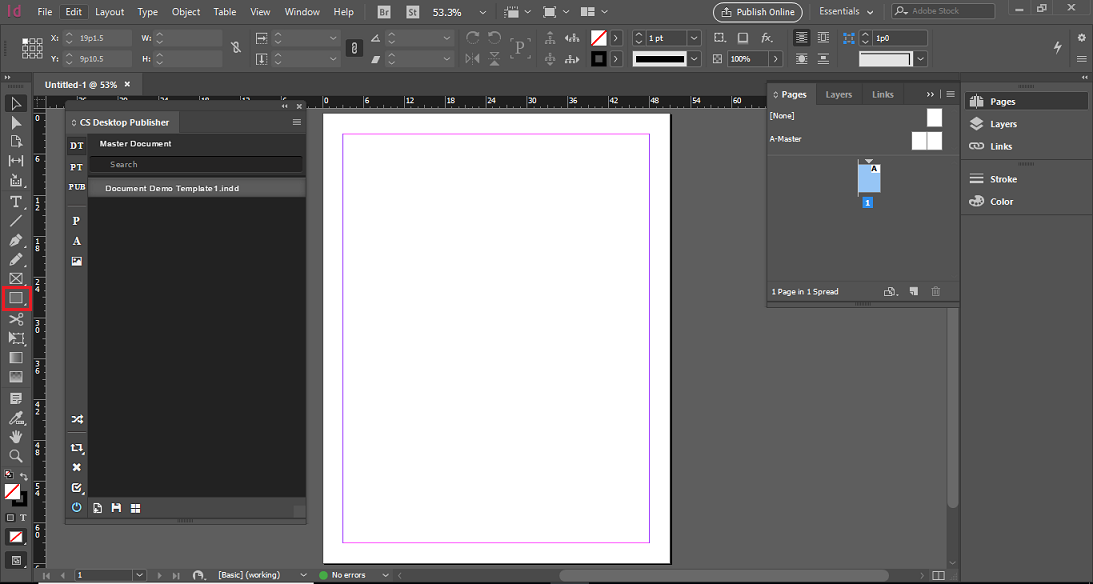
- Place the frame across the document to define a Workable Area.
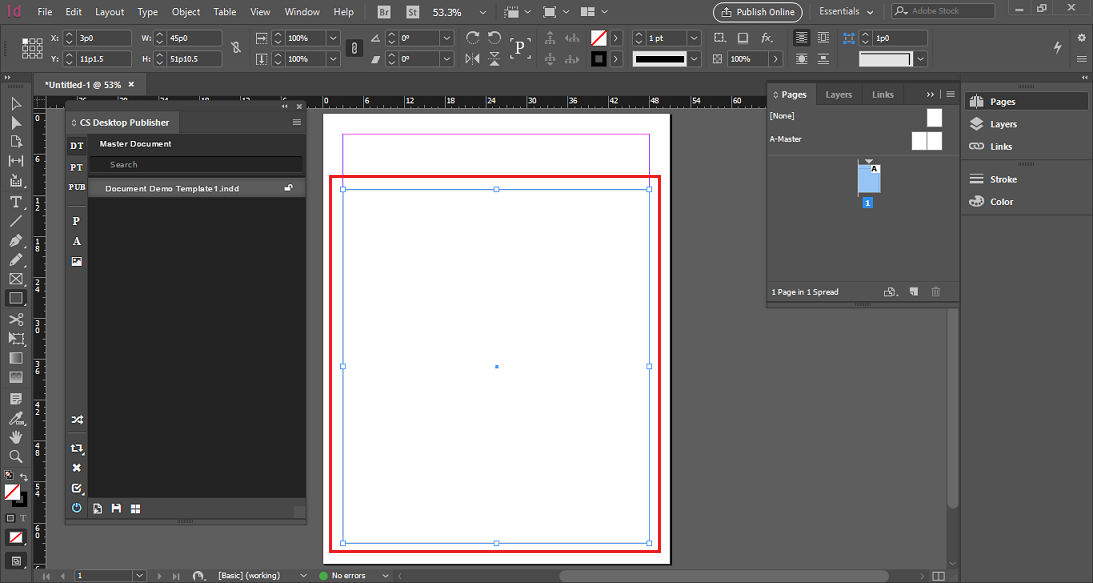
- Click on Define Workable Area icon to define the frame area as a Workable Area. You can define the entire document as a Workable Area or you can use some parts of a document as a Workable Area. It is up to you how you want to design a document template.

Add Frames
- Suppose you have used some portions of a document as a Workable Area and you want to add some text in remaining areas of a document, then you can do so by clicking on T icon frame located in the left side panel of the screen.
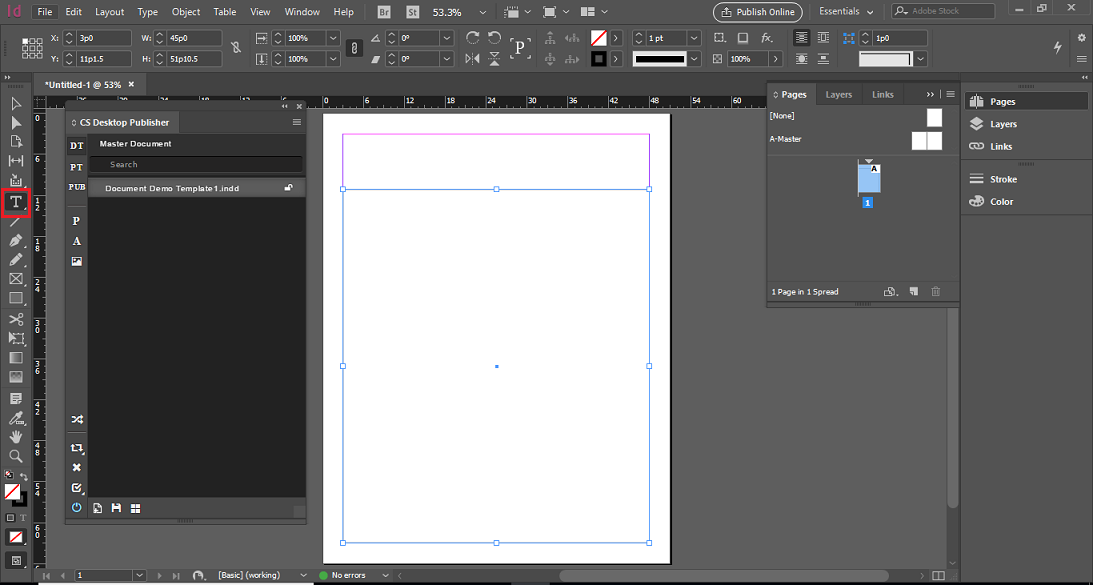
- Click on the Text icon frame and place the frame across the area of a document where you want to define static text.
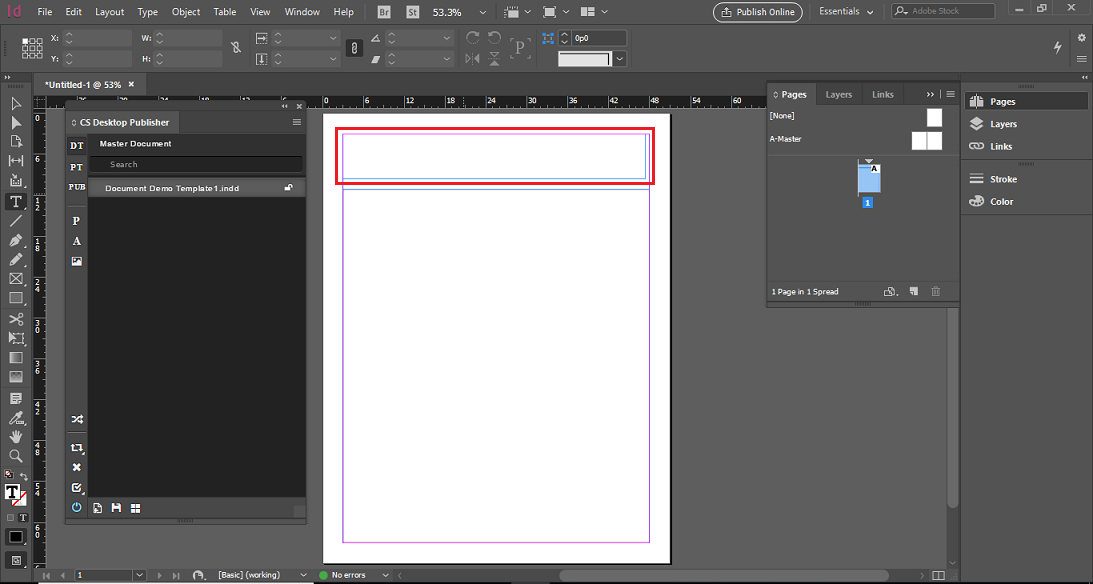
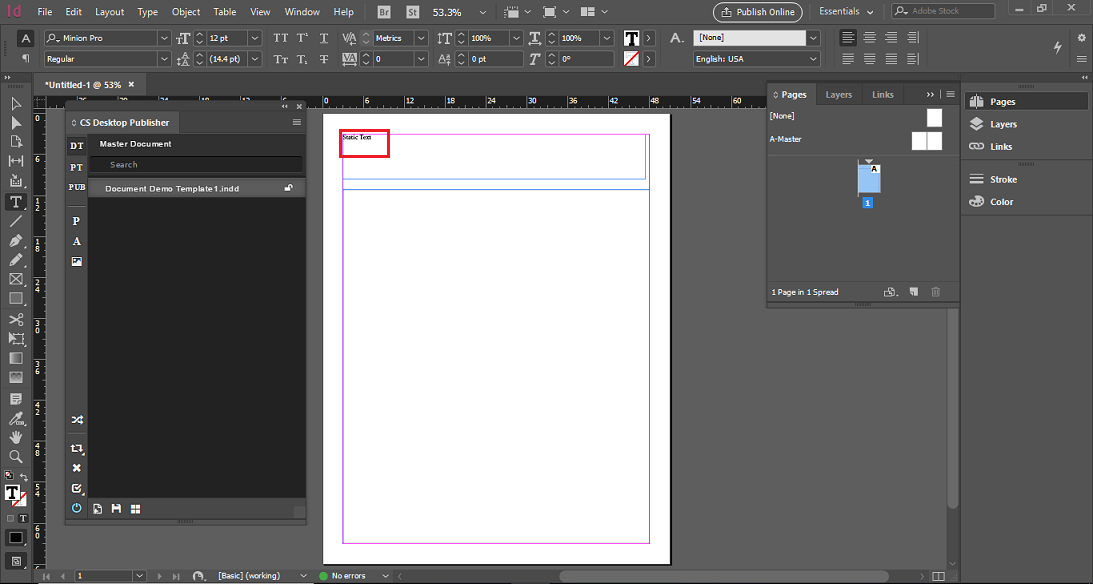
- Now, enter the text in this framed area that you want to add in a document template.
Add Pages in a Document Template
- You can add as many pages as you want in a document template. Locate the Pages icon option on the right side panel of the screen.
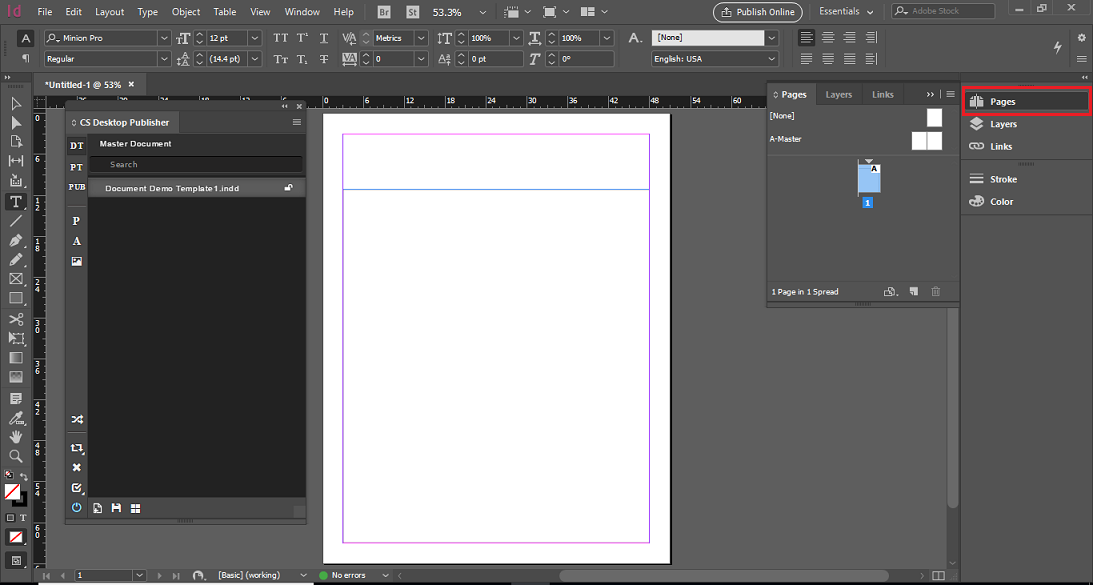
- Select Pages icon option and click on the Create Page icon to create a page in a document template.
- Define Workable Area in each page of a document template.
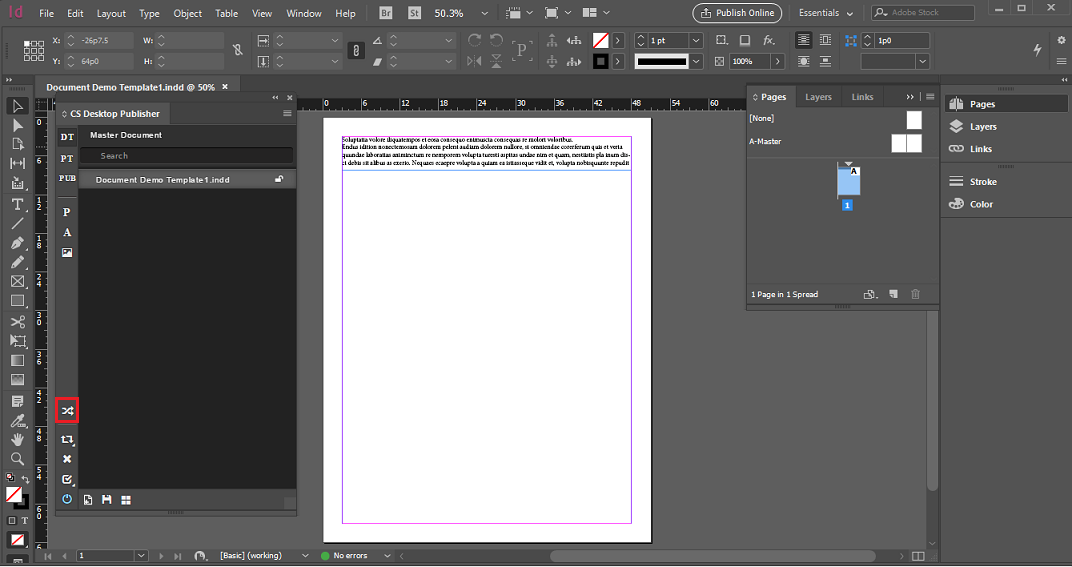
Save/Update Document Templates in Adobe © InDesign ©
- After adding all the elements in a Document Template, click on the Save/Upload icon to save and upload it to the Contentserv system.

- On the prompt that appears, enter the Template Name and click on the Upload button. It will save this document template in Adobe © InDesign © and upload it to the Contentserv system.
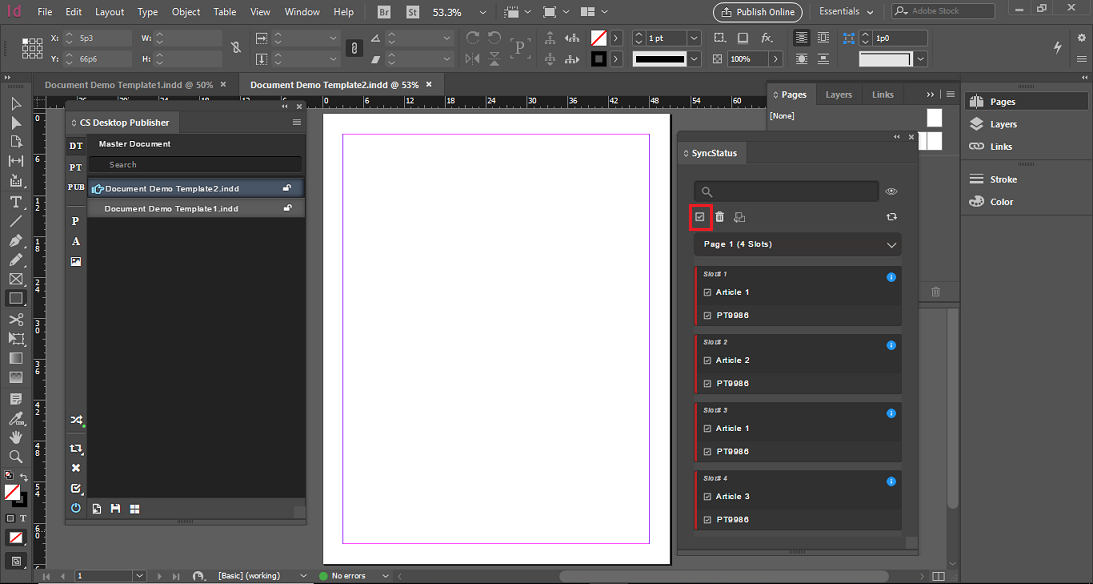
Check Sync Status and Accept or Reject Changes
- Sync the changes in Adobe © InDesign © document template and in Desktop Publisher. This is necessary when working in a document template at both Adobe © InDesign © and Desktop Publisher of Contentserv system. Click on Show Sync Status icon located in the CS Desktop Publisher window to know the sync status of a document template.
- A designer can accept all the changes made by a planner. In this case, a designer will select the changes and click on the Accept Changes icon in the SyncStatus window to accept the changes.

- A designer can delete or reject all the changes made by a planner. In this case, a designer will select the changes and click on the Delete icon in the SyncStatus window to delete the changes.
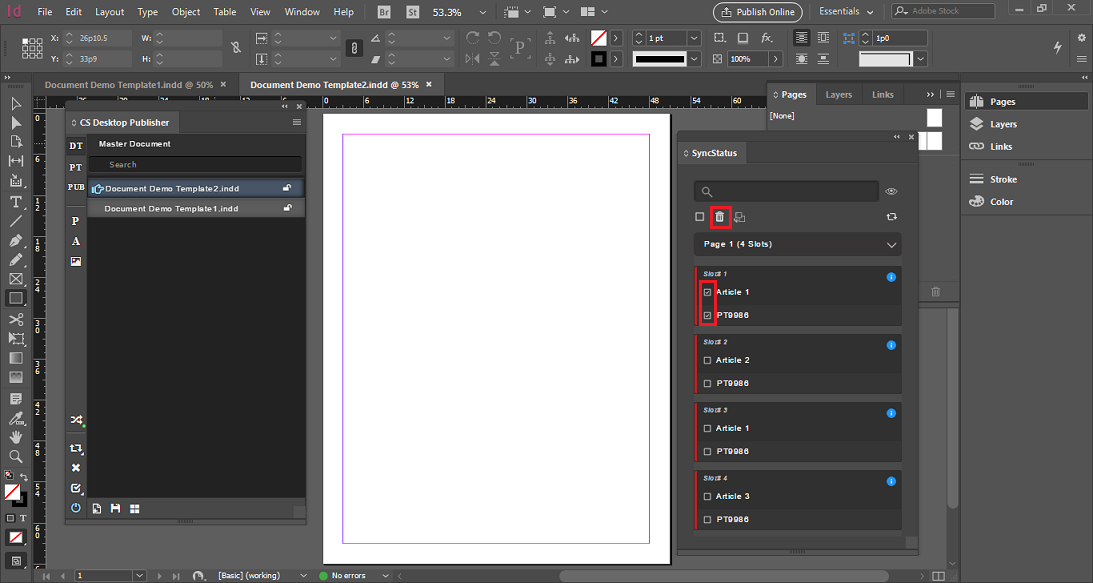
- Changes made by a designer can be accepted in one go by clicking on the Select All icon in the SyncStatus window.