Manage Virtual Catalogs
The Manage Virtual Catalogs feature creates multiple collections and bookmarks to effectively manage different selections of products in the catalog.
| Key Term: |
|
| Description: |
|
| Related topics: | |
| Application: |
|
How-to: Manage Virtual Catalogs
To do this feature, follow these steps:
- Log in and click on the Administration icon.
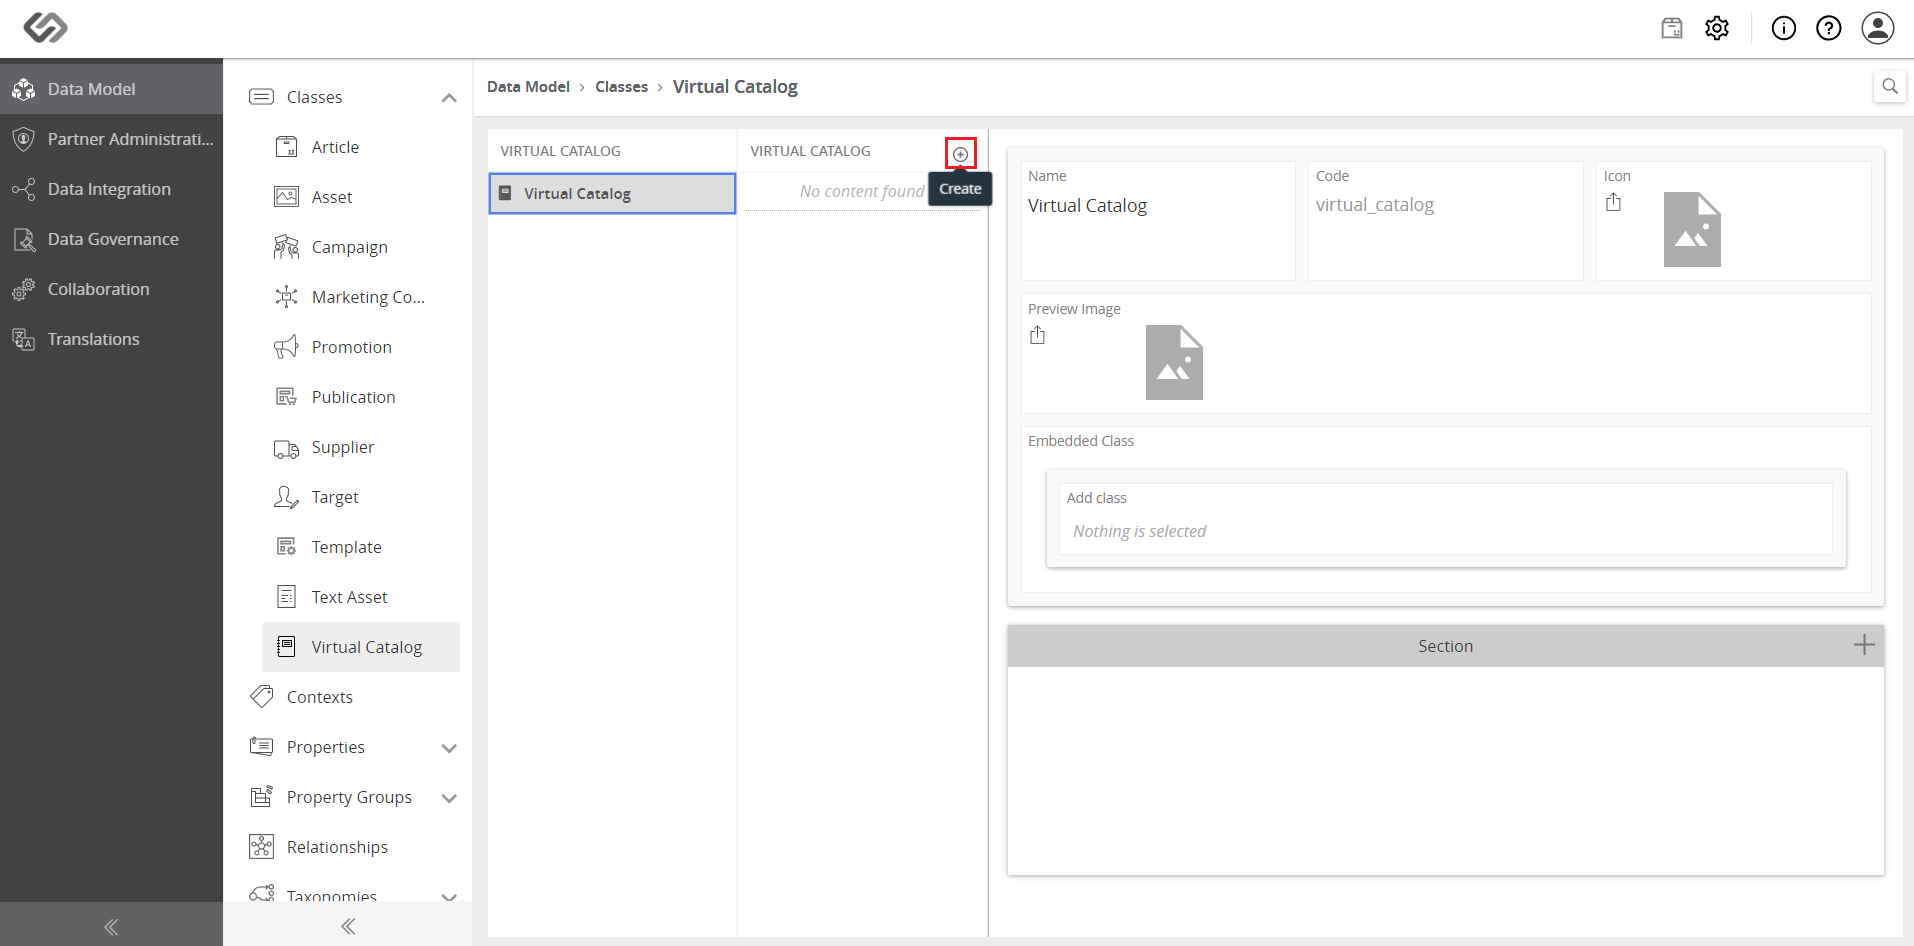
- In Data Model, go to Classes and click on Virtual Catalog.
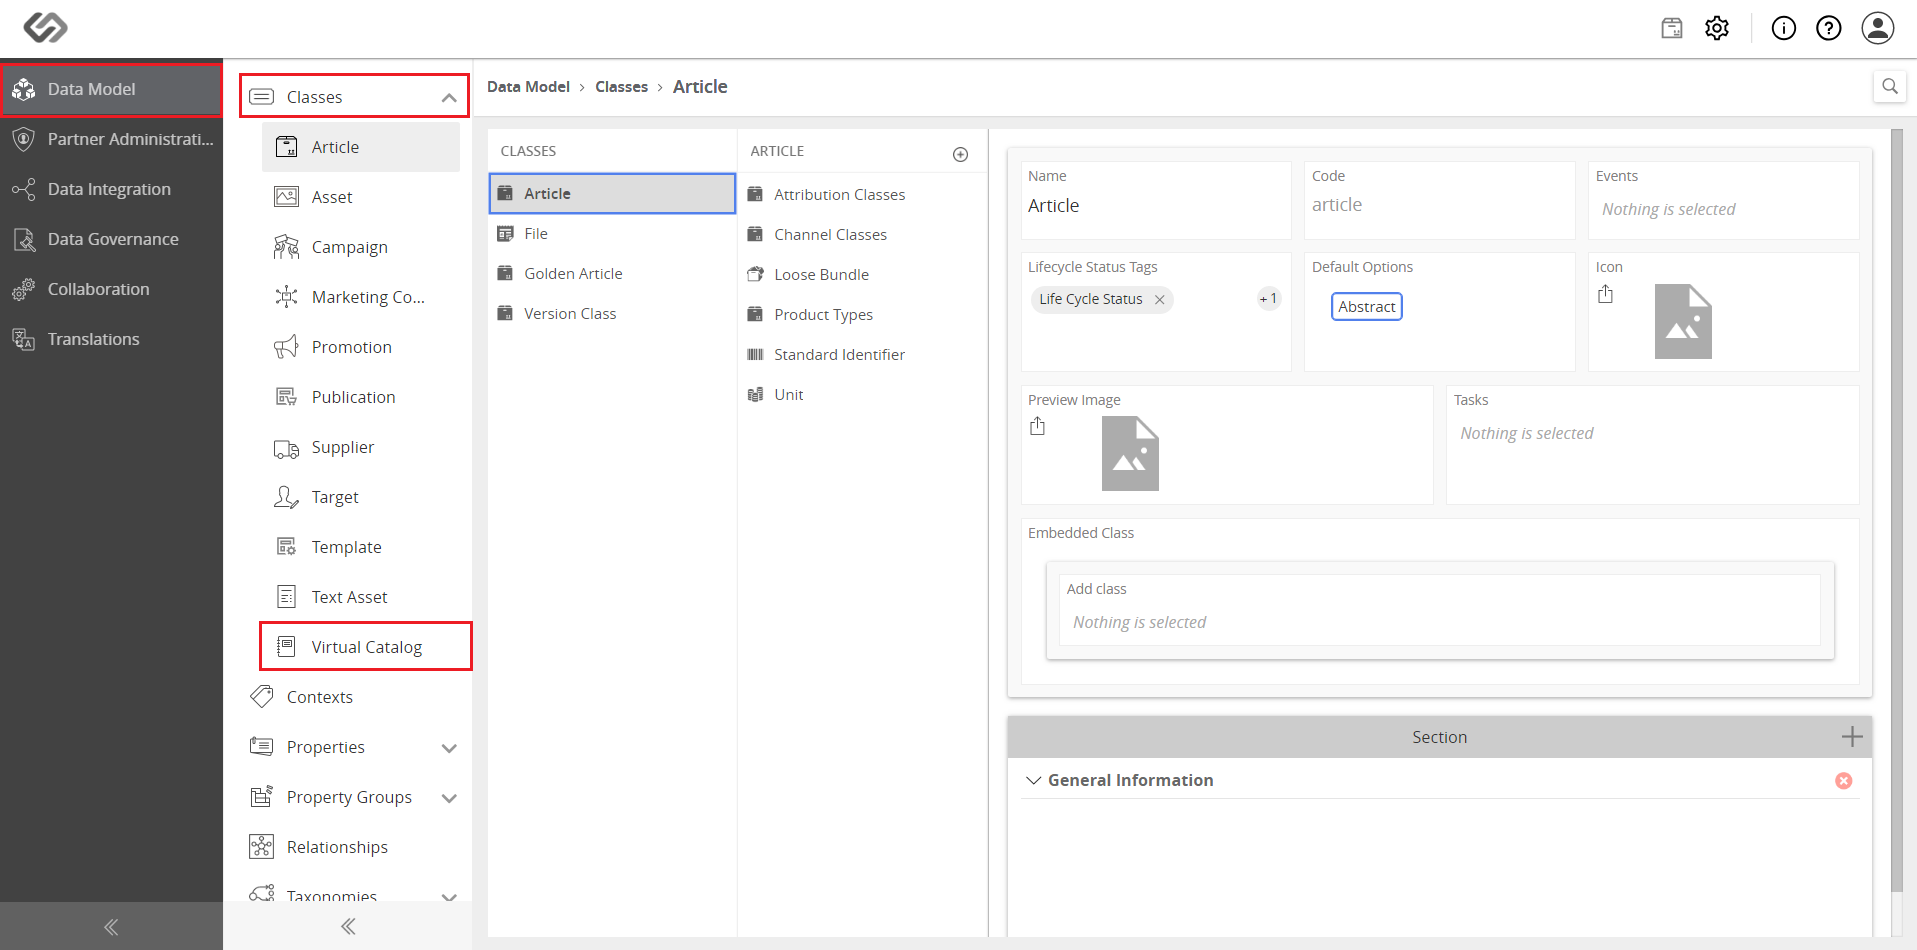
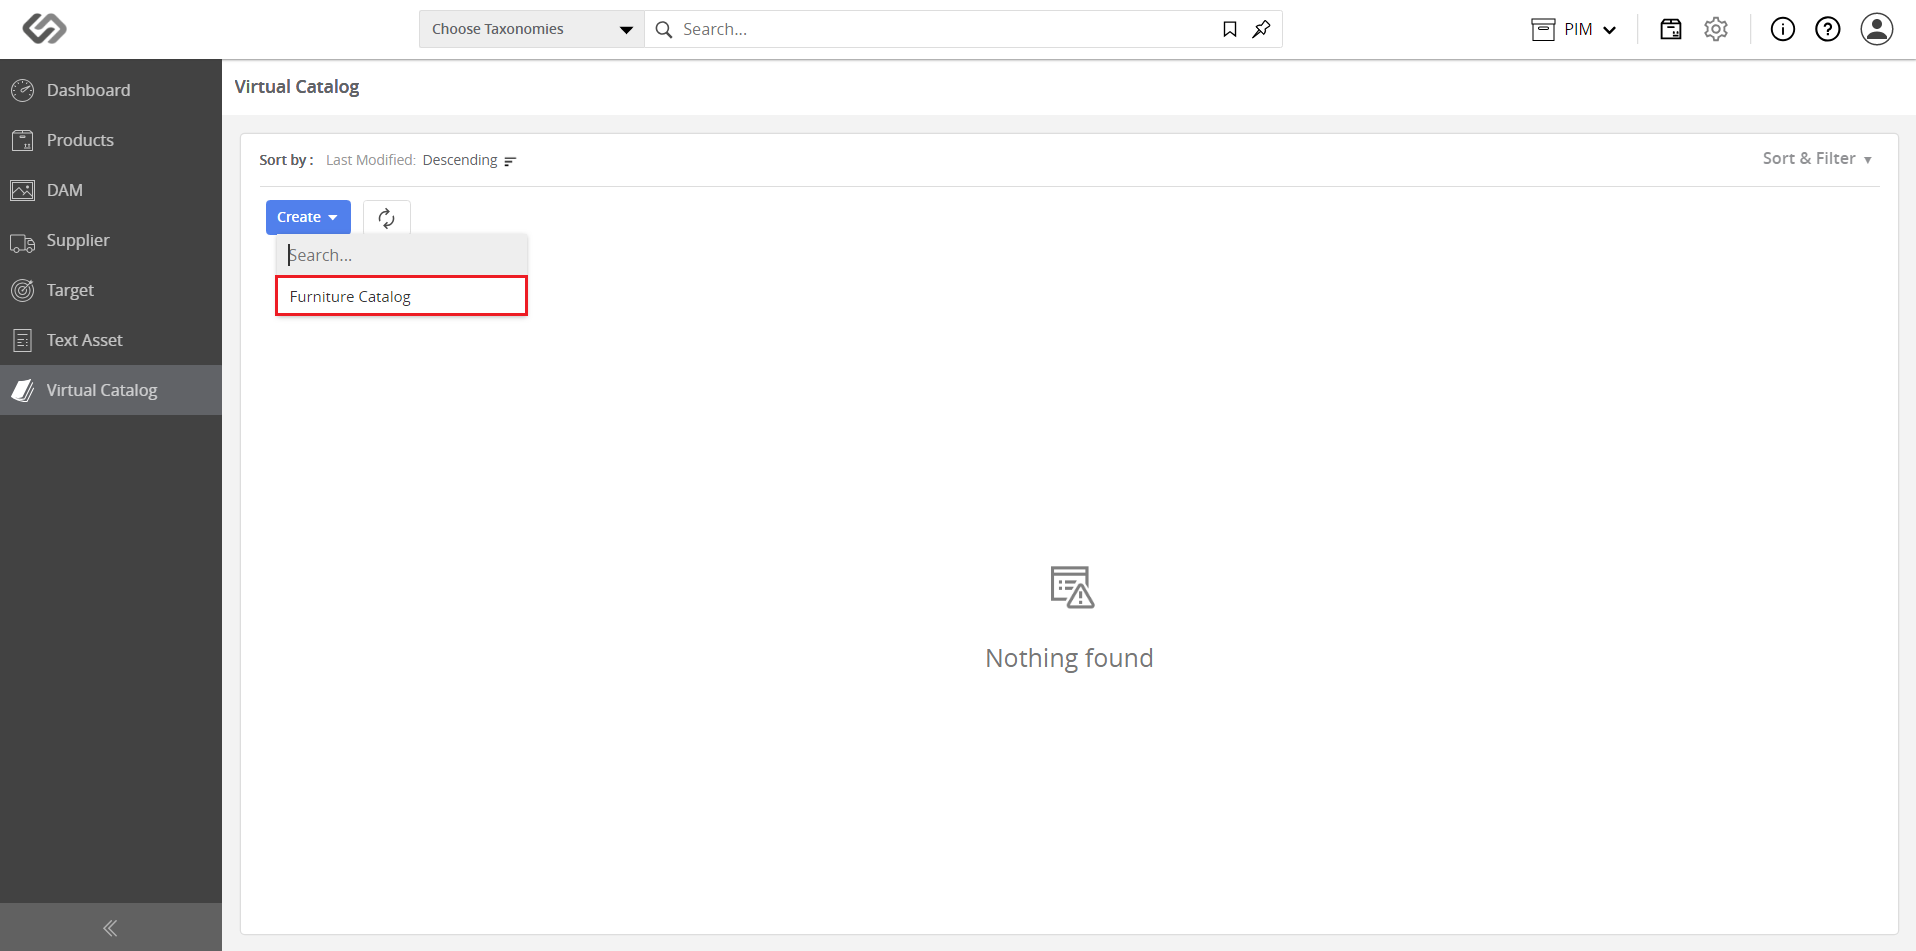
- Click on the ‘+’ icon to create a new virtual catalog.
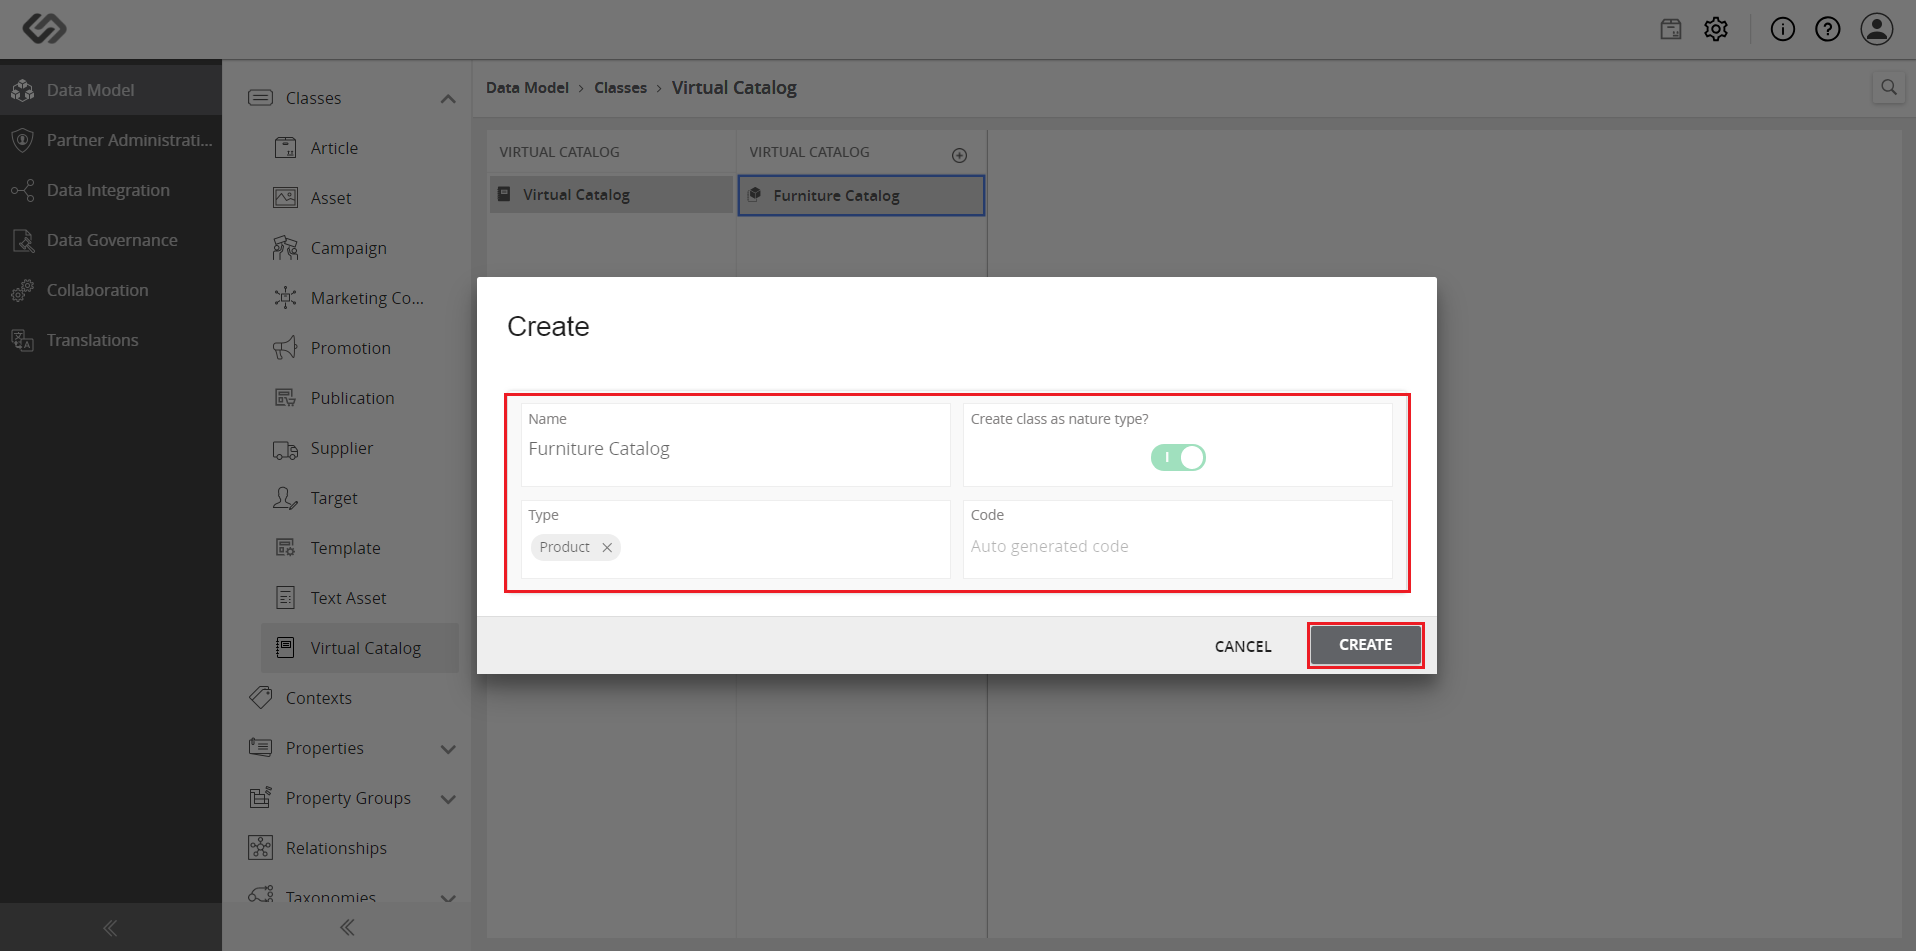
- Enter the name, enable as nature type, and select the type. Click on the Create button.
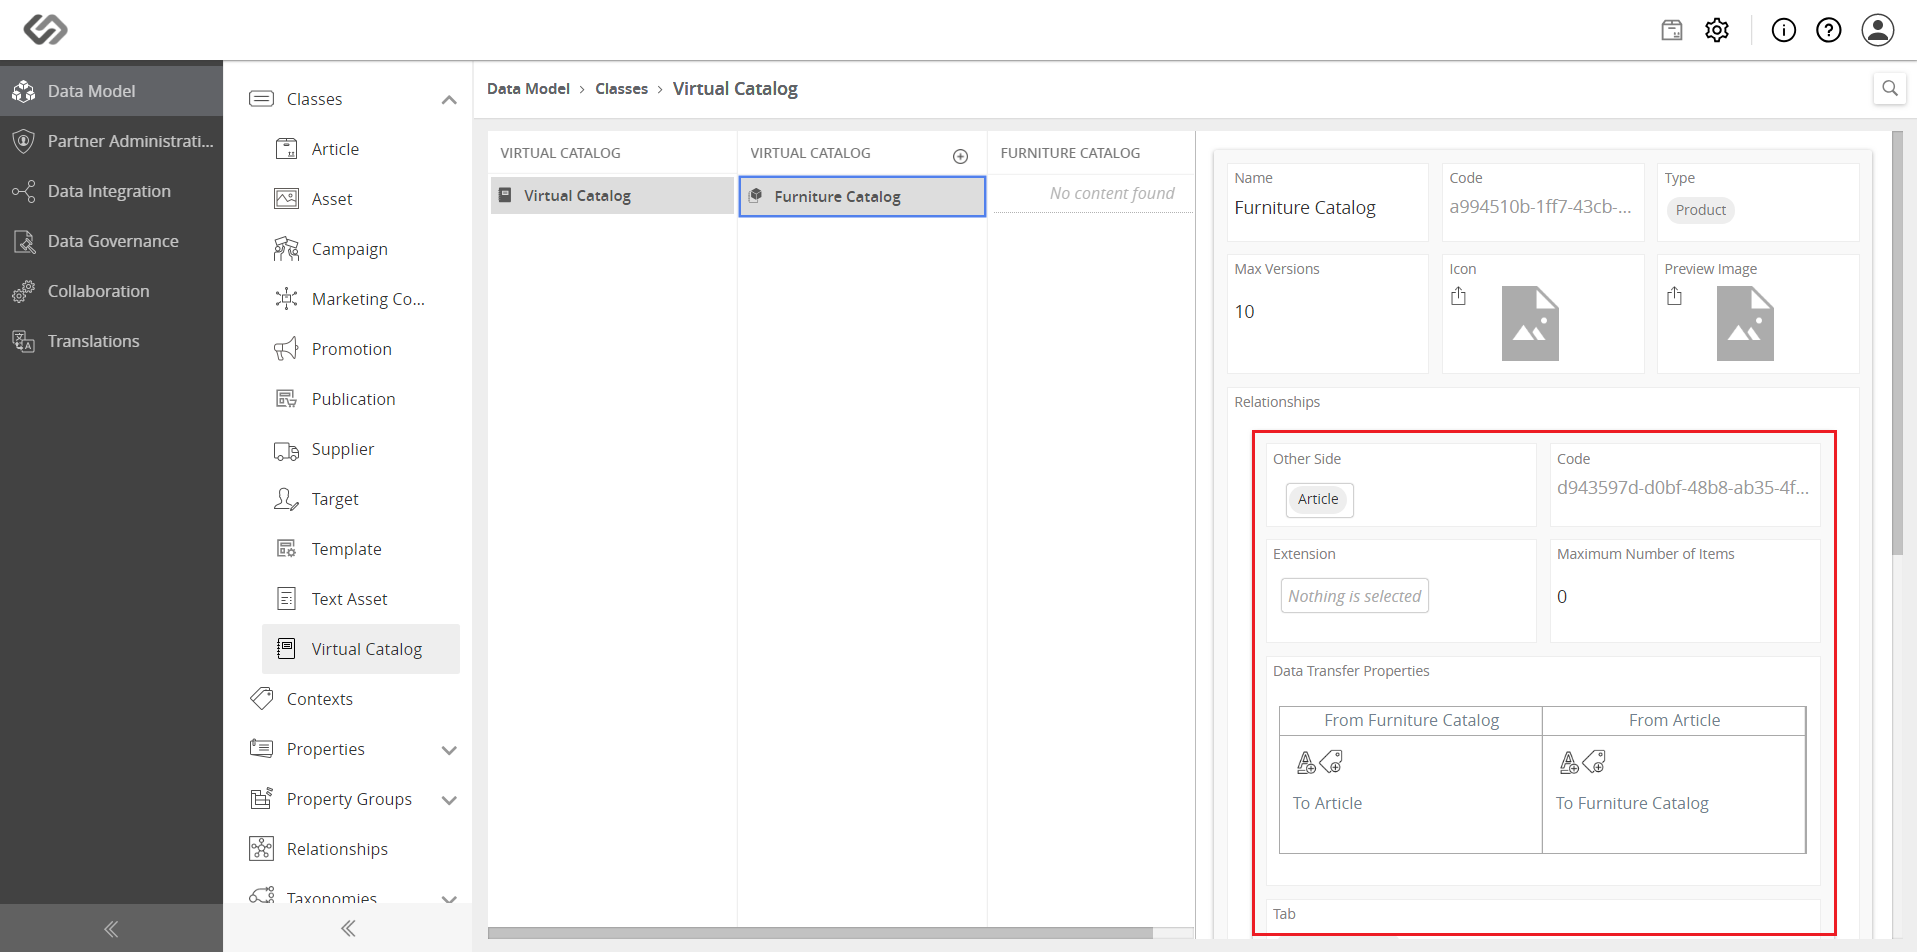
- Once the pane on the right of the screen has loaded, complete the remaining details.
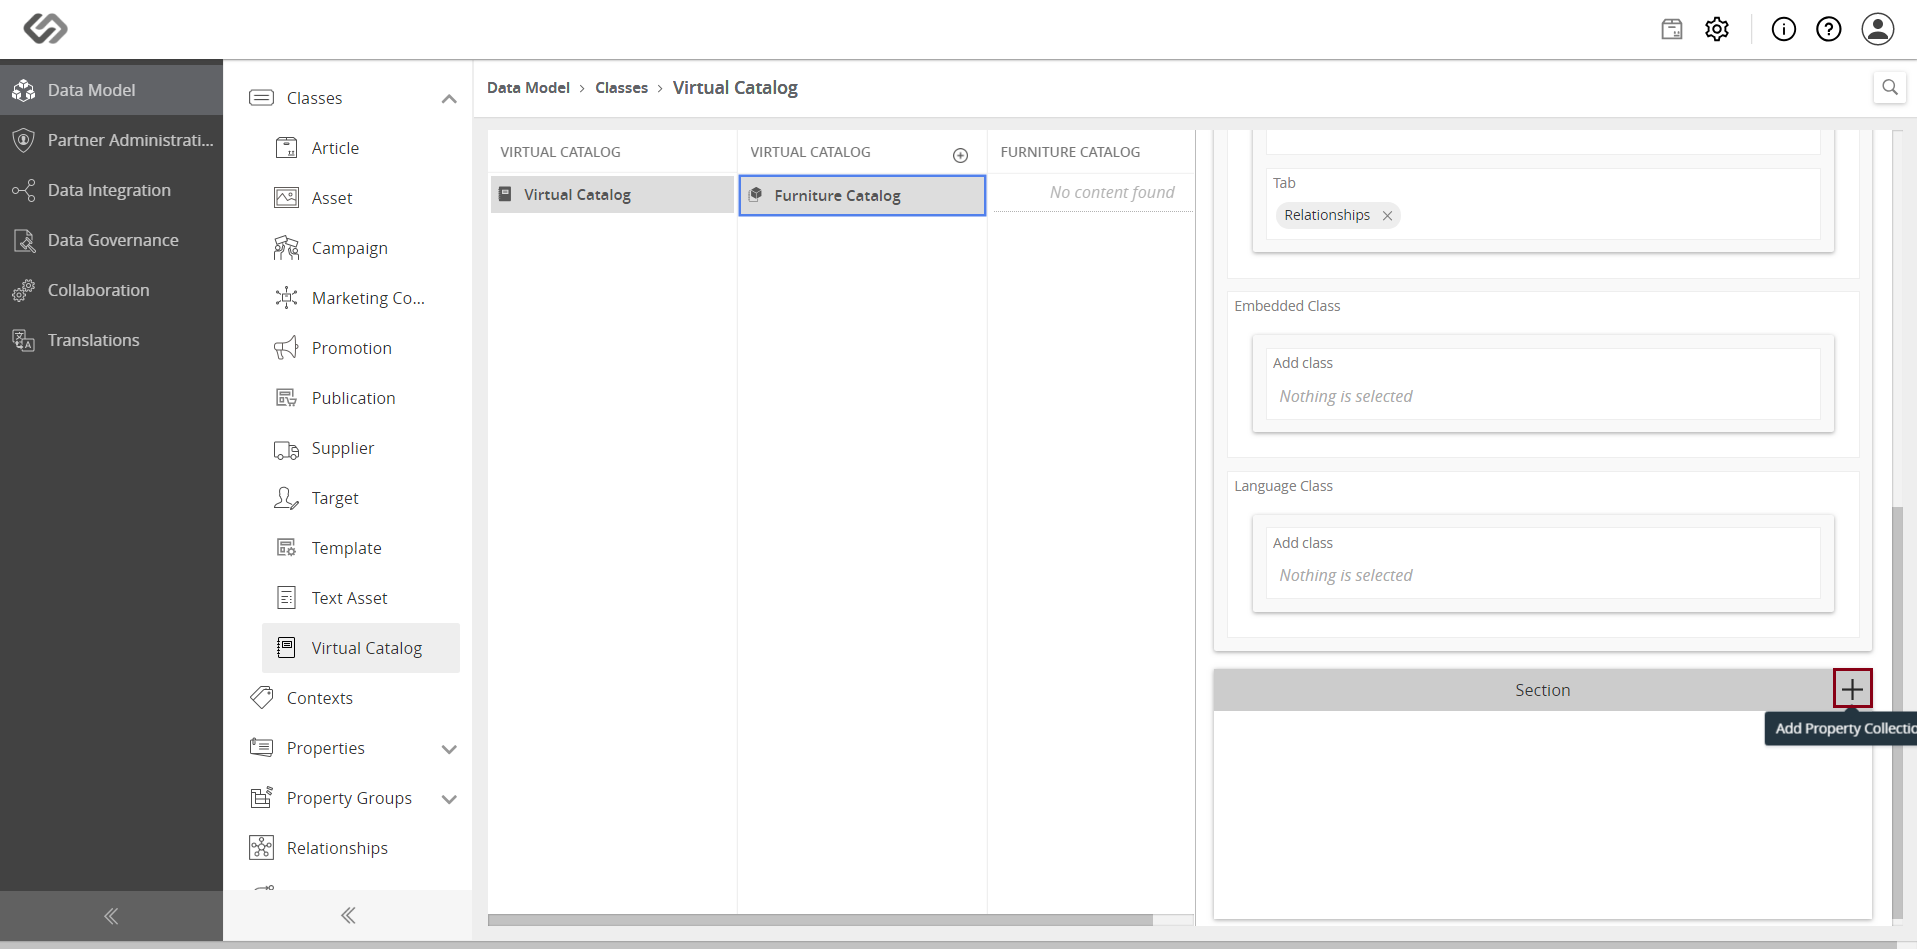
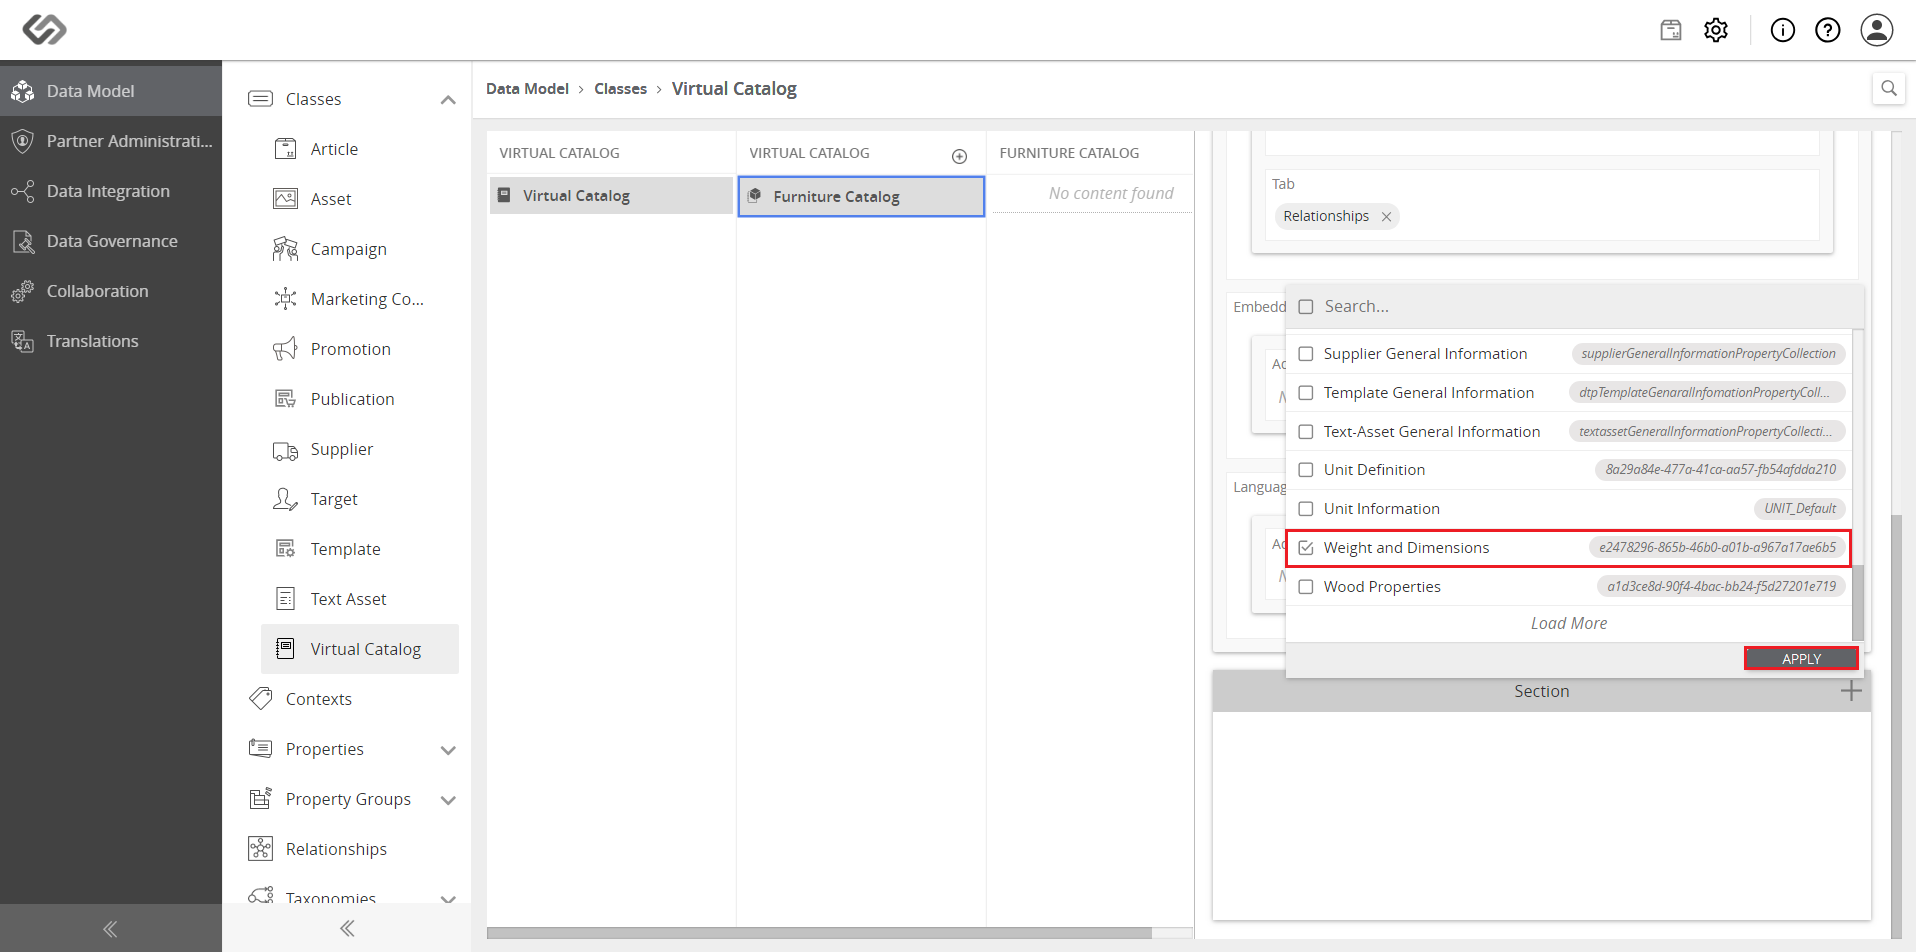
- Add a Property Collection by clicking the “+” icon in Section. Select a Property Collection and then click the Apply button.
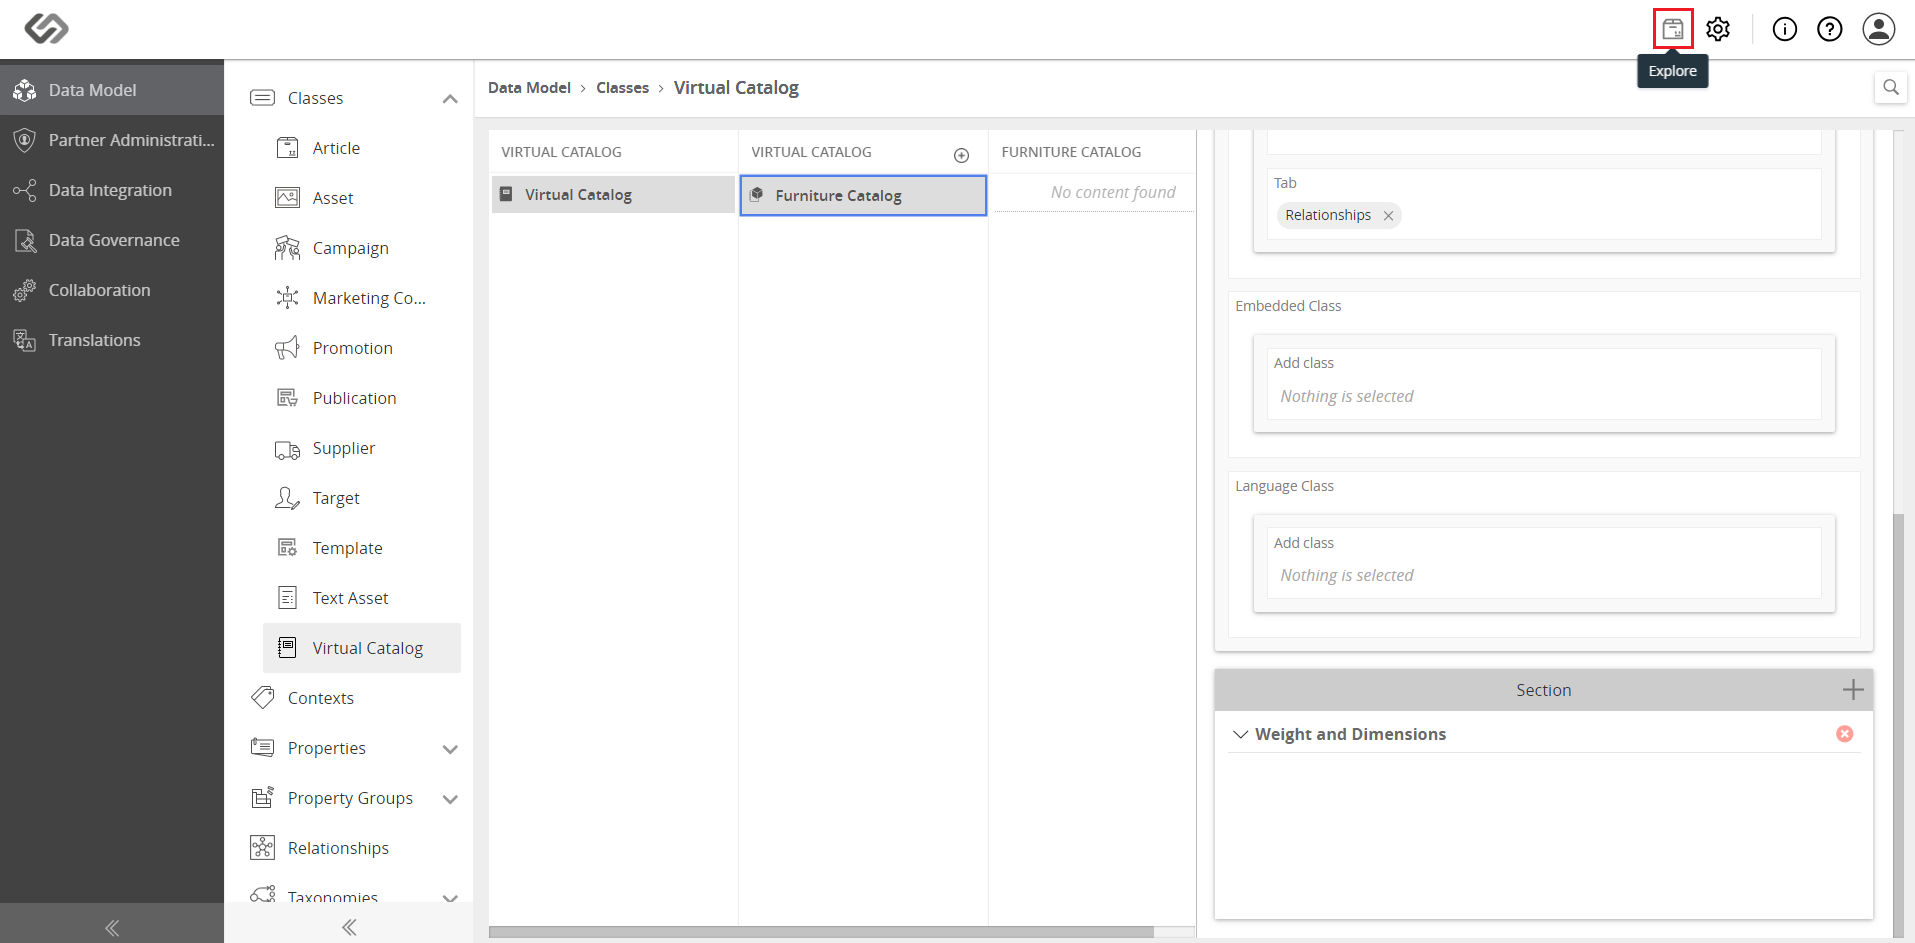
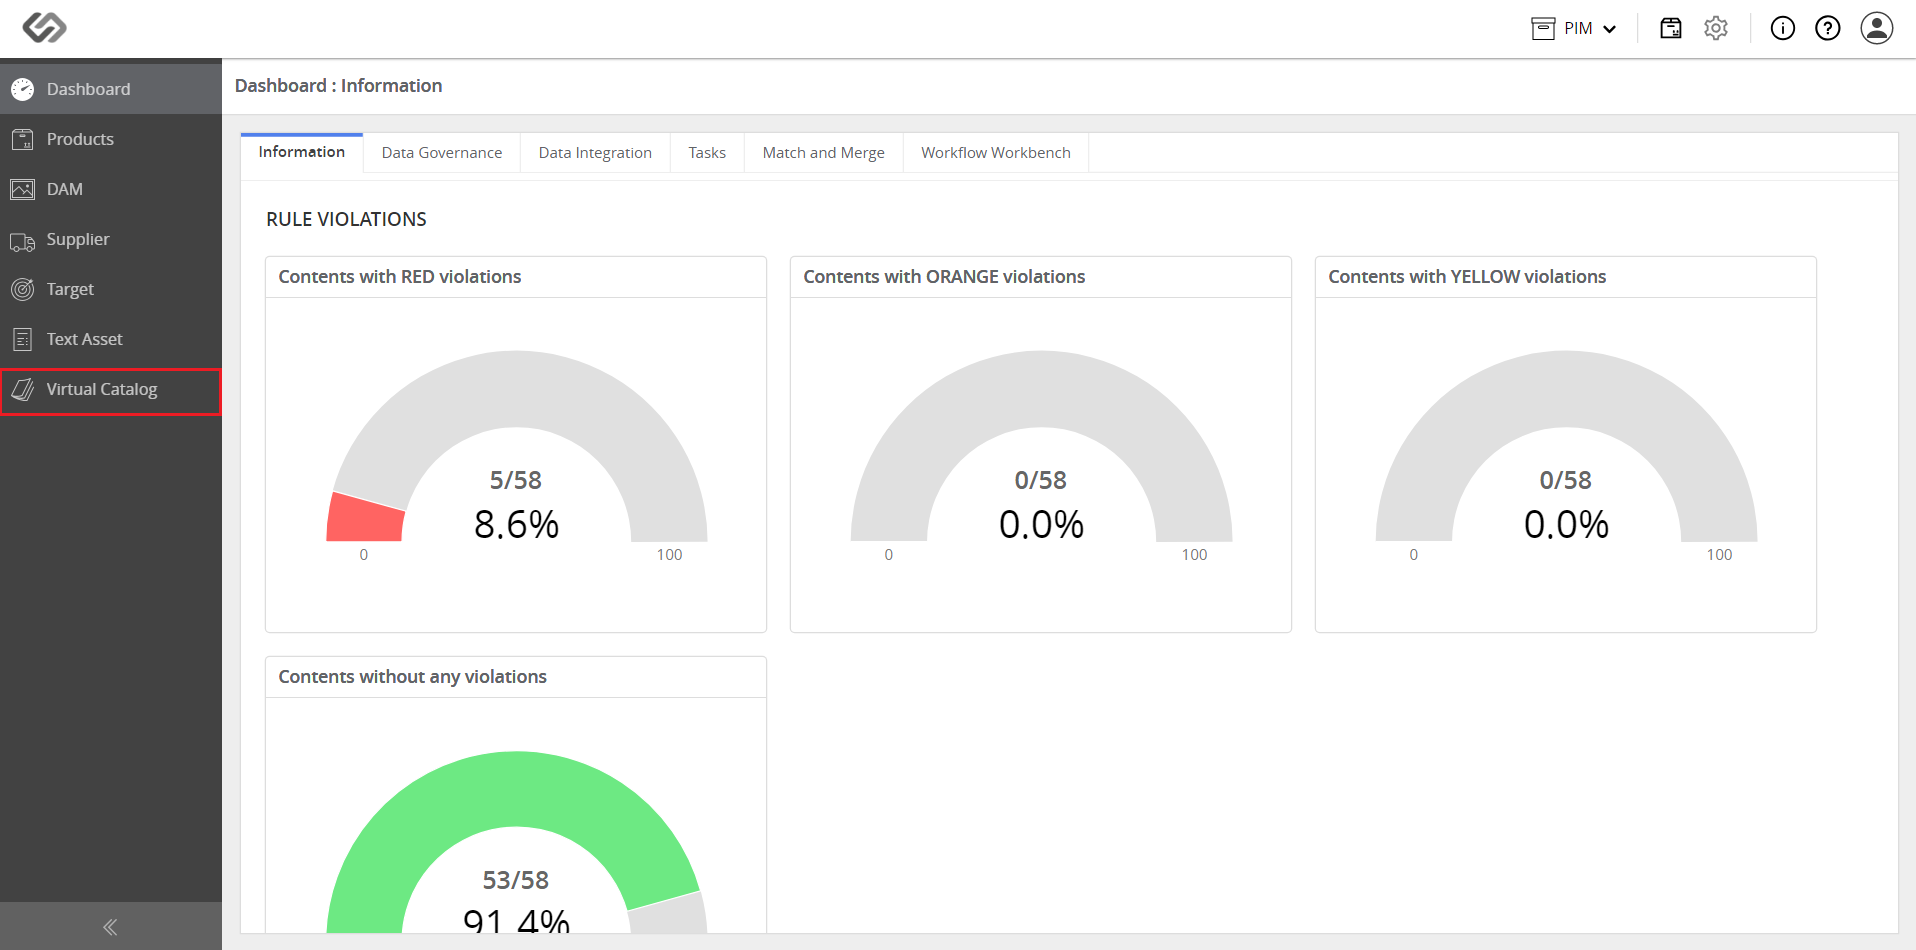
- Click on the Explore icon and go to Virtual Catalog.
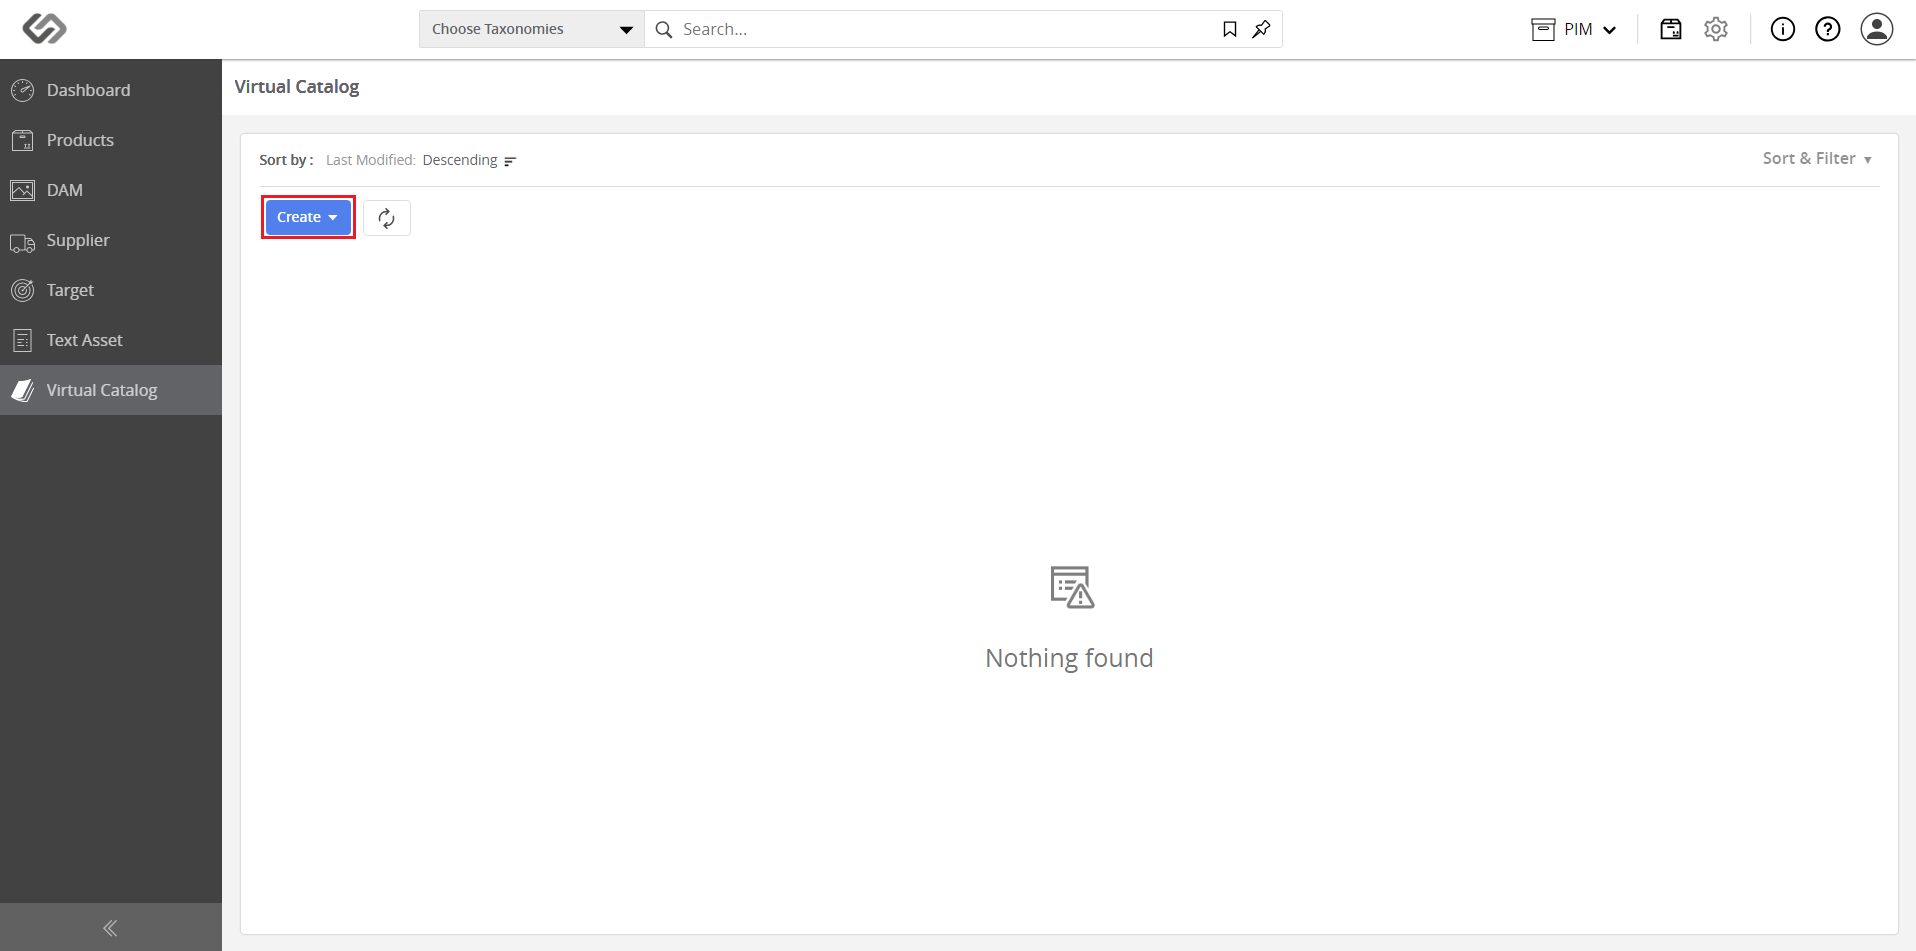
- Click on the Create button and select the virtual catalog.
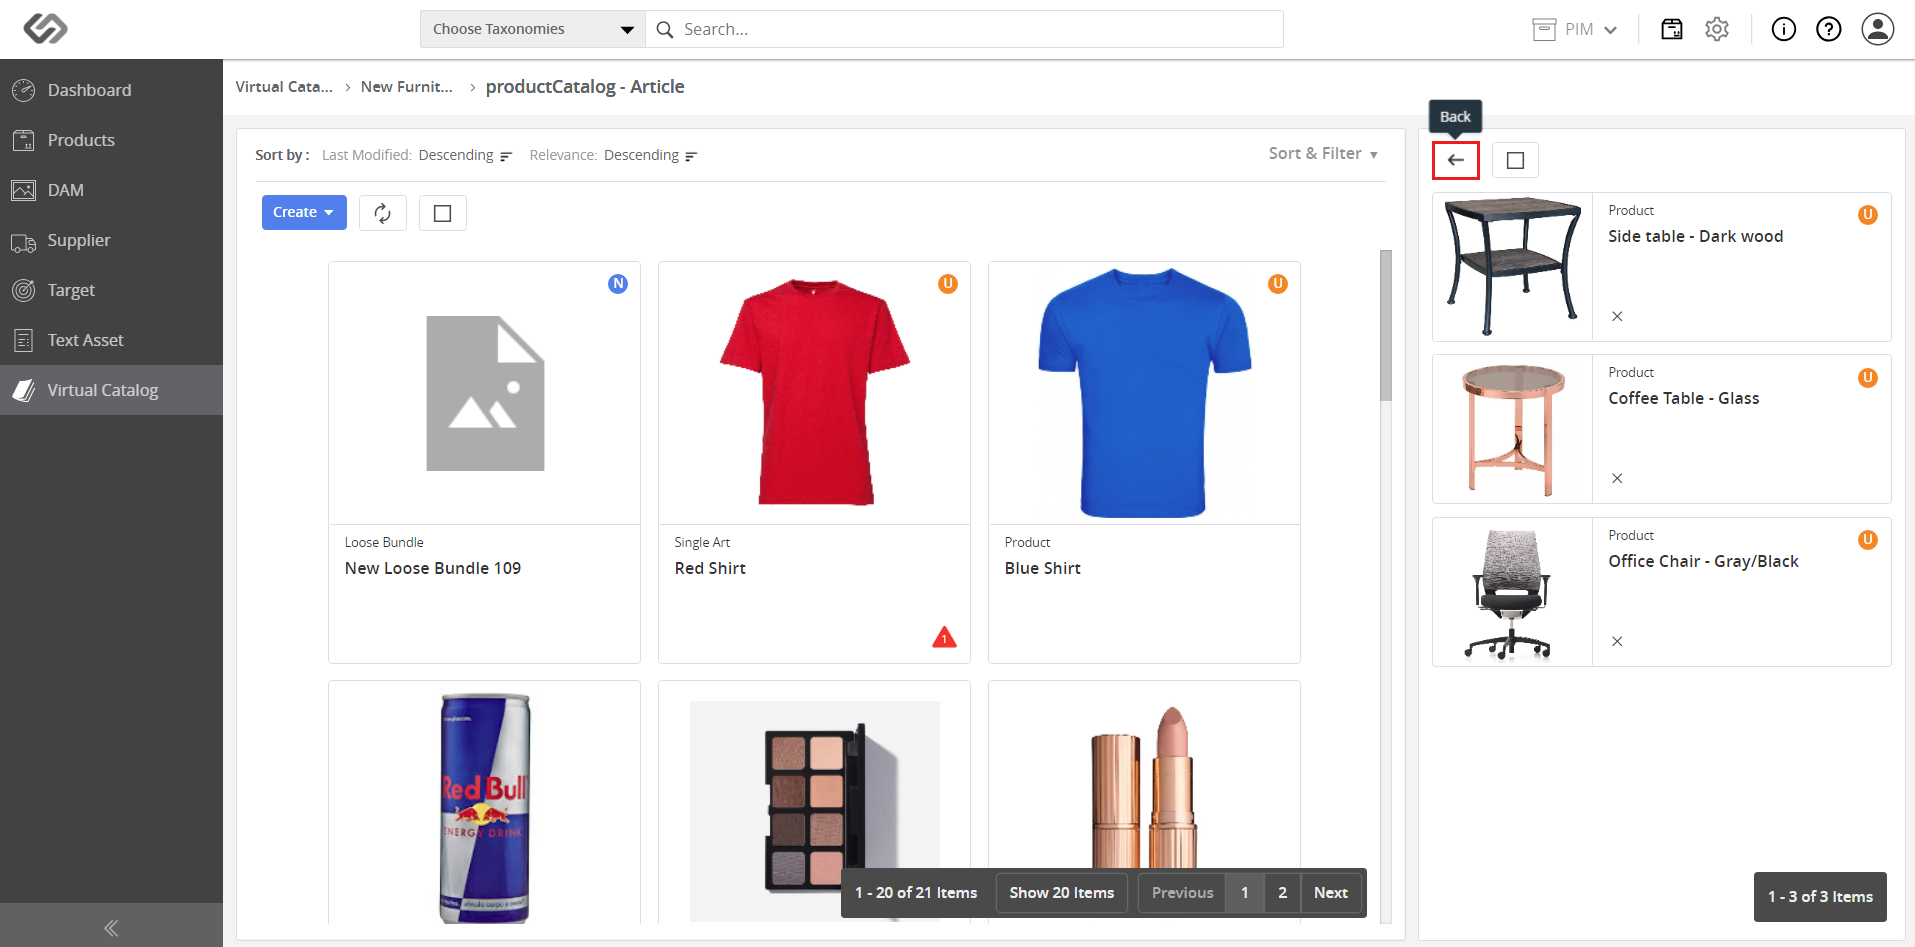
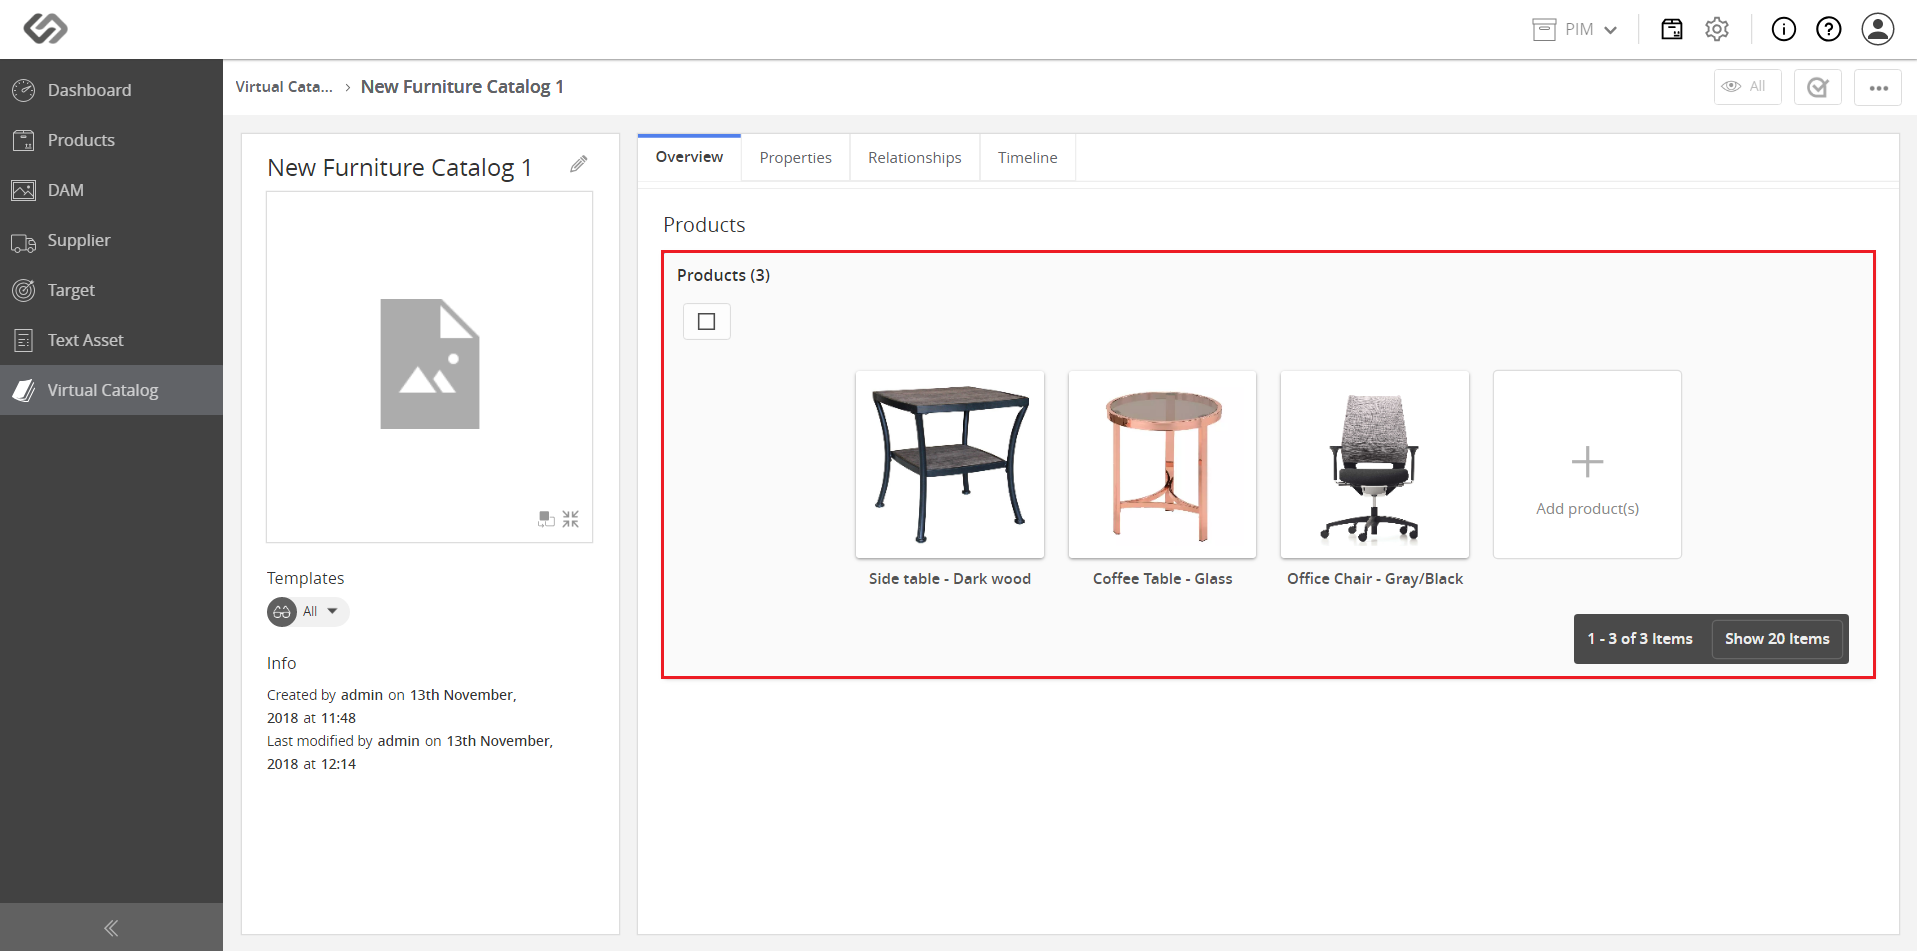
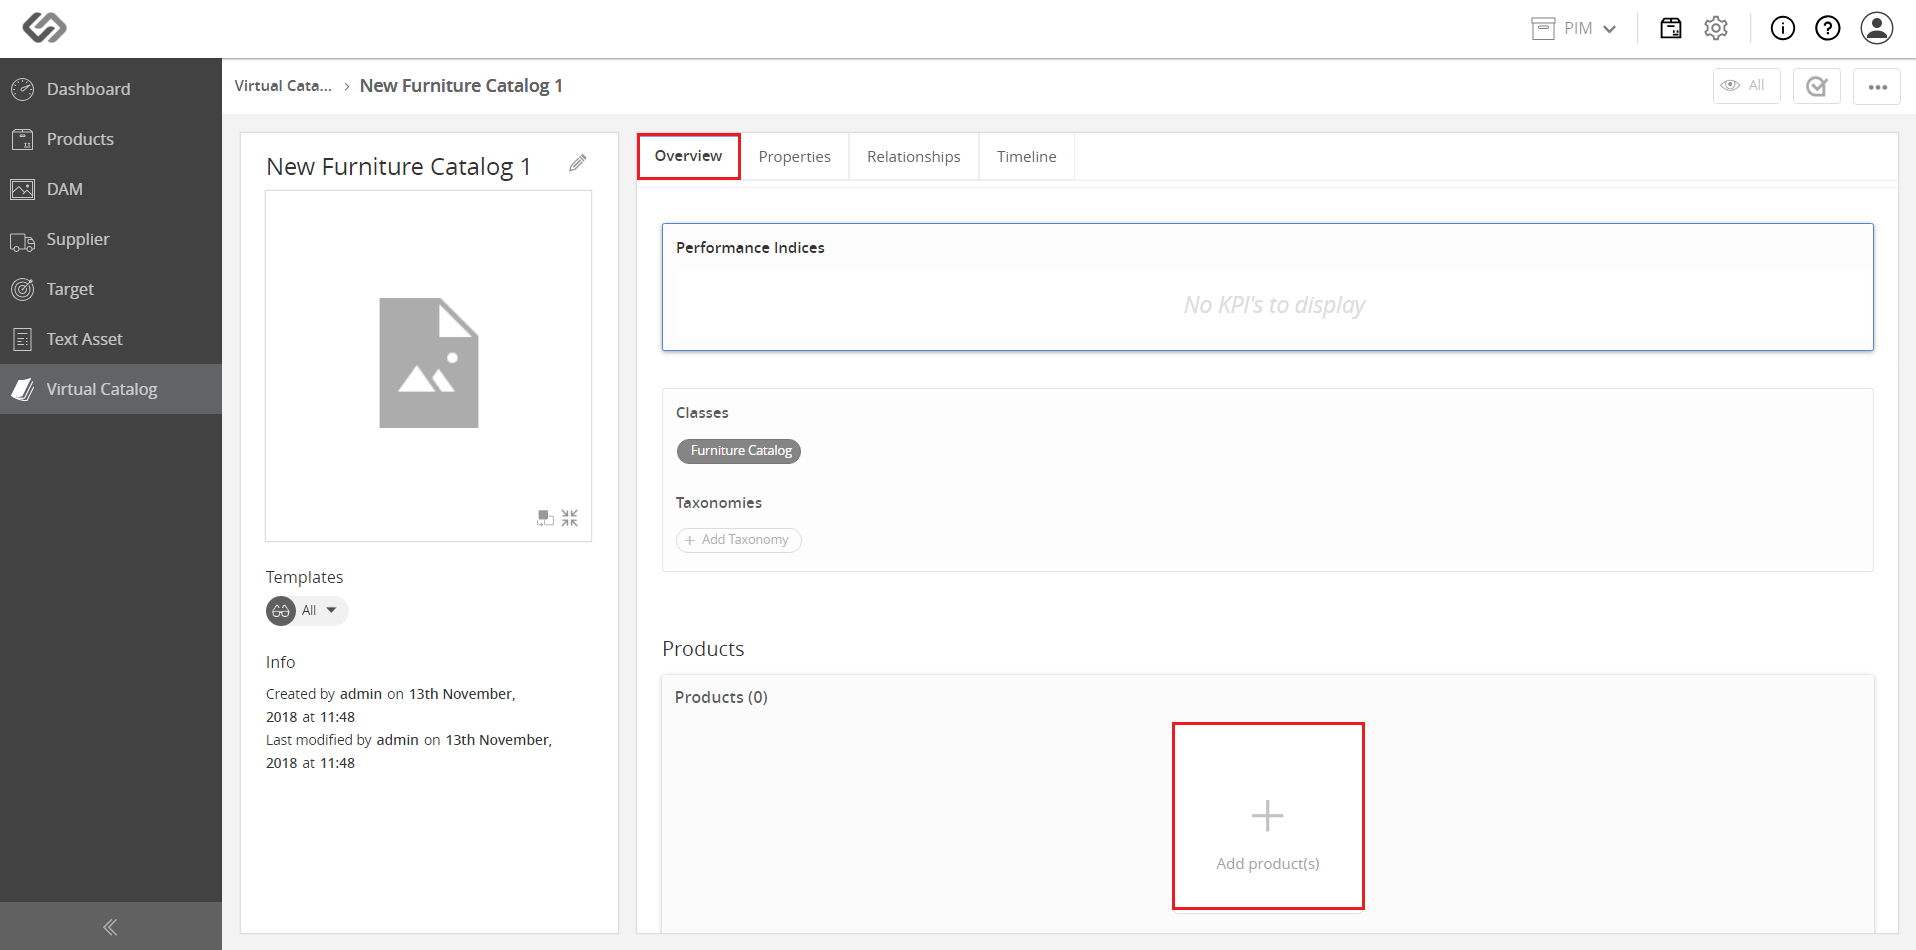
- In the Overview tab, click on the Add Product(s) button under the Products section.
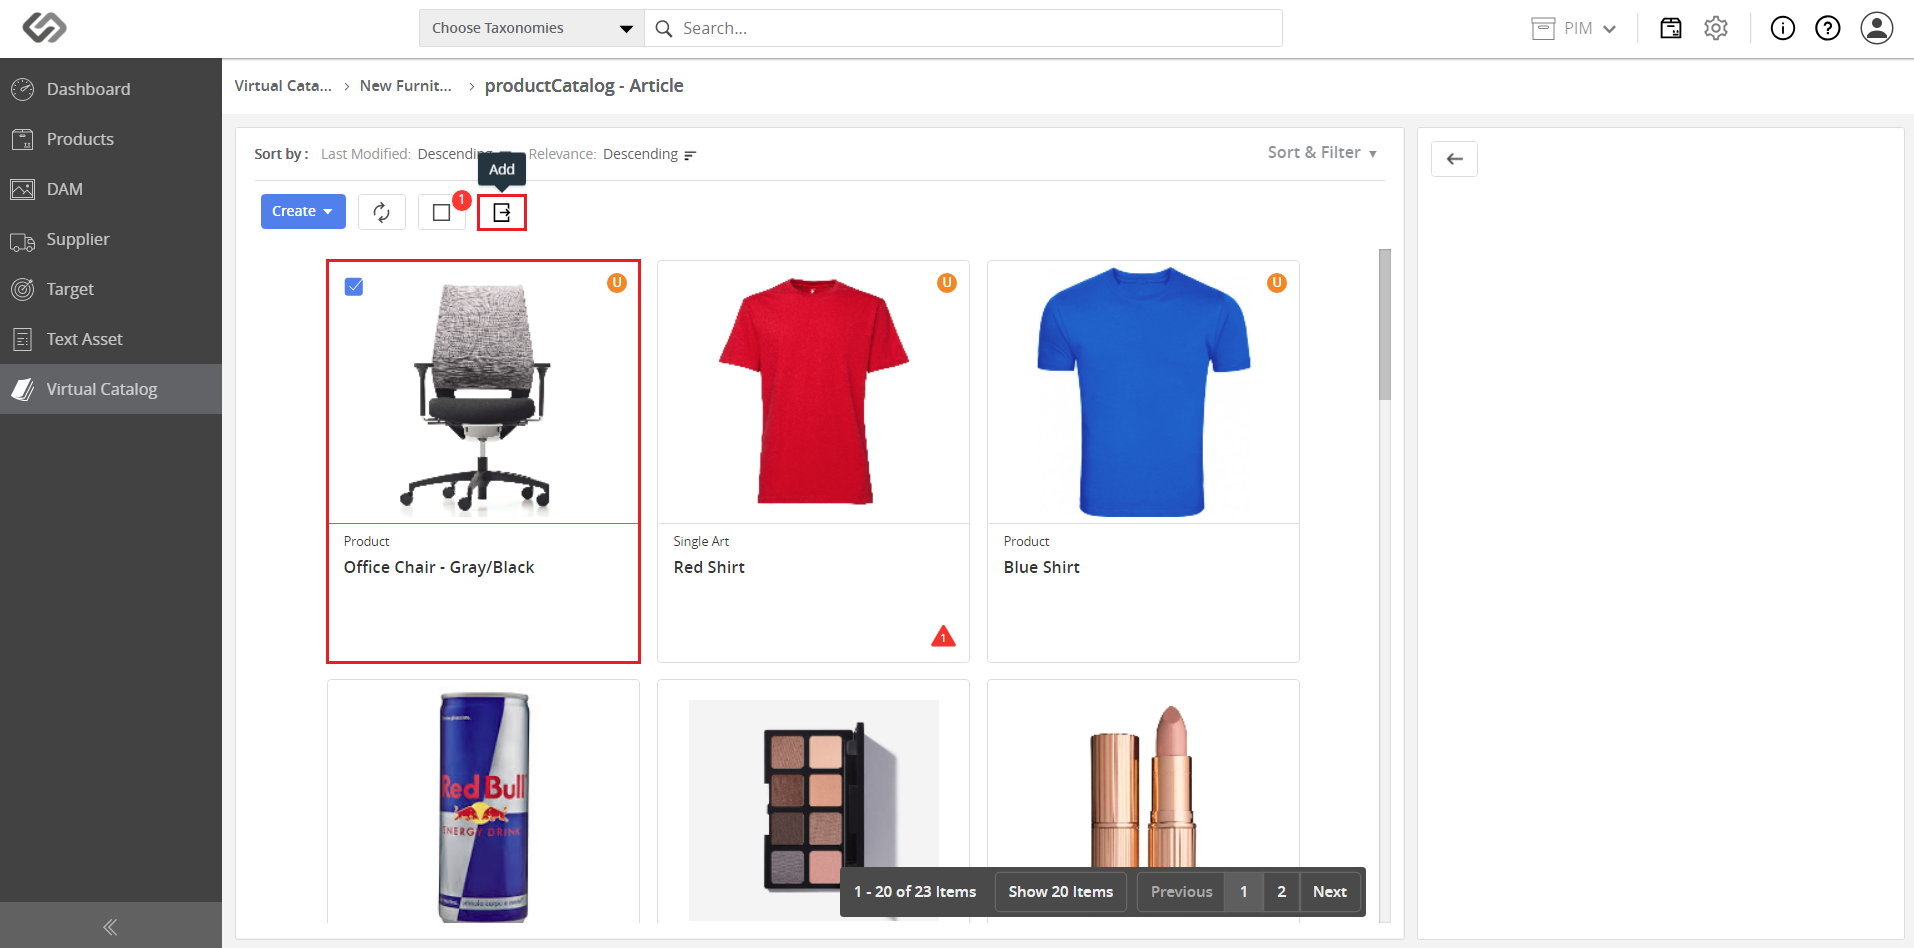
- Create a collection by adding products (or selecting them from existing products). Choose the products to be added in the collection and click on the Add button.
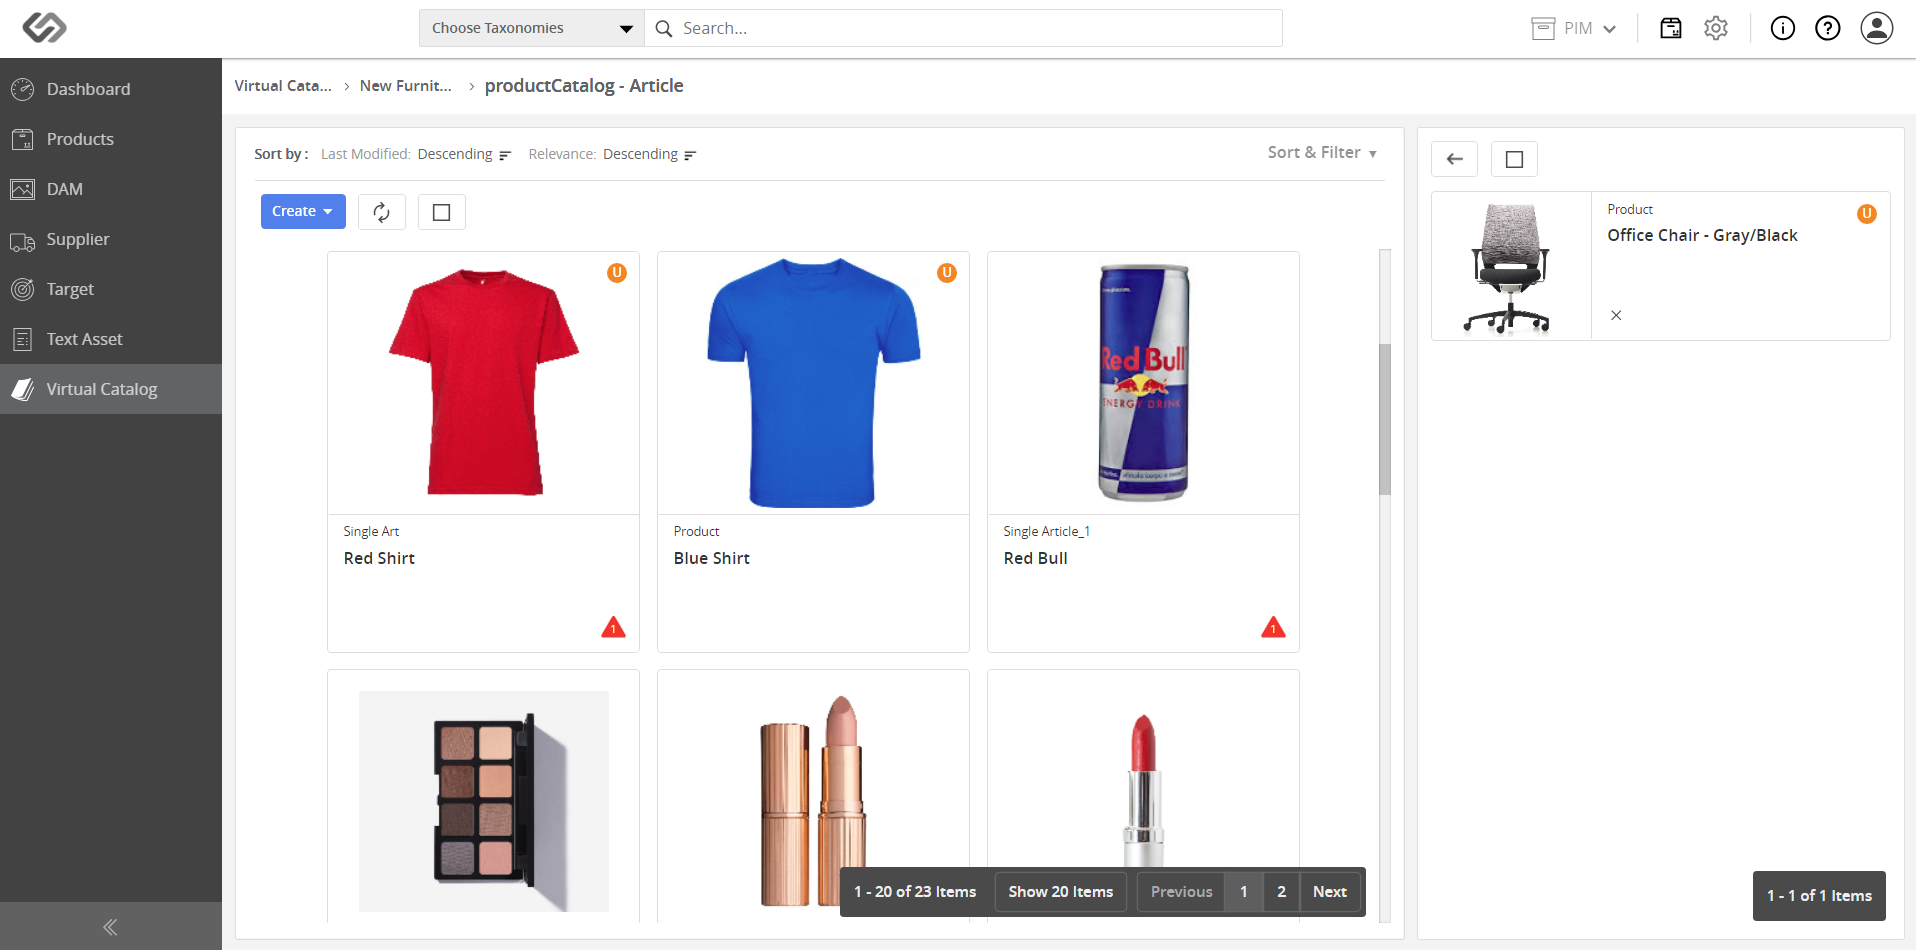
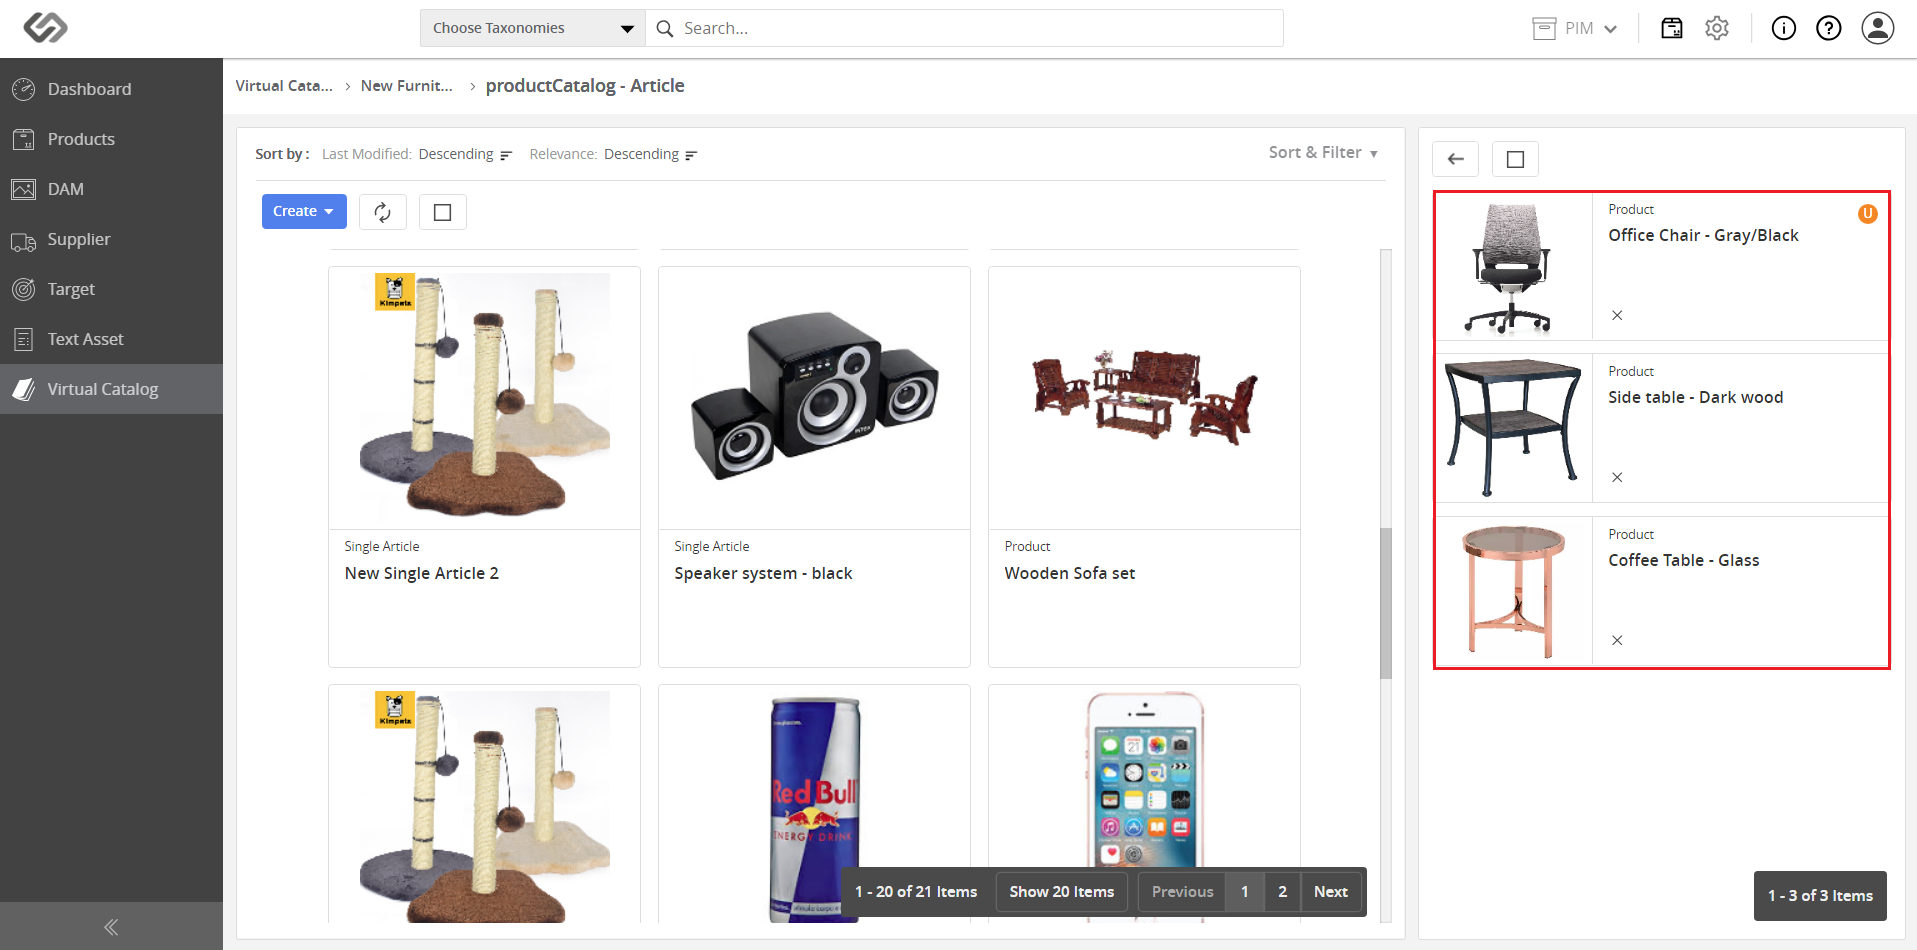
- Click on the Back icon. View and check the virtual product catalog.